You've taken the leap into creating video content from the comfort of your home. Whether you’re aspiring to become an influencer, delivering training videos, or enhancing your professional presentations, a well‑designed webcam studio is all you need to get started.
By investing a little time in setting up a dedicated, distraction‑free space, you’ll produce videos that look polished and professional while minimizing the time spent on post‑production.
In this guide, we walk you through every step to build a top‑tier webcam studio—from choosing the right location to selecting gear, lighting, and software.
Table of Contents
- What Is a Webcam Studio?
- Core Elements of a Home Studio
- Step 1. Select a Location
- Step 2. Acquire the Essential Equipment
- Step 3. Choose Recording Software
- Step 4. Connect Your Gear and Prepare the Background
- How to Record and Edit with Wondershare Filmora
- Conclusion
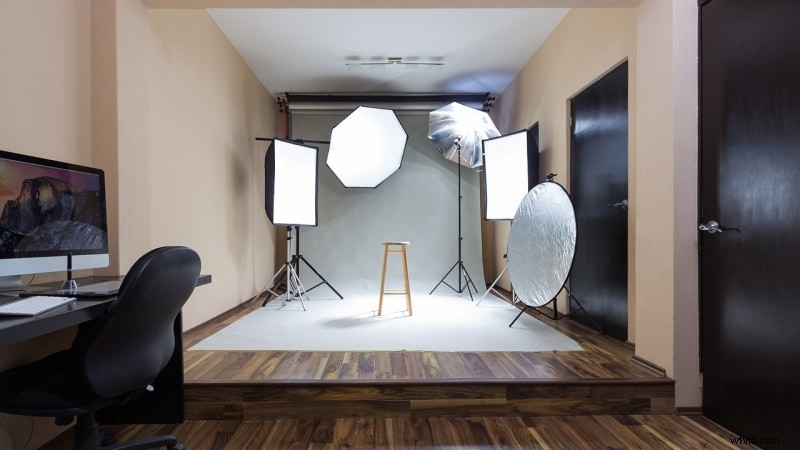
What Is a Webcam Studio?
A webcam studio is a purpose‑built space where you can record and stream video content using a webcam. It’s a quiet, clutter‑free zone that keeps all your tools within reach, allowing you to focus on delivering high‑quality content.
Whether you dedicate an entire room or simply reserve a corner of your living area, the key is to keep the space free from distractions and noise.
The Core Elements of a Home Studio
While a few items are essential, many extras—such as decorative backdrops, soundproofing panels, or a green screen—can elevate your production value. Below is a concise checklist of the must‑have items:
| Equipment | Computer, camera, and microphone that meet the minimum specifications below. |
| Software | Reliable recording and editing tools (see Step 3). |
| Lighting | A ring light or equivalent ensures consistent, flattering illumination. |
Because a powerful computer is crucial for smooth recording and editing, budget for a machine that can handle demanding tasks. An Intel Core i7 or equivalent is recommended.
Step 1. Select a Location for Your Webcam Studio
Choose a space that offers:
- Natural light: Position the area so that daylight falls directly onto your face, reducing shadows.
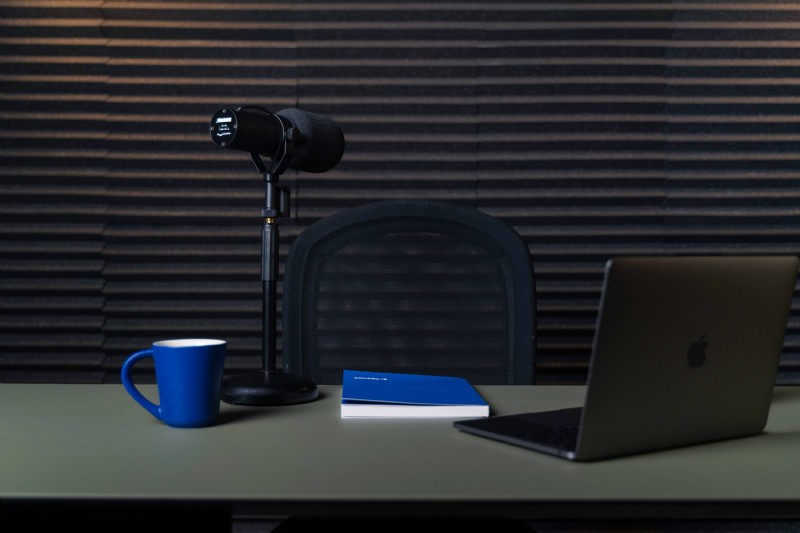
- Minimal background noise: If complete silence isn’t possible, invest in acoustic panels to dampen echo and ambient sound.
- Clean background: Avoid clutter such as laundry, pets, or children. A simple wall or a green screen works best.
Step 2. Acquire the Essential Equipment
The following specifications ensure a high‑quality output:
| 💻 Computer | Intel Core i7 (or newer) or AMD Ryzen 7. At least 16 GB RAM for multitasking. |
| 🎤 Microphone | Condenser mic with 3–10 dBA self‑noise. USB or XLR with a quality interface. |
| 📷 Camera | 1080p webcam (30 fps) or 4K if you can afford it; 60 fps is ideal for dynamic content. |
| 📹 Capture Card | Optional but recommended for multi‑camera setups; ensure HDMI input/output and USB connectivity. |
Step 3. Choose Recording Software
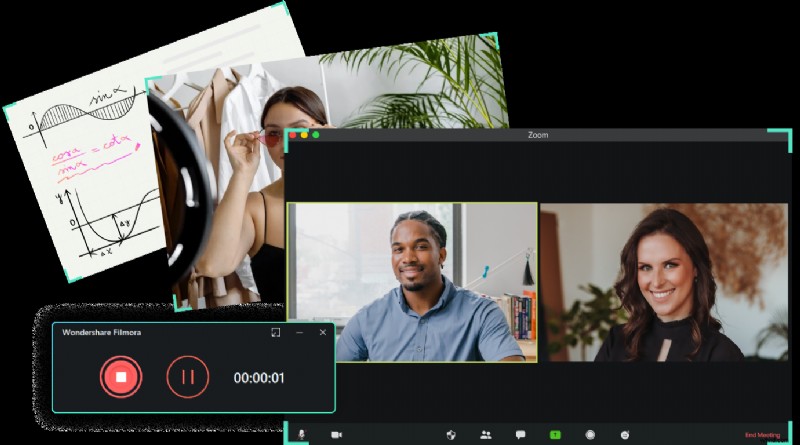
The right software combines robust recording with intuitive editing. We recommend Wondershare Filmora— it offers:
- Screen and webcam capture in one click.
- Advanced editing tools (cut, crop, color correction, motion graphics).
- AI‑powered features for automated enhancement.
- Library of royalty‑free audio and video assets.
Step 4. Connect Your Gear and Prepare the Background

Follow these simple steps:
- Plug in your webcam and confirm compatibility.
- Connect the microphone and, if using, the capture card.
- Run a quick test recording to check audio levels and video quality.
- Position the ring light behind the camera for even illumination.
- Arrange a tidy backdrop or install a green screen for post‑production flexibility.
Recording with Wondershare Filmora
- Download and install Filmora; register or log in.
- Open the main window and click Screen Recorder.
- Define the capture area and enable webcam, microphone, and system audio.
- Access Settings to adjust frame rate, resolution, and add a countdown timer.
- Press the red Record button to begin.

Editing Your Video for a Polished Finish
- Launch Filmora and create a new project.
- Import your footage via File > Import Media.
- Drag the clip to the timeline.
- Use the Crop tool for basic adjustments—crop, zoom, rotate.
- Double‑click the clip to open the full editing panel.
- Apply auto‑enhance, adjust exposure, color, and apply filters.
- Add transitions, text, stickers, and audio overlays as needed.
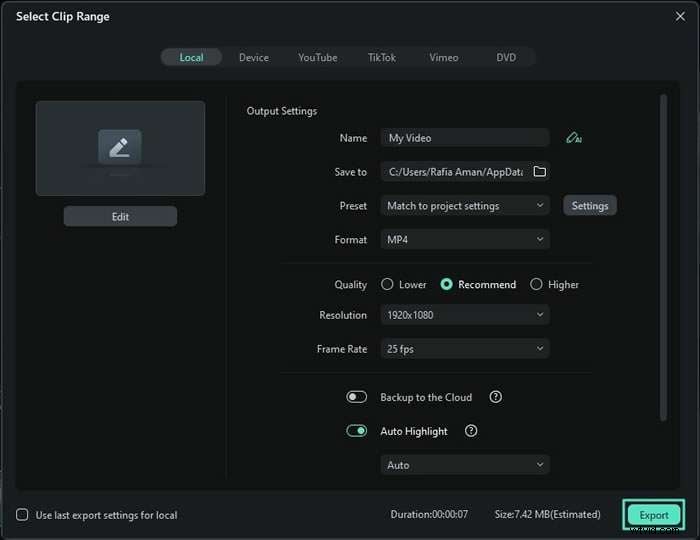
- Export by clicking Export—choose format, resolution, and destination.
- Alternatively, export directly to YouTube, Vimeo, or TikTok via the Export tab.
Conclusion
Creating a professional webcam studio at home is entirely achievable with the right setup. Invest in quality gear, optimize lighting, choose dependable software, and keep your space organized. With these fundamentals, any corner of your home can become a production powerhouse, enabling you to deliver crisp, engaging video content in record time.