Don't we all love videos?
We do, right?
In this digital era, the amount of video content we all consume is insane. It looks like almost every digital medium is heavily dependent on videos.
Why?
Because they're fun, engaging and easier to comprehend.
Studies suggest that our human brain processes visuals 60,000 times faster than text. When information is conveyed in the form of visual stories, it stays longer in our memory.
This explains why more than 69% of people prefer videos over text when they're trying to learn something new.
So, if you're a content creator who's looking forward to creating engaging videos in some of the best and easiest ways possible, you've come to the right place.
In today's post, we'll be teaching you how to create videos using a simple and cost-effective approach.
That's right.
You don't have to invest in costly recording equipment and gadgets anymore!
Just a screen recording software will help you record most of the common types of videos.
Not sure how?
Let me explain.
A robust screen recording software like Vmaker will help you record, edit, host, share and track video metrics in a single go. So, if you're looking forward to creating tutorials, screencasts, product demo videos, video presentations and how-to videos, you can easily get your job done with the help of a screen recorder. It's easy to use, budget-friendly and helps you make engaging videos in just a few minutes!!
Now, without further ado, let's go ahead and see how to create videos using a screen recording software.
How To Use a Screen Recording Software For Video Creation
Before we get into the details of how to create videos using a screen recorder, it's important to choose the best software that fulfills all your recording needs.
So, be on the lookout for a recording software that suits all your requirements. Since there are too many screen recording software available online, it's easy to get confused.
And, depending on your recording needs, your requirements might differ. For example, if you're creating screencasts or tutorial videos, you should consider investing in a recording software that allows you to draw or highlight important sections of your screen with screen annotation features.
Similarly, if you're a YouTuber, you can go for a screen recording software with customizable backgrounds and music overlay. Remember, the key is to just choose a software that suits all your requirements.
Note: We'll be explaining this process with the help of Vmaker as it's a solid screen recording and editing software that helps people record, edit, share and even track important metrics like view data. Plus, it comes with a ton of impressive features that caters to a large group of content creators.
Step 1: Sign up for Vmaker
- Head over to Vmaker's official page and sign up for Vmaker.
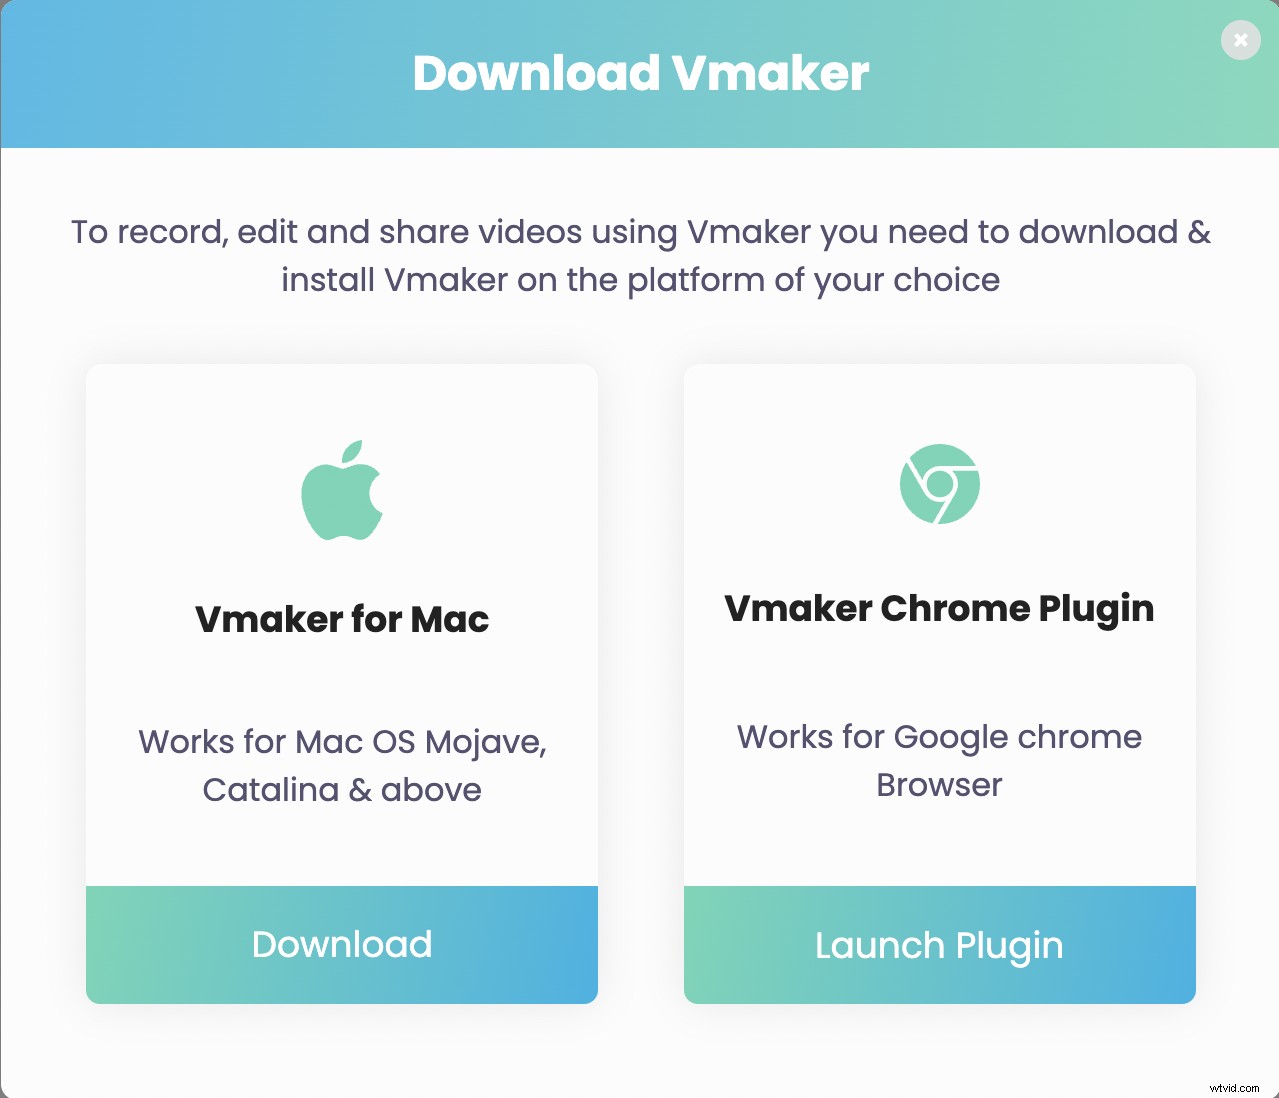
- Once you've signed up, you can log in and install the application. It’s currently available in two formats - as a Chrome plug-in and as a Mac application. If you’re a chrome user, you can add the chrome extension to your browser from the ‘Chrome Web Store’. And, if you’re a mac user, you can install the mac application to your computer.
- Pro tip: If you're using a Chrome plug-in, you can pin the application to your chrome browser. This will ensure you have easy access to the software. You just need to click on the icon when you feel the need to record videos and you can start recording!
Step 2: Set your preferences
- Now, you can set your preferences for your recordings.
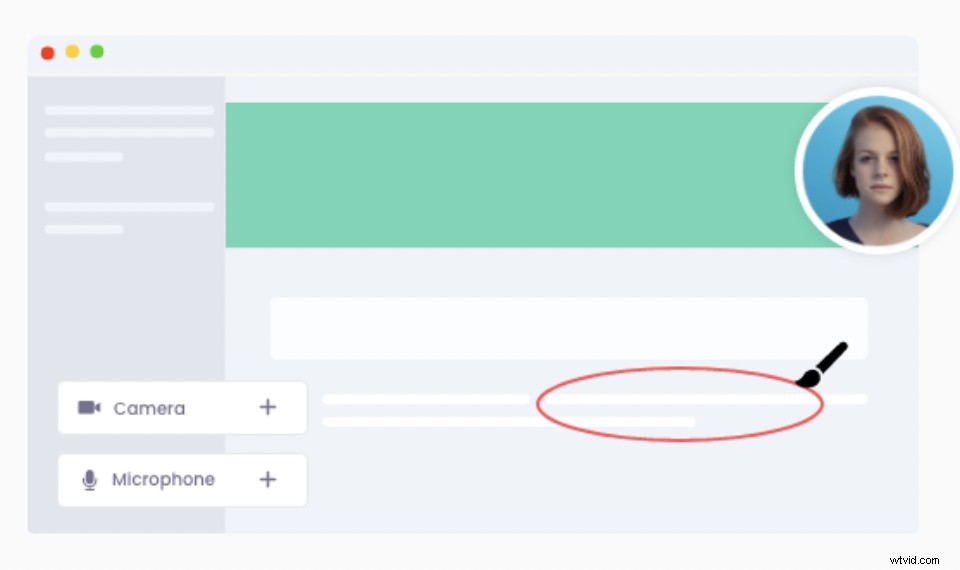
- Once you click on the plug-in, you'd be presented with a drop-down box with basic customization options. You can choose to record only your screen, webcam, or both together. By selecting both your screen and webcam, you’d be able to screencast videos with webcam overlay and voice narrations. This will be a huge benefit for tutors, content creators and video makers who look forward to creating tutorial videos, how-to videos, product demonstration videos, etc.
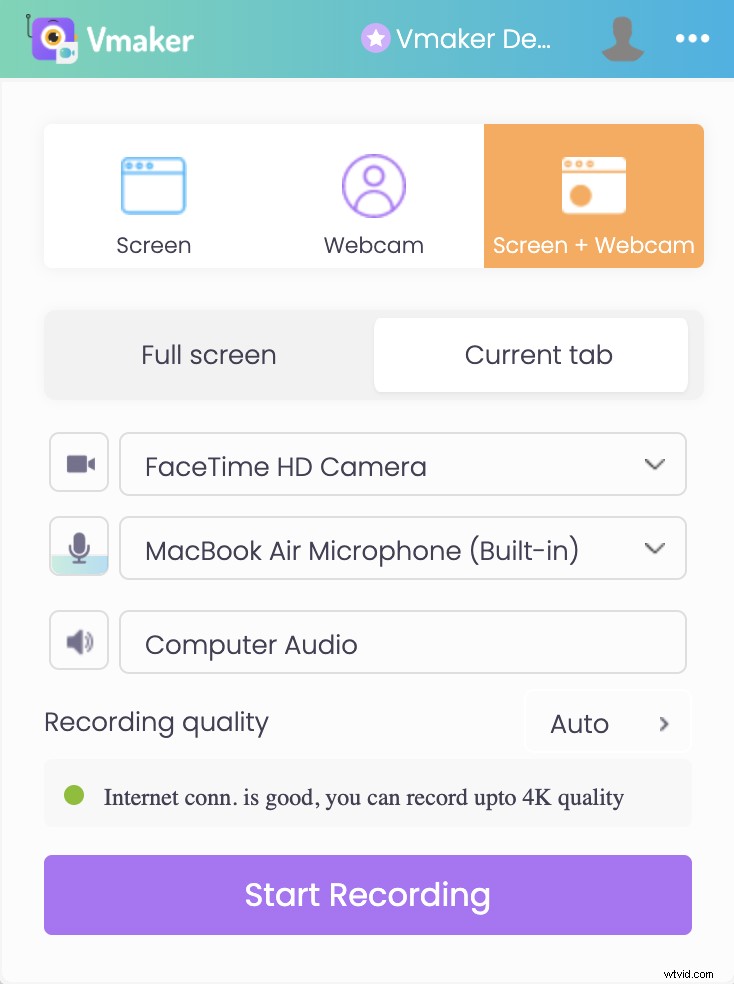
- You also have the option to choose your recording quality. And, in case you want to record from an external microphone, there are provisions for that as well.
- If you'd like to customize advanced features, you can click on the horizontal dot matrix and choose 'Preferences'.
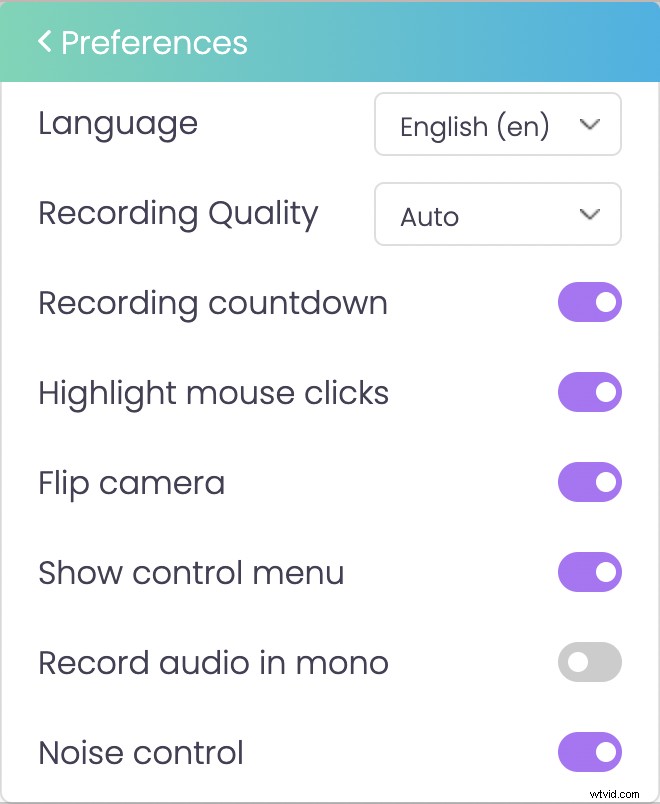
- Depending on your requirements, you can turn on features that'd be helpful for you. If you’d like to capture background noises to record game streams, tutorials and screencasts, you can enable the noise control feature.
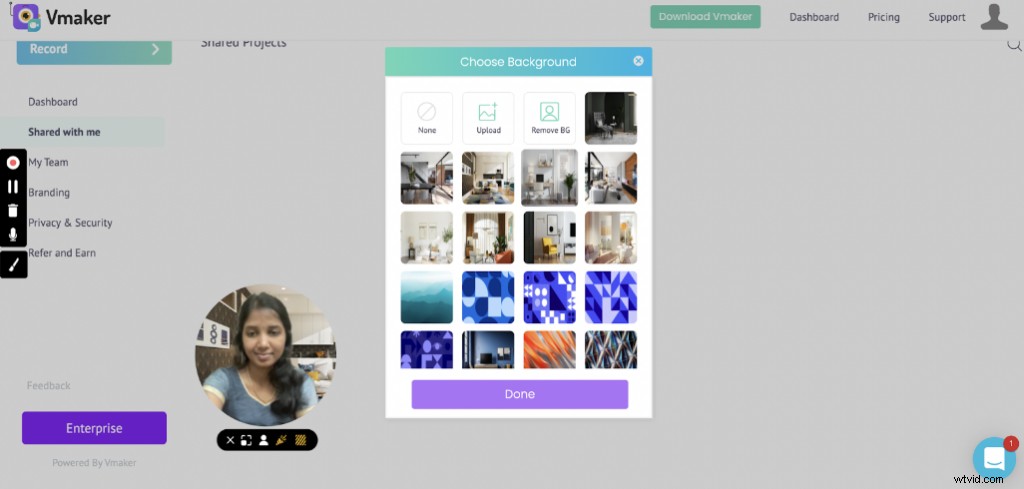
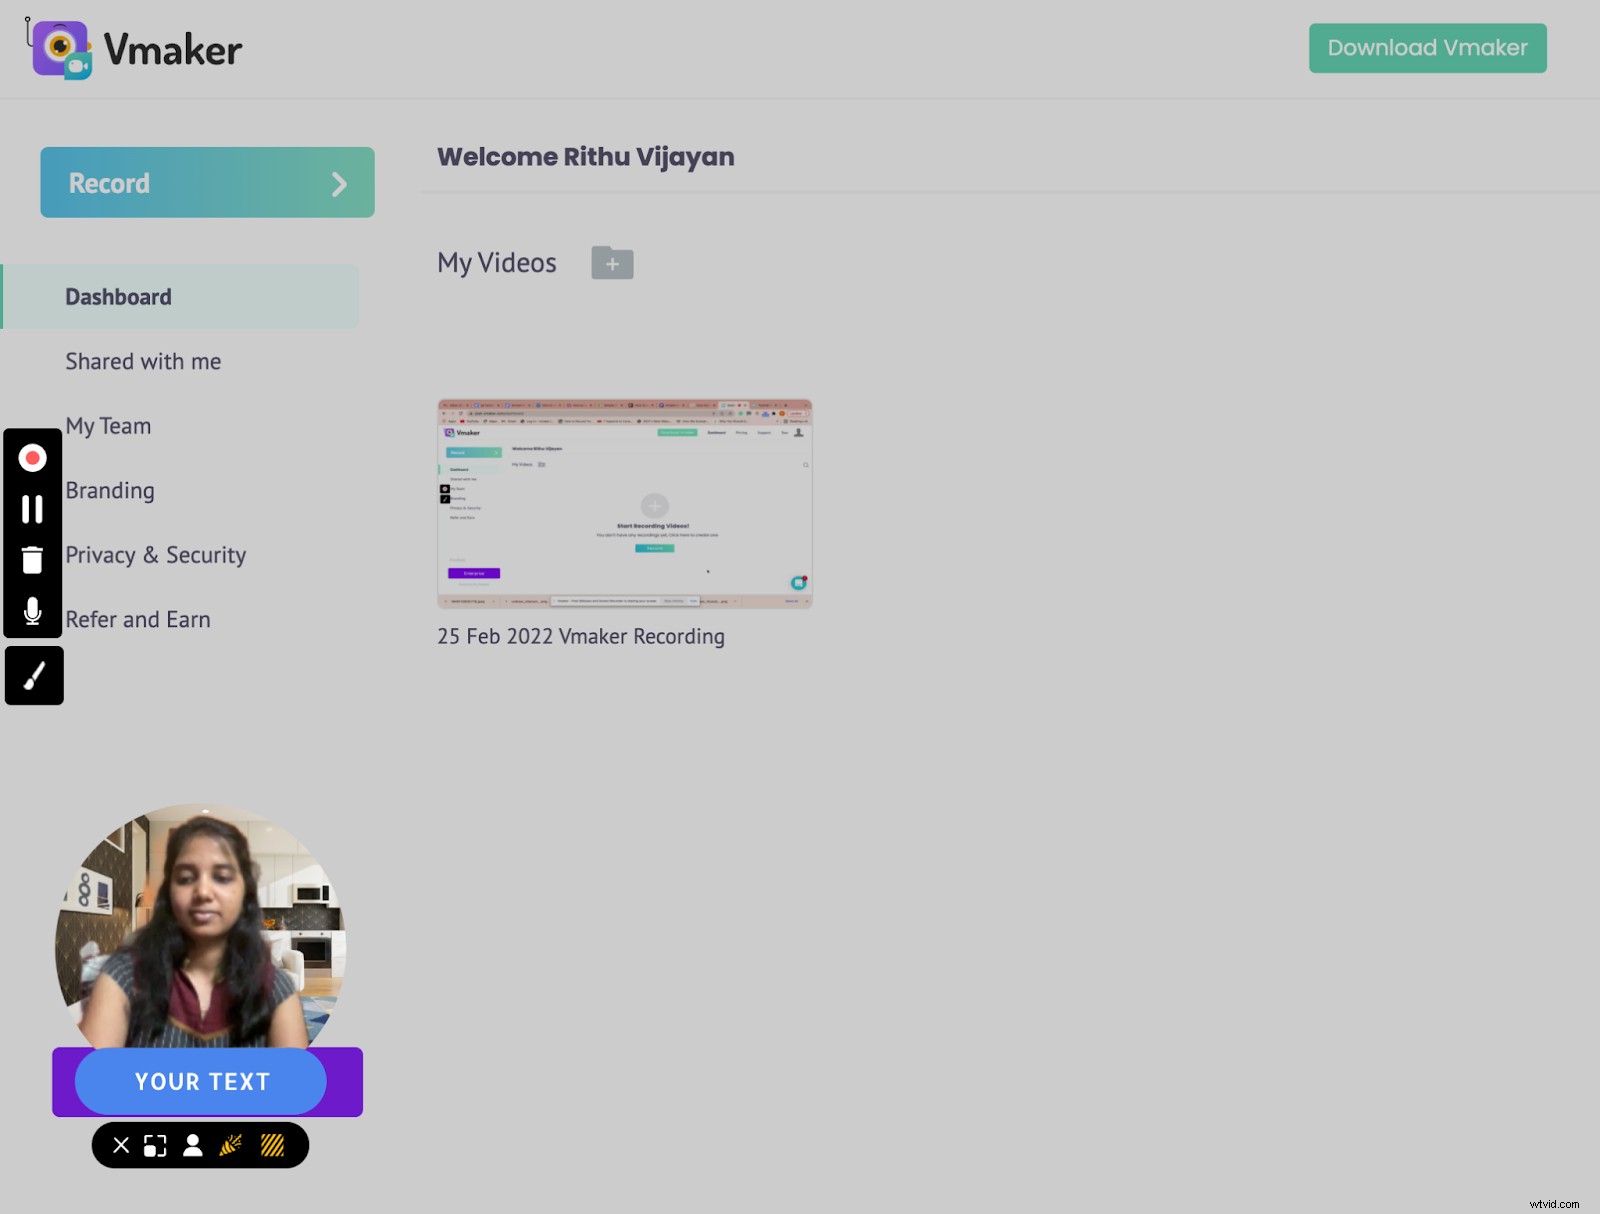
- You can also experiment with different fun elements to enhance the quality of your videos. For instance, you can try changing your background, add frames and filters to your webcam bubble, or try adding your brand name to your videos. Vmaker provides a ton of impressive features that help you experiment with different fun elements.
Here's a list of the two most used features on Vmaker:
- Virtual Background: This feature allows users to change, blur and remove the background effortlessly. You can also upload your own background image from your computer. This is a huge benefit for employees who work from home. They no longer need to hunt for the perfect spot with an aesthetic background.
- Add Text Captions: This feature allows users to add engaging captions or CTA to their webcam bubble. Vmaker also provides the option to change the shape of your webcam bubble. You can also experiment with different frames and shapes to make your videos interactive and engaging.
Step 3: Start Recording
- As soon as you're ready, click on 'Start recording'.
- A timer starts indicating that the recording is about to start.
- While recording the video, you can make use of Vmaker’s screen annotation and mouse emphasis features. While the screen annotation feature helps you draw and highlight important sections on your computer screen, the mouse emphasis feature highlights your clicks on your computer screen.
- Once you're done with the recording, click on 'Stop sharing'. The video will now be accessible in your dashboard.
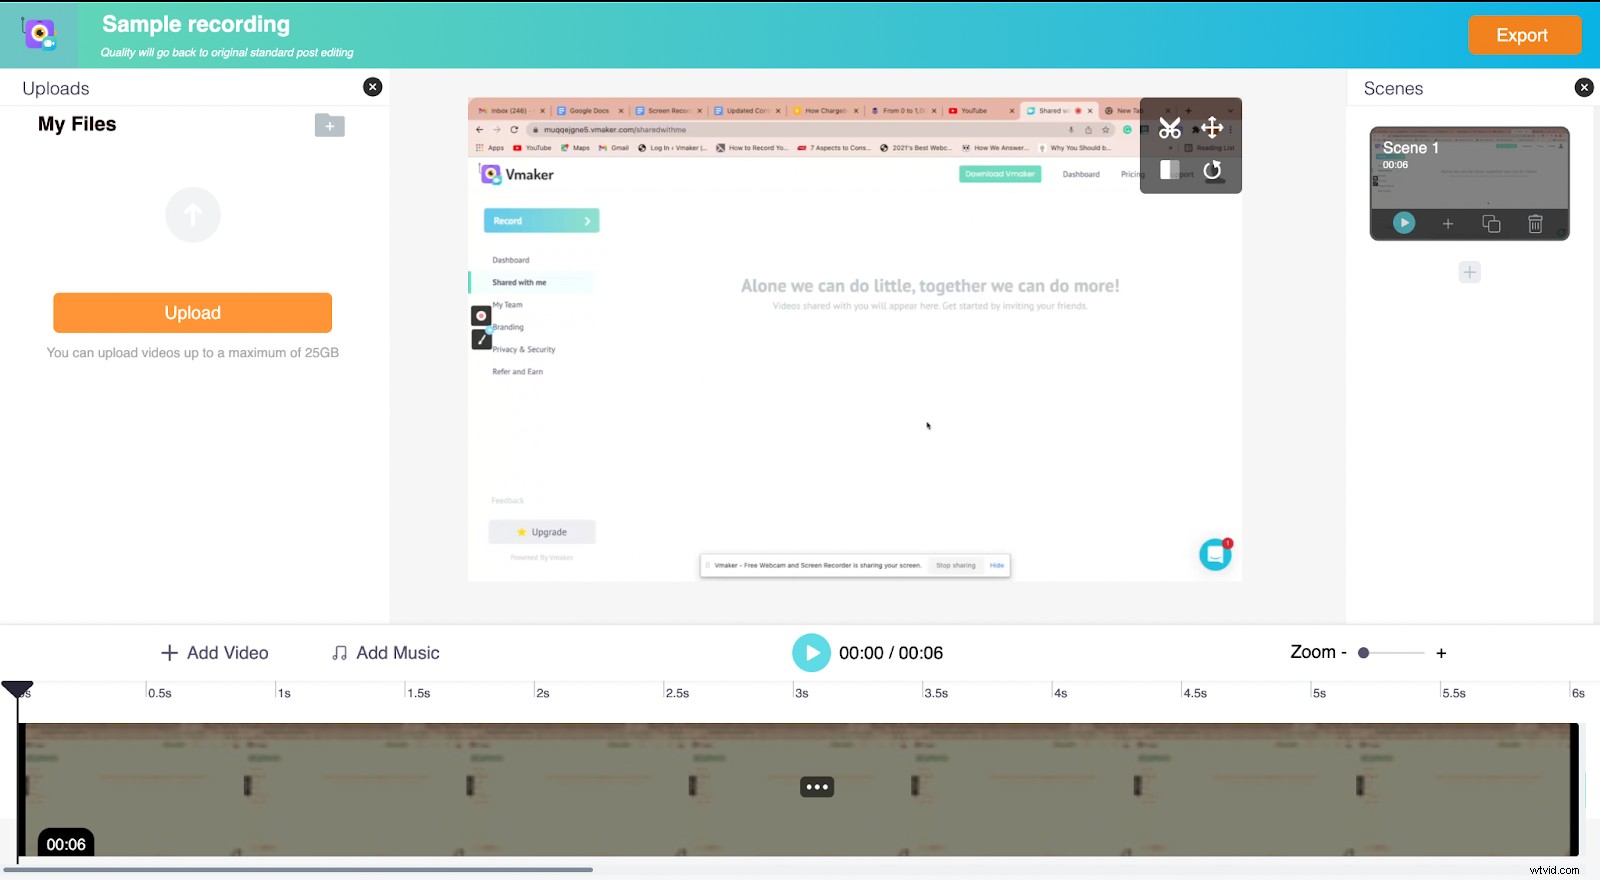
Step 4: Edit, if necessary
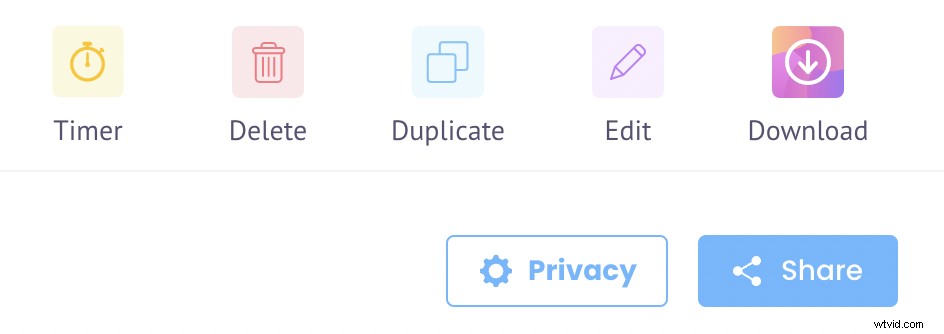
- If you did a great job recording the video, you can go ahead and download it straight away. But, if you'd like to edit it, you can do so by clicking on the 'Edit' button.
- There’s so much you can do with the built-in editor. You’d be able to crop, trim, swap, flip and rotate your videos easily. Also, if you’d like to merge external videos to your recorded video, you can do so by uploading videos from your computer to Vmaker’s Editor. This will help you give interesting touches to your intros and outros.
Step 5: Download, share or upload to socials
- That's it! You're done. That's how simple it is. Now, you're free to download, share or upload your videos to social media platforms like Facebook, YouTube, etc.
Now that you've learnt how to create engaging videos using a screen recording software, let's understand what types of videos you could create using this approach.
Different Types of Videos That Can Be Created With a Screen Recorder
Here are a few types of videos that can be created with a screen recording software. But, before starting your video creation process, make sure you create a powerful video marketing strategy!
1. How-to Videos
How-to videos grab a lot of attention and are considered to be the most popular content category on YouTube. It teaches people how to accomplish a certain task at hand. It usually is delivered in a step-by-step format to ensure it's easier for the audience to follow.
2. Onboarding and Training Videos
Training videos, similar to tutorial videos and how-to videos, focus on educating viewers about something. These types of videos are increasingly used for a variety of reasons.
A lot of organizations have started using them to streamline their onboarding processes. It makes their job easy as they just have to create a series of training videos explaining all the joining procedures involved.
Since it's self-explanatory and can be revisited any number of times, it is beneficial for both the new joiners and human resource teams.
3. Presentation Videos
Video presentations are useful in conveying complex concepts in a simple yet effective way. When people add voice overs and webcam overlays to their presentations, they’d be able to deliver complex information in an engaging way.
A screen recording software that allows people to record both their screen and webcam will help people go that extra mile and personalize their presentations.
4. Tutorial Videos
These types of videos are explanatory in nature and provide a complete run-through about a certain topic in an easy-to-understand format. It can also have a few relevant examples and illustrations to help the audience understand information better. The ideal length of a tutorial video falls somewhere in the range of 2 - 10 minutes.
5. Product Videos
Product videos focus on highlighting the product's features and benefits. It can also be used as a means to provide a demonstration of how a product works. Sometimes, people use these kinds of product videos during product launches too!
A few examples of product video formats are
- Product demo videos
- Product tutorial video
- Product ads or video promotions.
6. Reaction Videos
These types of videos are often used by YouTubers when they feel the need to record themselves reacting to other digital media. Reaction videos are nothing but screen recordings that capture the content playing on the screen along with the reactors' reactions.
7. Gameplay Videos
Gameplay videos are nothing but screen recordings of live gameplays. Since people love watching gameplays, a lot of YouTubers have started recording themselves while they play.
8. Testimonial Videos
Testimonial videos play an active role in boosting a site's credibility. If you're a business owner, displaying some genuine feedback from some of your happy customers will help you increase your conversion rates.
Conclusion
By now, you must have a complete understanding of how a screen recording software can be used for video creation.
You also know how to create them in a simple 5 step process. What more are you waiting for?
Go ahead and start recording those videos without fear!
Honestly, it's not that hard. Half of the time, our mind complicates things way too much. But, you don't have to do that.
Just use this simple approach and start recording!
Recommended Reads
- 5 Reasons Why Marketers Focus on Short Videos
- The Ultimate Guide: What is a Screencast & How to Make an Engaging Screencast?
- How To Incorporate Videos Into Your SEO Marketing Strategy
- 7 Amazing Benefits of Adding Virtual Background To Your Videos (+ 4 Bonus Tips)
- Record Youtube Live Streams Easily in 2 Simple Ways