Canon introduced Eye detection or Eye AF with the Canon EOS R but it reaches a whole new level with the Canon EOS R6 and EOS R5 as it can be set to detect either human or animal eyes and it works with both stills and video.
As our Canon EOS R 6 review explains, the Eye detection works brilliantly and can be relied upon to focus quickly even in low light. However, it’s not immediately obvious how to use the Canon Eye AF system or how to switch the subject between humans and animals. This post explains what you need to know.
How to use Canon Eye detection
01 Set the AF method to Face + Tracking
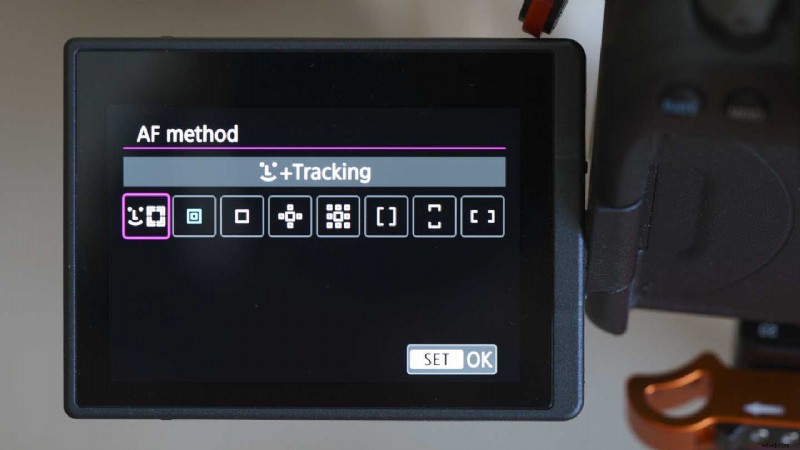
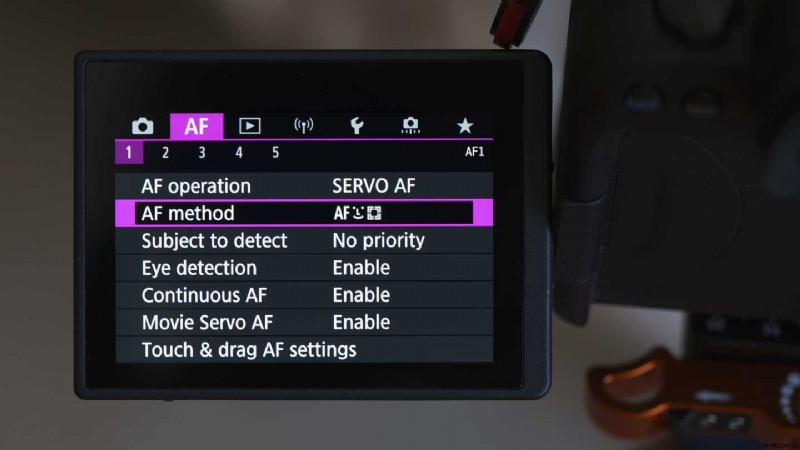
Press the menu button and navigate to the second section (AF), then tap or scroll to AF method. Tap on the first option, ‘Face + Tracking’.
02 Set the subject to detect
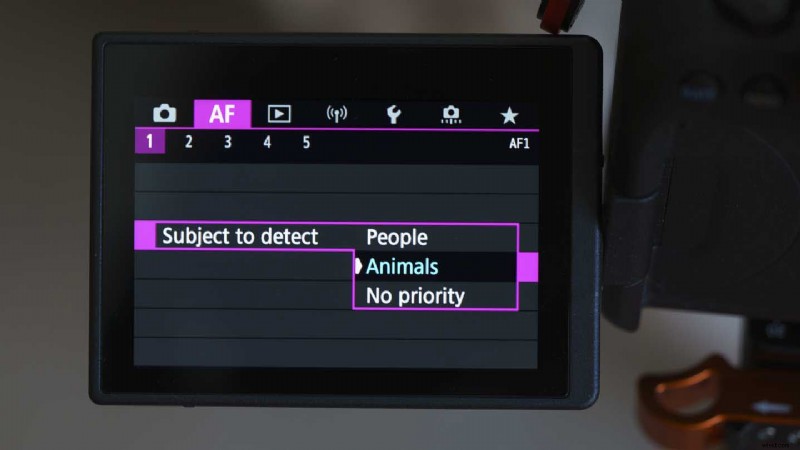
Again in the AF section of the menu, tap ‘Subject to detect’. Now select whether you want the camera to detect people or animals.
03 Enable Eye detection
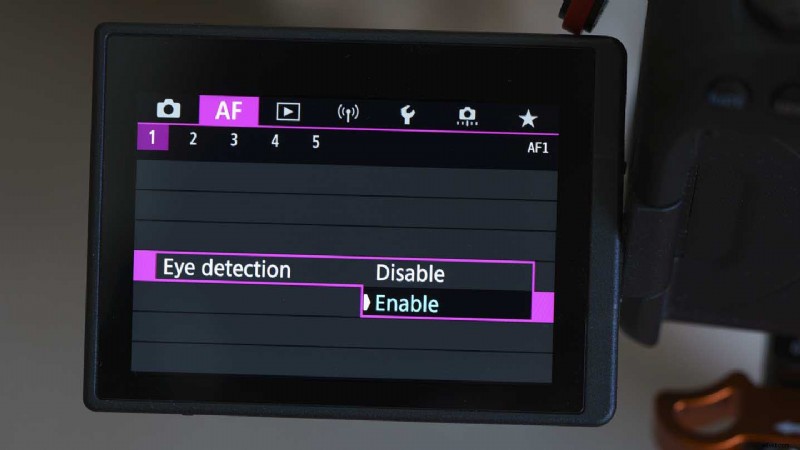
While Face + tracking AF mode sets the camera to look for faces, you need to enable the Eye detection to get the focus on the eyes. This option is also located in the first page of the AF section of the main menu.
There’s also a convenient shortcut to activate Eye detection when Face + Tracking AF is activated, you can toggle it on and off by pressing the Info button.
04 Set the AF type
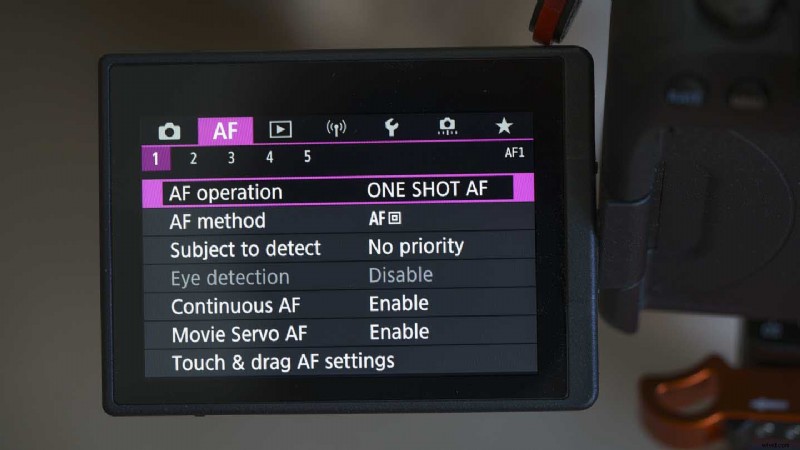
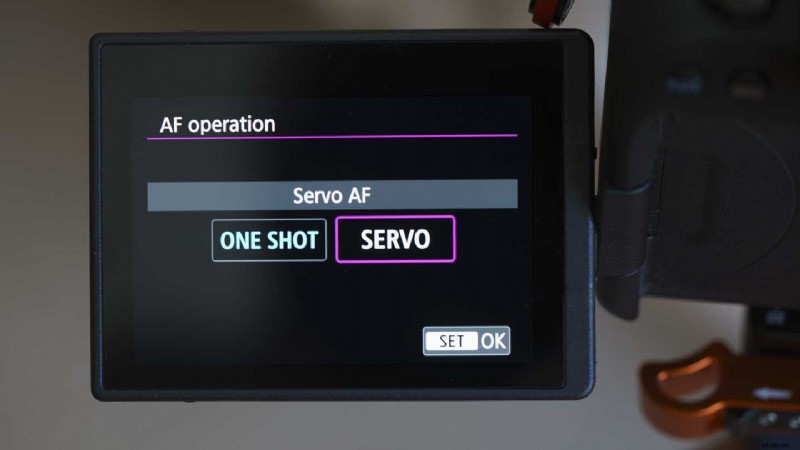
Eye detection works in Single AF and Servo AF (continuous AF) mode but as a rule, it’s better to use Servo AF mode. This can be set via the main menu or the Quick menu.
When Servo AF mode is selected, the camera attempts to focus continually while the shutter button is pressed.
05 Focus on the detected eye
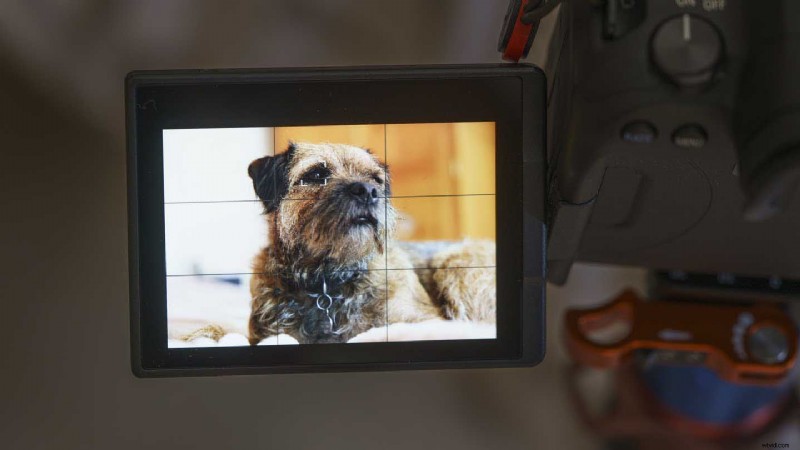
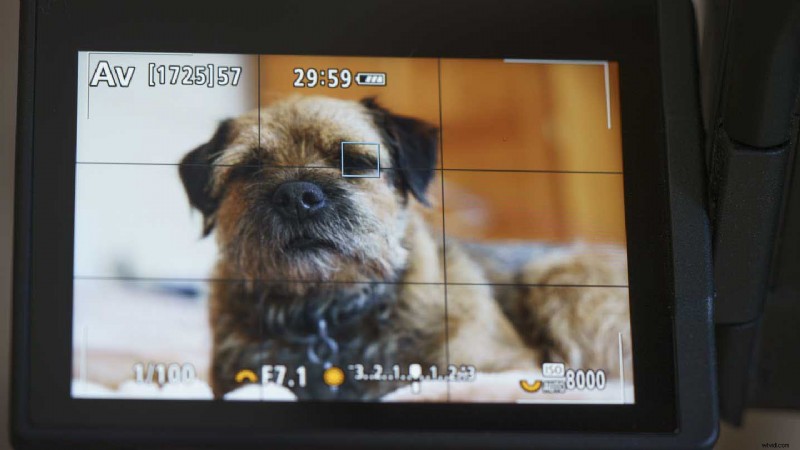
The camera will now search for eyes in the frame. It puts a white square around the eye it has detected. When you press the shutter button to focus, the square turns blue.
If the camera detects more than one eye you will see arrows either side of the selected eye. Just nudge the joystick to jump to another eye in the scene.