
Need to change the autofill information that’s used in Safari to quickly log in, fill in address data, and make payments? Editing autofill info is easy to do on an iPhone and iPad.
There are different kinds of autofill information that are stored by Safari. These include contact information like your address and phone number, payment details like credit card info, and even the login and password data that’s stored in Keychain. All combined, this makes it easy for you to quickly fill out web forms as you make purchases or log on to websites from the Safari web browser. However, this autofill data could get outdated over time if you move, change passwords, or get new credit cards. You’ll want to keep this information updated to make sure you can keep using it. So, let’s find out how you can modify autofill data, right on iPhone or iPad.
How to Edit & Update AutoFill Address, Credit Cards, etc on iPhone & iPad
Editing the autofill information is a pretty simple and straightforward procedure from iOS or iPadOS, follow along:
- Open “Settings” from the home screen of your iPhone or iPad.

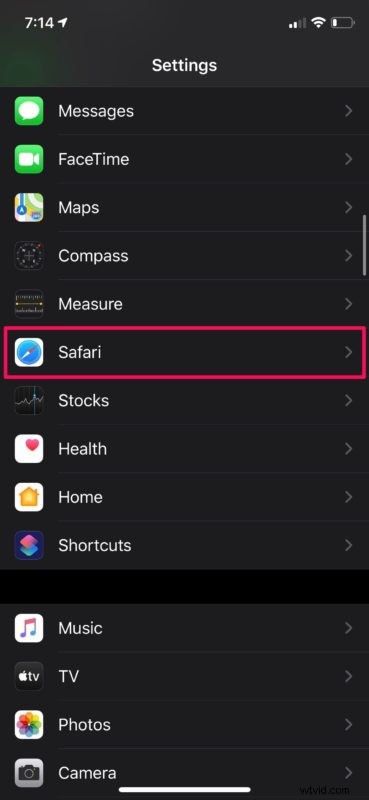
- In the settings menu, scroll down and tap on “Safari”.
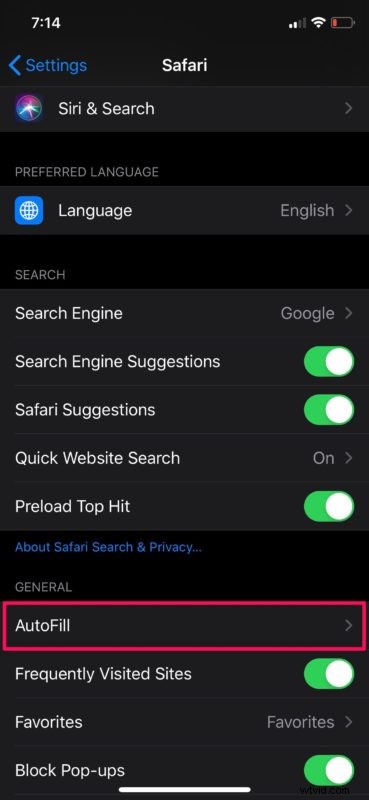
- Next, tap on “AutoFill” to manage the information stored here.
- To update contact information and address, you can type on “My Info” and choose any of the contacts stored on your device. To change credit card autofill information, tap on “Saved Credit Cards”.

- Here, you’ll be able to see all your saved credit cards. If you want to remove an expired card, tap on “Edit” at the top-right corner of the screen.

- Now, select the card and choose “Delete” to remove it from the list of saved cards.

- To add a new card, tap on “Add Credit Card” in the Saved Credit Cards section, and type out your credit card details. You can also use your camera to save your credit card number, cardholder name, and expiry date. Tap on “Done” to save this information.

That will take care of autofill address info, contact details, and credit card info, but if you want to edit autofill logins and passwords that’s done differently and we’ll cover that next.
How to Edit AutoFill Passwords on iPhone and iPad
Unlike contact details and credit card information, the password data that’s used by Safari AutoFill is stored elsewhere, within Keychain. Therefore, the steps to edit saved passwords will vary.
- Head over to “Settings” on your iPhone or iPad.
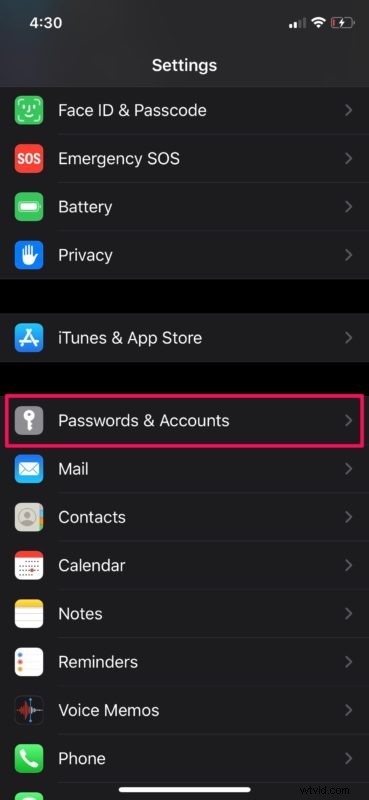
- In the settings menu, scroll down and tap on “Passwords & Accounts”.
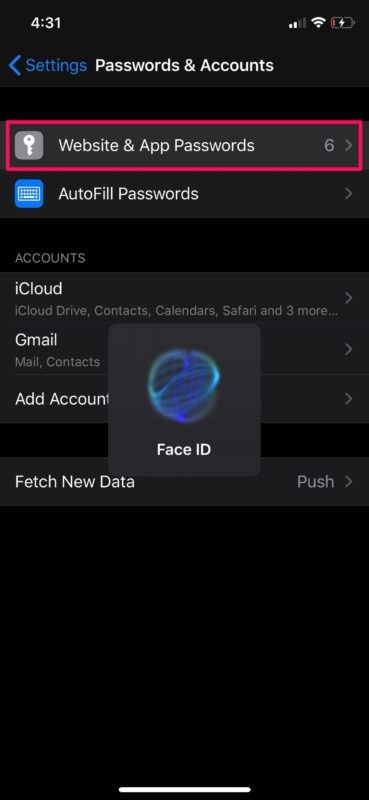
- Now, choose “Website & App Passwords”. You’ll be asked to sign in with Face ID or Touch ID depending on your device.
- Here, you’ll see all the saved passwords. To remove any of the passwords, tap on “Edit” at the top-right corner, select the account you want to remove, and choose “Delete”. If you want to make any edits to the password information, tap on the respective account as shown below.
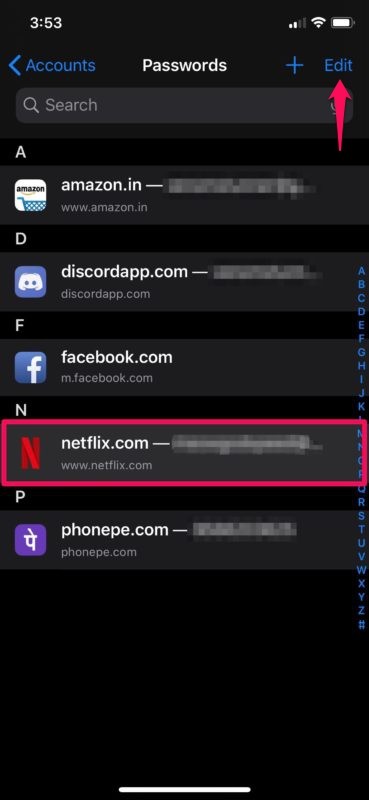
- Here, tap on “Edit” at the top-right corner of the screen.

- Now, you’ll be able to type in the updated username and password details. Tap on “Done” to save the changes in Keychain.

There you go, you can modify any login data saved on your device using this approach.
From now on, whenever you make any changes to your online account login details, contact information and address details, or get a new credit card, make sure you edit the information that’s used by AutoFill in order to keep using it while you’re browsing the web.
This obviously applies to iPhone, iPad, and iPod touch, but if you own a Mac you’ll be able to take advantage of Safari AutoFill on your macOS machine as well.
You can choose to sync the stored credit card information across all your other macOS, iOS, and iPadOS devices with the help of iCloud Keychain. Using iCloud Keychain for AutoFill is incredibly useful for owners of multiple devices and is definitely a nice perk of the cloud service. For this to work however, you need to be signed in to all the devices using the same Apple ID and make sure Keychain is enabled in the iCloud settings, on any of your devices.
What do you think of autofill? Were you able to successfully edit and modify your autofill information as needed? Don’t forget to browse through additional Autofill articles while you’re at it.