Do you want to access specific files and folders on your Windows computer right from your iPhone or iPad? Thanks to the built-in Files app, it’s fairly simple and straightforward to connect to SMB file servers which includes shared Windows folders on a network.
This feature was added to the Files app in modern iOS and iPadOS releases, so if you’re running a version older than 13 you won’t find this option available on your device. Aside from that, you can take advantage of it as long as you’re sharing folders from your Windows computer on a local network. This makes it a whole lot easier to access files that are stored on your computer without fiddling around and installing third-party apps on to your device.
Read on to learn how you can access shared folders from Windows directly on an iPhone or iPad.
How to Access Windows Shared Folders from iPhone & iPad
If you don’t have any shared folders on your Windows PC, you’ll need to turn on sharing for a folder of your choice by right-clicking on the folder -> Properties -> Sharing. Also, you’ll need to obtain your computer’s local server IP address, username and password. If you’re unsure of your server address, open Command Prompt on your computer, type “ipconfig” and note down the line that reads “IPv4 Address”.
- Open the built-in Files app on your iPhone or iPad.

- In the Browse menu, tap on the “triple-dot” icon located at the top-right corner of your screen.
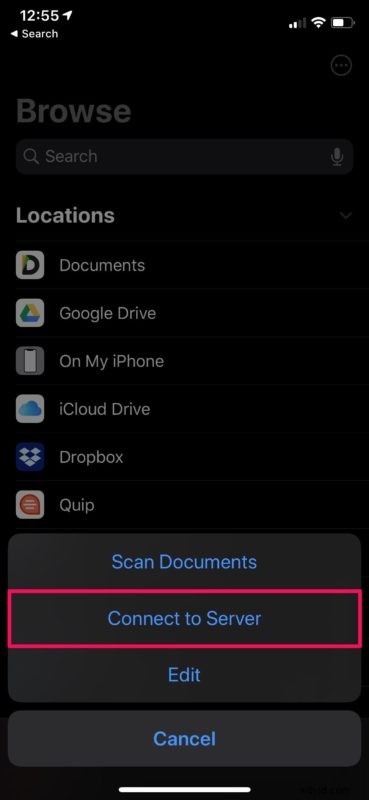
- Now, tap on “Connect to Server”.
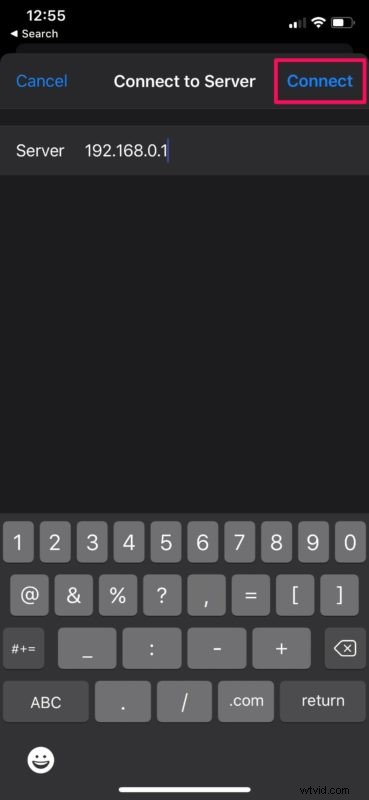
- Next, type in your local server address that you obtained from Command Prompt. Tap on “Connect”.
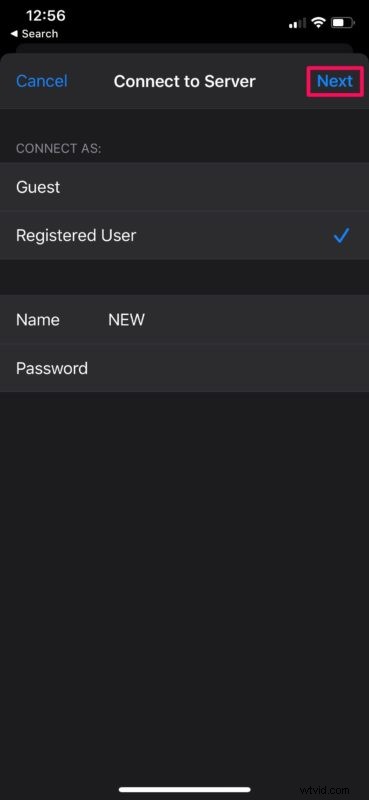
- Here, select “Registered User” and enter the local username and password for your computer. Once you’re done, tap “Next”.
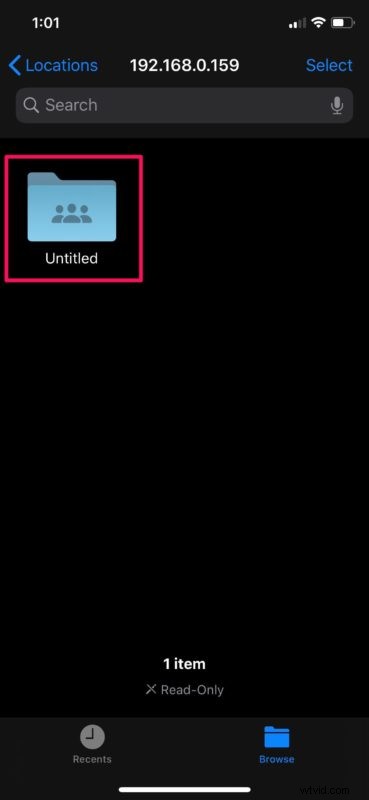
- This will establish the connection and you’ll be able to view all the shared folders on your computer. Tap on any of the folders to view its files and other contents.
- If you have the necessary permissions for a folder, you’ll be able to move, rename and delete files from the shared folder. To do this, simply long-press on any of the files as shown below.

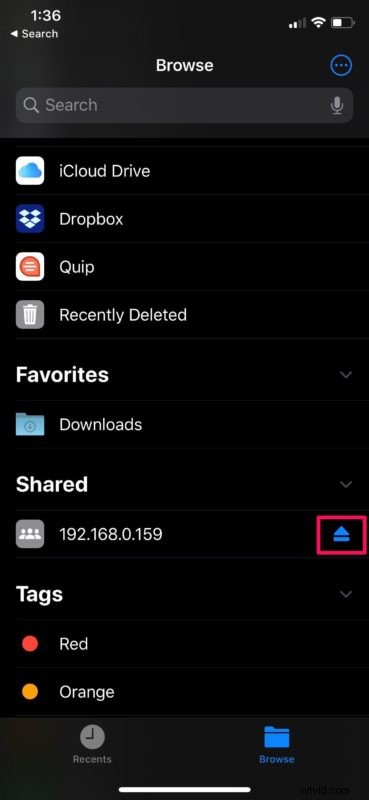
- If you want to disconnect from your computer at any time, tap on the “eject” icon located right next to your computer’s local server address in the Browse menu.
That’s pretty much all you need to do. Now you know how to access shared folders on your Windows PC, right from your iPhone or iPad.
It’s worth mentioning that while SMB is typically associated with Windows shares, many other devices also use SMB for compatibility, and you’ll also be able to connect to SMB shares from other devices in the same way aside from Windows, including Linux, Mac, Android, and many other networked devices.
If you’re unable to connect to your computer, make sure that your iOS or iPadOS device is connected to the same local Wi-Fi network as your PC. This server connection feature is made possible with SMB protocol, which stands for Server Message Block. It allows your computer to share files and printers with different devices on a network.
Until iOS and iPadOS 13 came out, iPhone and iPad owners had to resort to third-party file manager apps from the App Store to take advantage of SMB server connectivity. Now that this feature is baked into the stock Files app, there’s no need to install additional third-party apps anymore to use SMb shares.
If you own a Mac or if your computer runs Linux, don’t feel left out. You can still connect to SMB shares from iPhone & iPad with Files app in a very similar way. This feature eliminates the need to manually transfer files from a computer to your iOS device and help save a lot of storage space. And if you’re on a Mac, you can also share files between a Mac and PC by using sharing in Finder.
Did you successfully connect to your Windows computer to access its shared folders from your iPhone and iPad? If not, what issues are you facing? What are your thoughts on this handy feature that’s built into the Files app? Let us know your experiences and thoughts run the comments.