
Do you want to share a bunch of your photos with your friends and family? This can be easily done with the help of Shared Albums feature on the iPhone and iPad.
Let’s say you had a family gathering, or went on a trip with a group of people, and all of you took pictures. If you want to see the pictures others took and share the ones you captured on your iOS device, you can create a shared album and add all the photos to it. Users who are part of a shared album will be able to add pictures to the album too, making photo sharing among iPhone and iPad owners a whole lot easier.
Are you keen on setting up a shared album on your device? We’ll tell you how to create and use share photo albums on both the iPhone and iPad.
How to Create Shared Photo Albums on iPhone & iPad
Shared Albums work with or without iCloud Photos and My Photo Stream. However, you’ll need to make sure that this feature is enabled by going to Settings -> Photos -> Shared Albums. Otherwise, you won’t have the option to create a shared album on your device.
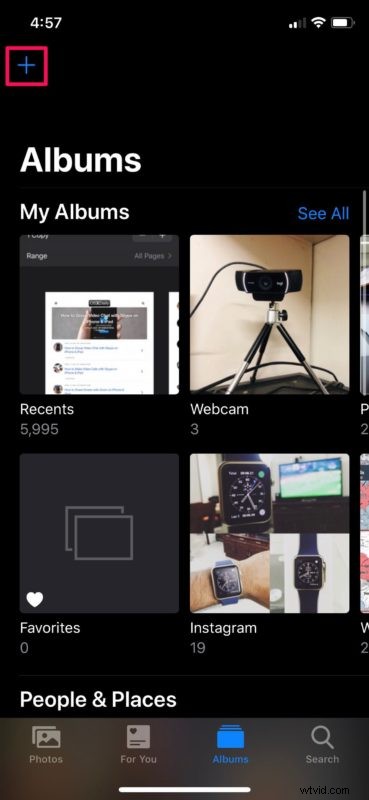
- Open the stock “Photos” app on your iPhone or iPad. Head over to the Albums section and tap on the “+” icon located at the top-left corner.
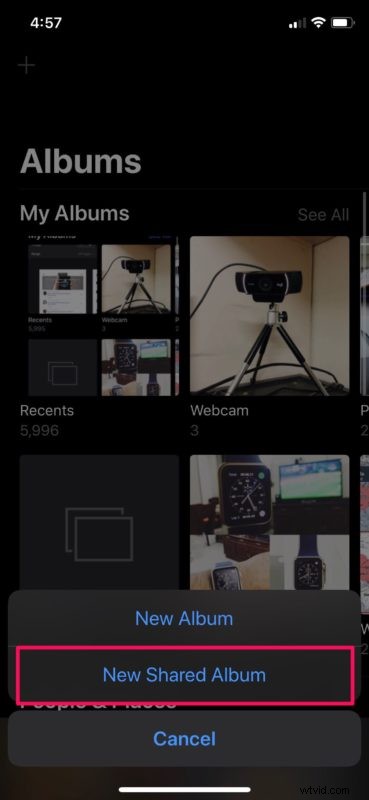
- Now, select “New Shared Album” as shown below.
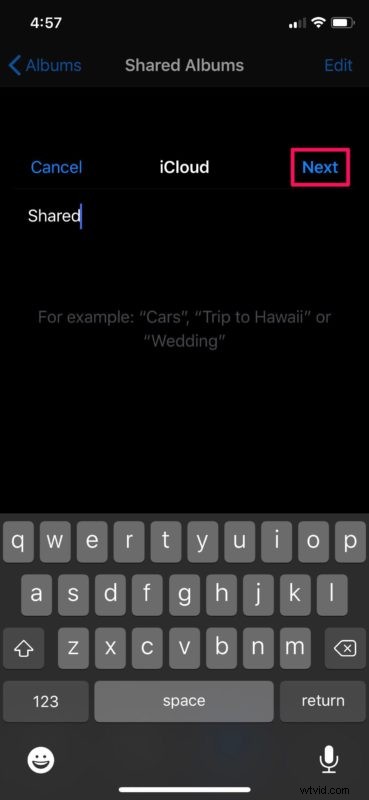
- Next, give a name for your new shared album and tap on “Next”.
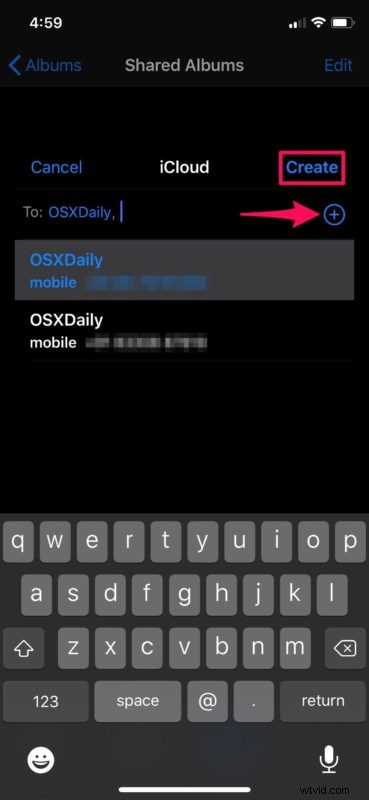
- In this step, you’ll be able to choose the people you want to add to the album. Tap on the “+” icon to browse through your contacts list. When you’re done, tap on “Create”.
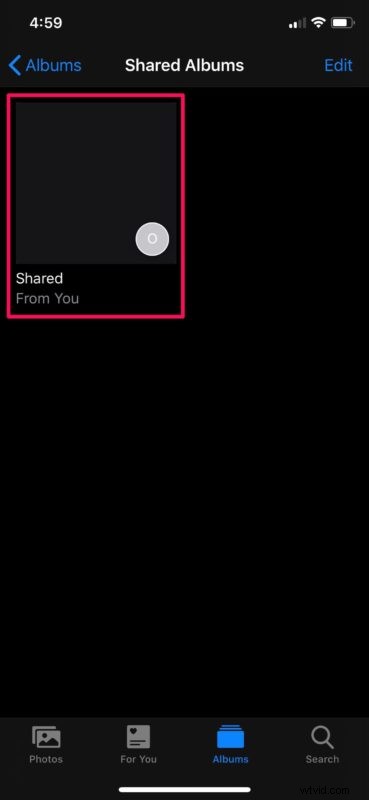
- Your new shared album has been created. Now, let’s add photos to it. Tap on the album to open its contents.
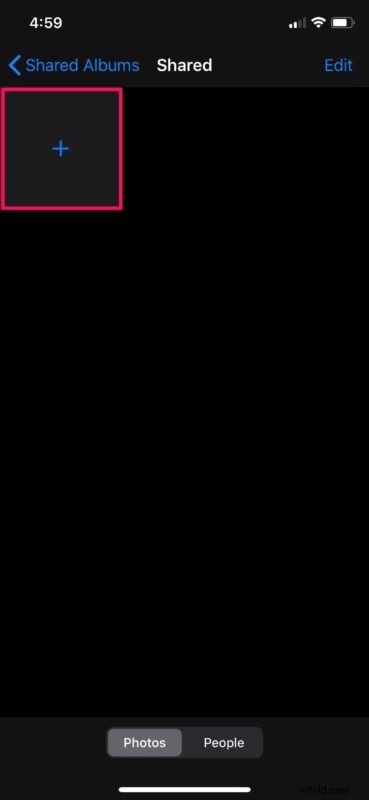
- Tap on the “+” option as shown in the screenshot below to add photos to the album.
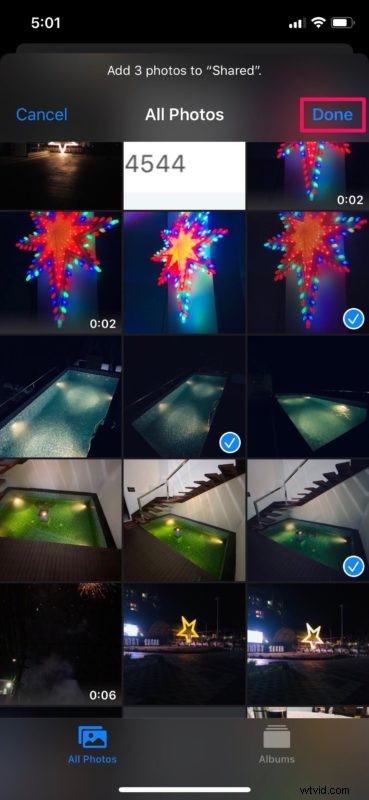
- This will open your entire photo library. You can browse through it and select the ones you want to add. Once you’ve selected all the photos, tap on “Done”.
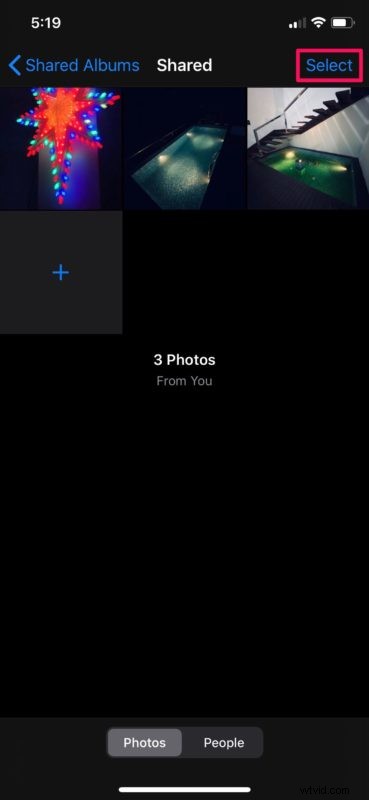
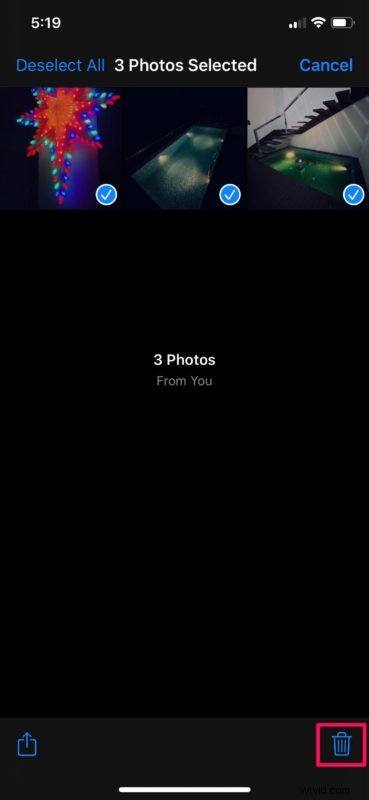
- As you can see here, the photos you selected have been added to the album. These pictures can be viewed by the people you added. However, if you want to remove photos from the album, tap on “Select”.
- Simply select the photos you want to stop sharing with others and tap on the “delete” icon to remove them permanently. These pictures will still be stored in your iPhone or iPad photo library and you can add them back later on, if you prefer.
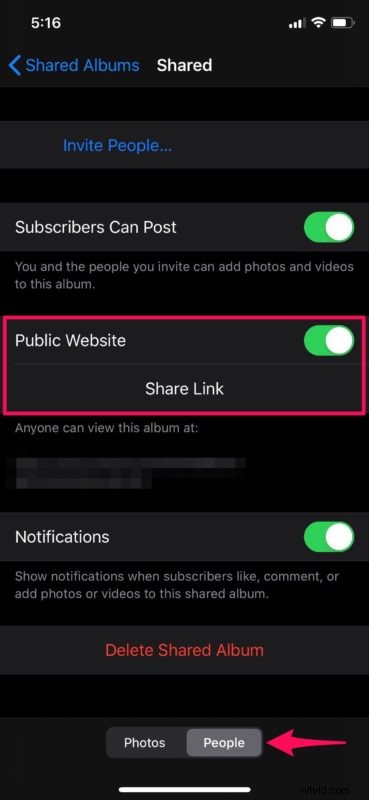
- If you head over to the “People” tab within your shared album, you’ll have the option to grab a public link to access the album. Since it’s an iCloud.com link, it lets anyone access your photos from a web browser.
There you go. Now you know how to create and manage a shared album on your iPhone & iPad.
From now on, you don’t have to worry about having send a bunch of pictures back and forth using AirDrop or other social media apps. Anyone in the Shared Album are free to add their own photos, videos and comments at any time. This permission can be changed in the Album’s privacy settings, if necessary.
If one of the people you’re trying to share your pictures with don’t have an Apple device, they can make use of the public iCloud link to view your photos on the web from an Android smartphone or Windows PC. However, if you want to keep the album private with just the people in your group, request them to not share the link with anyone else.
A shared album can hold up to 5000 photos and videos, which is a lot, but if you’ve reached the limit, you’ll need to delete some of the photos to make space for new ones. Or you can simply create a new photos album to accommodate the additional pictures. Although these photos are stored securely on iCloud, they don’t count against your iCloud storage limit, but if you do plan on using iCloud Photos on your devices you probably will want to shell out for a larger photos storage plan.
We hope you managed to create your first shared album on your iPhone and iPad to dump all the pictures you took from a trip or event. How often do you find this feature useful? Do let us know your thoughts and opinions in the comments section down below.