Audacity is a capable free DAW with all the basic tools and features you’ll require as a beginner audio editor, including splitting and merging audio tracks which is very straightforward within the software. In this article, we’ll cover both splitting and merging audio in Audacity and also a bonus tip on how to quickly split your audio track into separate audio clips.
To split audio in Audacity, follow these steps:
- Using Selection Tool (F1), mark where you want to split your audio.
- Go to Edit>Clip Boundaries>Split OR press Ctrl+I
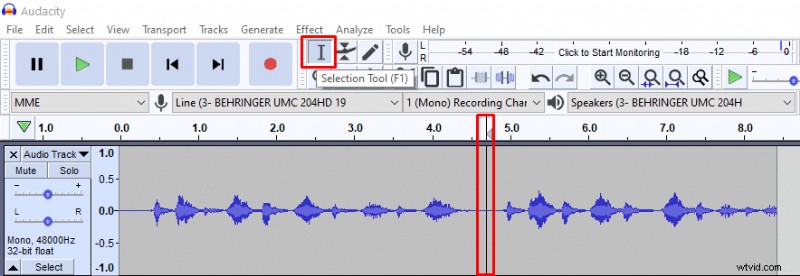 Using Selection Tool to mark where you want to split audio track in Audacity
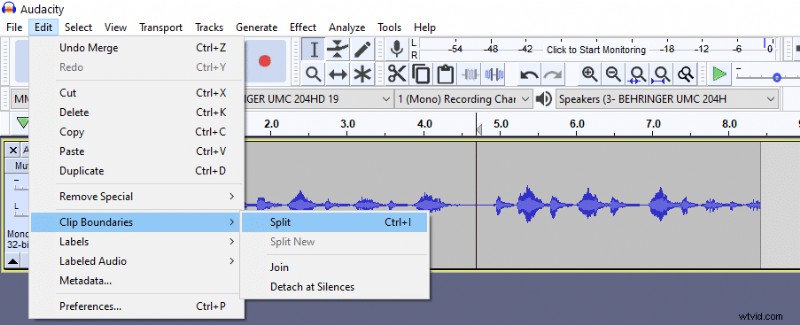 Splitting audio in Audacity (Ctrl+I)
How to merge audio after splitting?
To merge audio tracks after you’ve split them put the tracks together using Time Shift Tool. Then click on the line separating the two tracks to make it dissapear and you’re done.
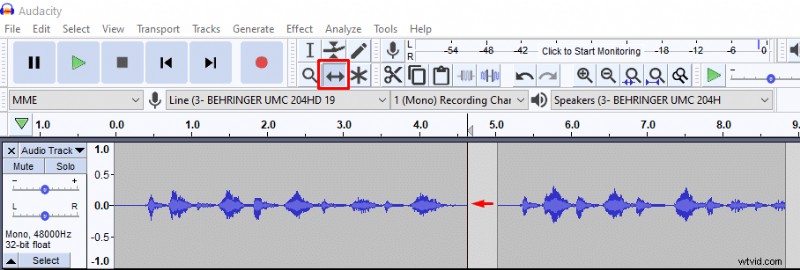 Joining tracks with Time Shift Tool
 Merging tracks by clicking on the line
How to split audio at silent parts in Audacity?
If you want to split audio into audible parts only, then you have the option to remove silent parts and split an audio track into smaller chunks. It’s very useful when recording your lines for a voice-over project.
Here’s how you can remove silent parts and split audio in Audacity:
- After recording, go into Multi-view mode (Audio Track>Multi-view). Multi-view will show you where the silent parts are, which you can’t see if looking into waveform only.
- Select your whole recording and apply noise gate effect (Effect>Noise gate). Noise gate is not available by default; you’ll have to install it as a plug-in. Alternatively, you can apply Amplify effect to parts that you want to make silent, but that’s a longer route.
- In noise gate, apply a maximum (-100dB) Level reduction and click OK. Now the background noise will be deleted and you’ll have silent parts in your audio.
- Go to Edit>Clip Boundaries>Detach at Silences and you’re done.
 Selecting Multi-view
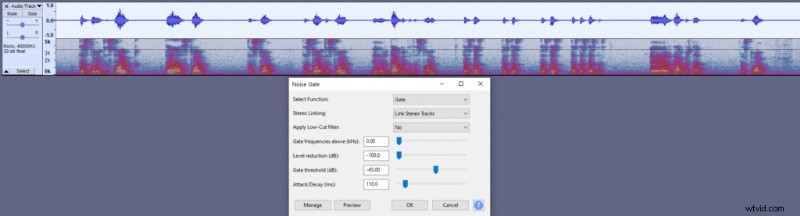 Using noise gate to remove background noise and make silent parts.
 Silent parts created with the noise gate effect.
 Edit>Clip Boundaries>Detach at Silences
 Audio after removing silent parts in Audacity.