You can quickly remove breaths from audio recording using Noise gate and Noise reduction tools in Adobe Audition. You can also remove breaths manually which is a more time consuming method, but might suit you if the recording is short.
If you want to avoid breaths altogether you can find more information in this article.
How to remove breaths using Noise gate in Adobe Audition?
Adobe Audition has a built-in noise gate called AutoGate which is perfect for quickly eliminating most if not all of the breaths from audio recordings.
Here’s how you can remove breaths using a noise gate in Adobe Audition:
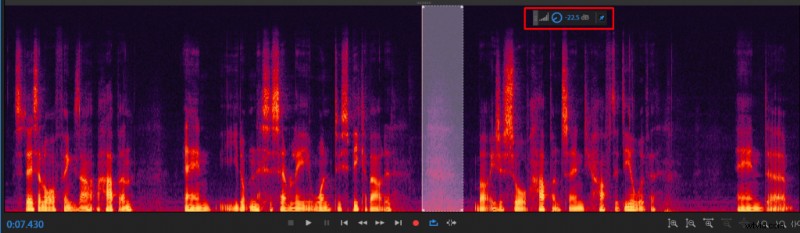
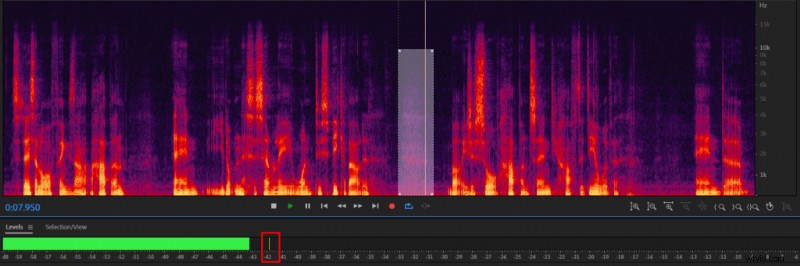
- Measure the volume of the loudest breath in your recording
- Select the whole audio recording
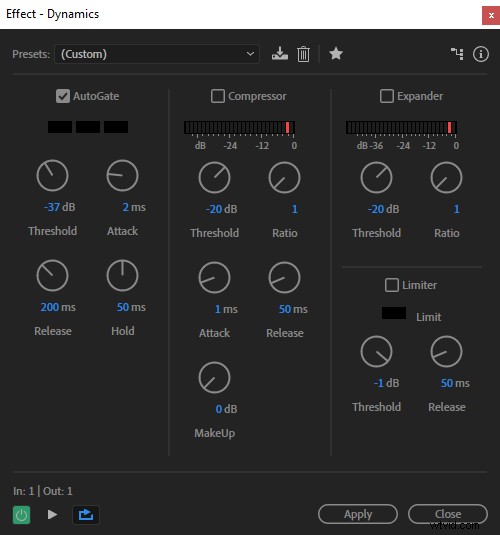
- Go to Effects -> Amplitude and Compression -> Dynamics
- Check the box by ‘AutoGate’ and uncheck the rest
- Set Threshold ~5dB higher than the loudest breath, Attack at 2 ms, Release at 200ms, Hold at 50ms
- Click Apply
How to remove breaths using Noise Reduction in Adobe Audition?
Adobe Audition has one of the best noise reduction tools which is capable of easily removing breaths within your recording with a few clicks. Still, noise gate is a preferred method for removing breathing noise since it doesn’t inadvertently delete vocal frequencies, of which noise reduction tool is guilty.
Noise reduction, however, is capable of removing breaths even if they overlap with vocals. Noise gate can only remove breaths in between words, although that’s usually enough. Hence, I would only apply noise reduction tool if noise gate is unable to completely remove breaths.
Here’s how you can remove breaths using Noise reduction in Adobe Audition:
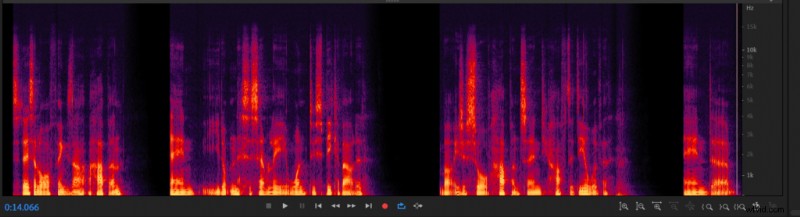
- Select the loudest breath in your recording
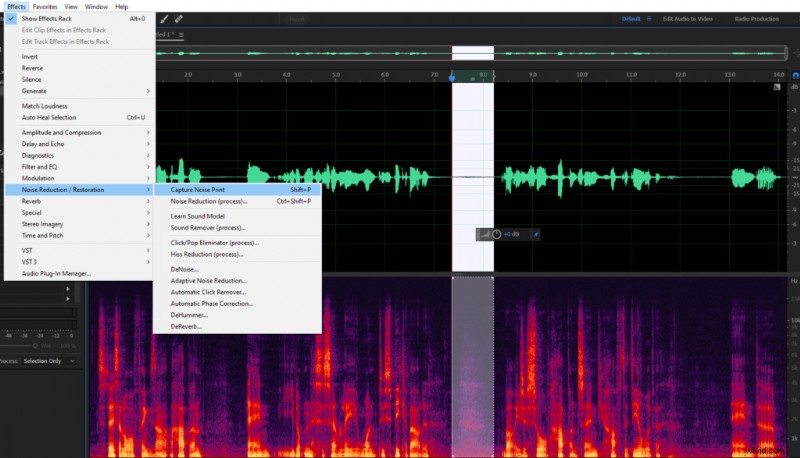
- Go to Effects -> Noise Reduction / Restoration -> Press Capture Noise Print
- Select the whole recording
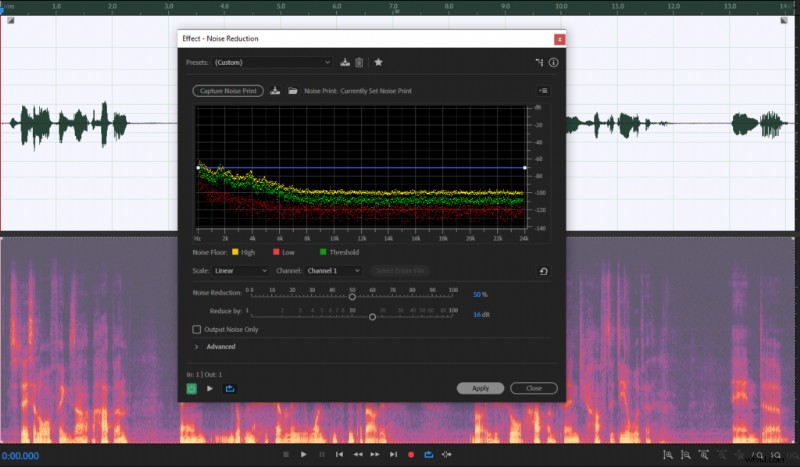
- Go to Effects -> Noise Reduction / Restoration -> Noise Reduction (process) -> click Apply
- Reapply the effect if there are still some breaths left
How to remove breaths manually in Adobe Audition?
You can also remove breaths manually by going over every breath, selecting them and applying Amplify effect which is built-in into Adobe Audition timeline. This method is good if you have a short recording or if there are a couple of breaths left after applying noise gate or noise reduction tools.