
In this step‑by‑step guide, we’ll walk you through adding subtitles to your YouTube videos by creating and uploading an SRT subtitle file.
Before we dive in, let’s clarify why subtitles matter. They boost watch time, improve retention, and expand your reach—essentially acting as SEO for your video content. Whether you’re on YouTube, LinkedIn, Facebook, Vimeo, or TikTok, subtitles can dramatically increase engagement.
Why Subtitles Matter on YouTube
Adding captions gives you a competitive edge. Subtitles make your videos discoverable, accessible, and inclusive:
- Improved search rankings—YouTube’s algorithm reads the text.
- Global reach—translate captions into any language.
- Accessibility—deaf and hard‑of‑hearing viewers can follow along.
- Higher watch time—viewers stay longer when content is easier to consume.
Subtitle Formats You Can Use
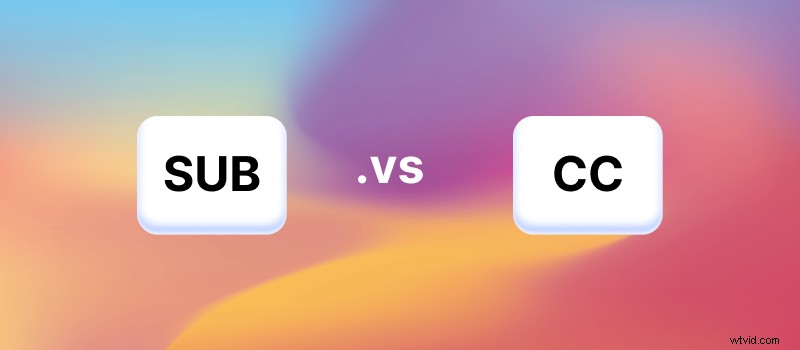
There are two main types of captions you can add to YouTube:
- Closed captions (SRT) – Separate subtitle files that viewers can toggle on or off. YouTube indexes these files, so they improve SEO.
- Burn‑in subtitles (SUB) – Text permanently embedded in the video. While always visible, they’re treated as pixels by YouTube and don’t aid discovery.
Below we’ll focus on creating an SRT file, the most flexible and SEO‑friendly option.
Creating an SRT File with Streamlabs Podcast Editor
Streamlabs Podcast Editor is a free, browser‑based tool that transcribes and exports subtitles in .srt format. No downloads required.
#1: Upload Your Video
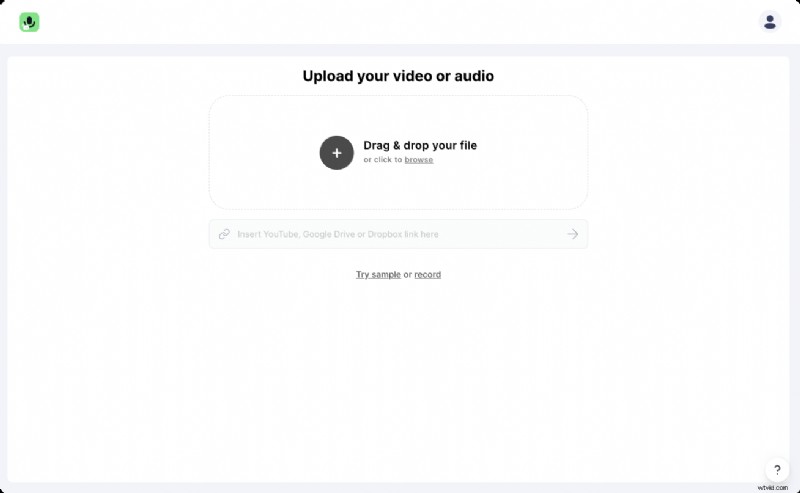
Drag and drop your file into the editor, or paste a link from YouTube, Google Drive, or Dropbox. If you need a new recording, use the built‑in webcam and screen recorder.
#2: Edit the Transcribed Text
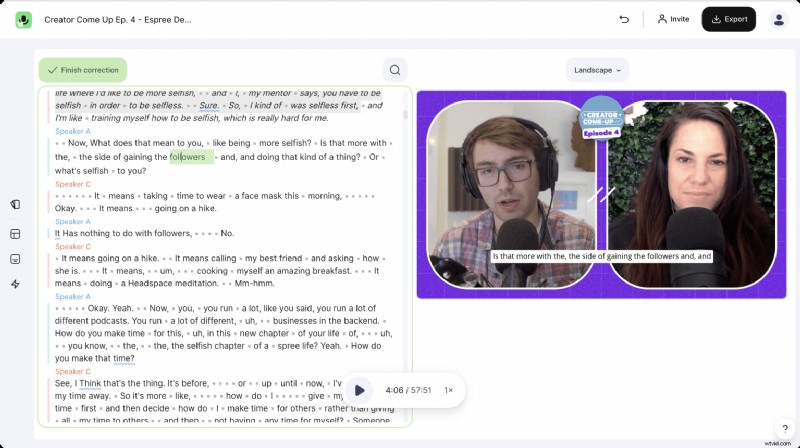
The editor auto‑transcribes your video—accuracy is typically around 98%. Review the text and make any necessary corrections; use the arrow keys for quick navigation.
#3: Export the SRT File
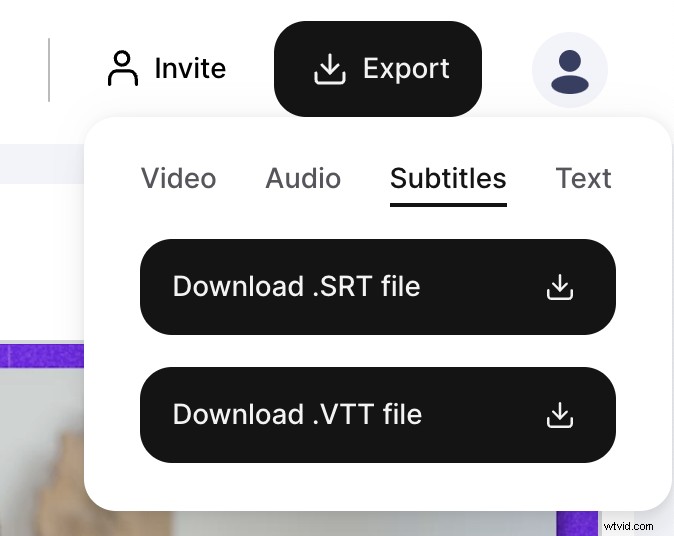
Click Export → Subtitles → Download .SRT file. You can also download VTT or TXT versions.
Uploading the SRT File to YouTube
#1: Open YouTube Creator Studio
Log in to your channel and click Subtitles in the left‑hand menu.
#2: Add Your Subtitle Language
Select the video, click Add Language, choose the language of your subtitles, and then click Add in the subtitle section. A pop‑up will appear where you can upload your SRT file.
That’s it—your video now includes closed captions that viewers can enable at their discretion.
Optional: Burn‑In Subtitles
If you prefer permanent subtitles, upload the burned‑in file directly in Streamlabs Podcast Editor before publishing.
Subtitles not only enhance accessibility but also help your content perform better in search results.
For more tips on video editing and media uploads, visit Upload Media Files in Video Editor.