
This guide walks you through the process of embedding subtitles directly into your video, ensuring they remain visible on every platform and device.
Last Updated on October 30, 2025
While many creators rely on SRT files for subtitles, hardcoding them—burning the text into the video frame—provides a more reliable solution across platforms and players. In the sections that follow, we’ll explore how to create hardcoded subtitles efficiently.
Why You Should Embed Subtitles Permanently
Platforms such as YouTube, LinkedIn, Vimeo, and Facebook allow SRT uploads, but many others do not, and even where they do, playback engines may not support them. By burning subtitles into the video, you guarantee that every viewer sees them, regardless of player settings or platform limitations.
Hardcoded captions offer several key benefits:
#1 Increase Attention
The first few seconds of a video are crucial, especially on fast‑scrolling social feeds. Subtitles capture the viewer’s eye, convey context instantly, and improve comprehension, leading to higher engagement, longer watch times, and increased interaction.
#2 Universal Compatibility
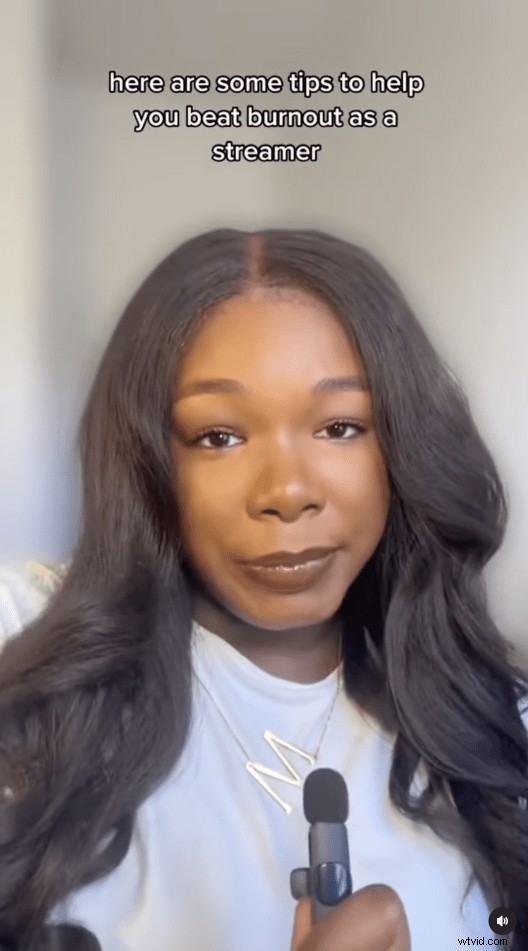
Once burned in, subtitles are visible on any platform—YouTube, Vimeo, Facebook, TikTok, LinkedIn, and beyond—without requiring viewers to enable them manually. For international audiences, you can embed subtitles in additional languages directly into the frame.
#3 One‑Click Distribution
Create the video once with embedded subtitles and reuse it across all channels. This eliminates the need to add subtitles separately for each platform, saving time and ensuring consistency.
With these advantages in mind, let’s dive into the process of hardcoding subtitles.
How to Hardcode Subtitles Online with Streamlabs Podcast Editor
Historically, embedding subtitles required complex video‑editing software and meticulous manual timing. Streamlabs Podcast Editor simplifies the workflow by automatically transcribing your video and rendering the final product in the cloud, so you don’t need a high‑end PC.
#1 Sign Up & Upload Your Video
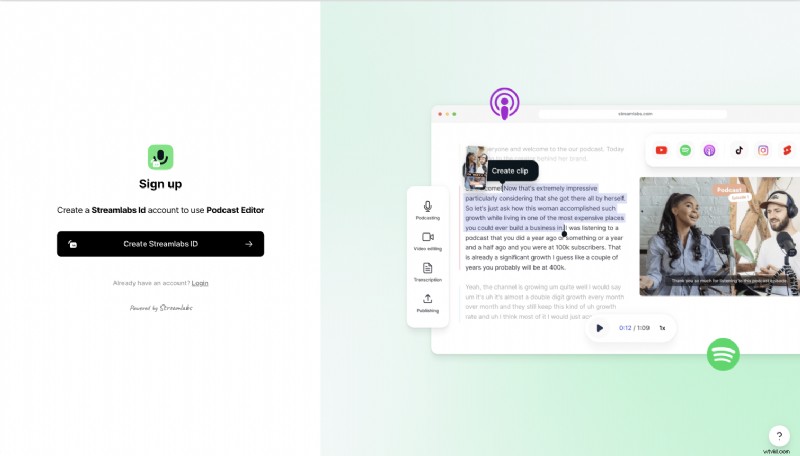
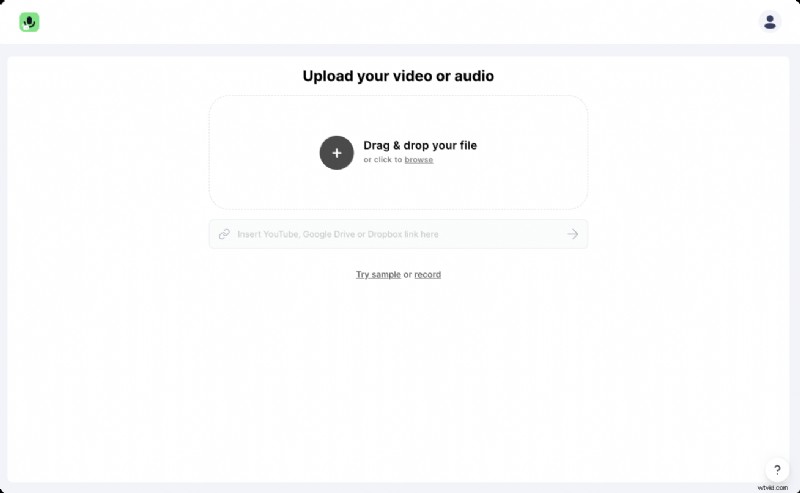
Begin by visiting the Streamlabs Podcast Editor sign‑up page and creating a free account—just your name, email, and password. You can also use your Google credentials. Once registered, upload your video by dragging and dropping it into the editor. If you need to record new footage, the platform offers built‑in webcam and screen‑recording tools.
#2 Activate Subtitles
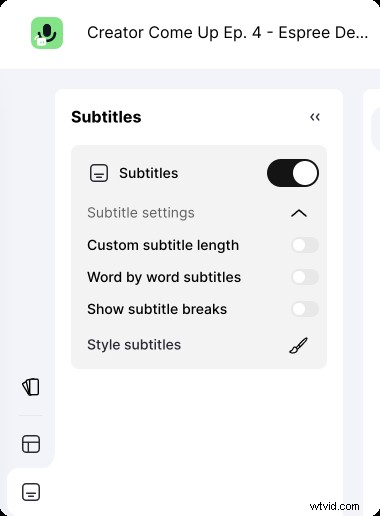
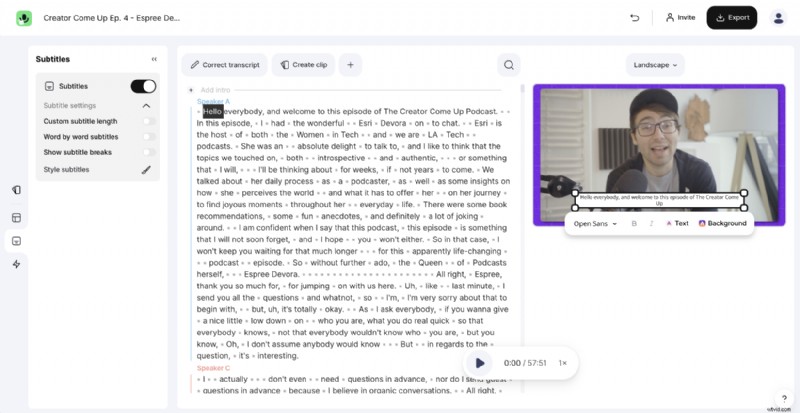
After the automatic transcription completes, click the "Subtitles" button in the top menu. You can choose between static subtitles (sentence‑by‑sentence) or dynamic subtitles that appear word by word.
#3 Style and Customize Your Subtitles
Position the subtitle box by dragging it to the desired location and resize it with the handles. Select from a variety of fonts, adjust text and background colors, and set transparency if needed. Changes remain editable even after the subtitles are burned in.
#4 Refine Text and Breaks
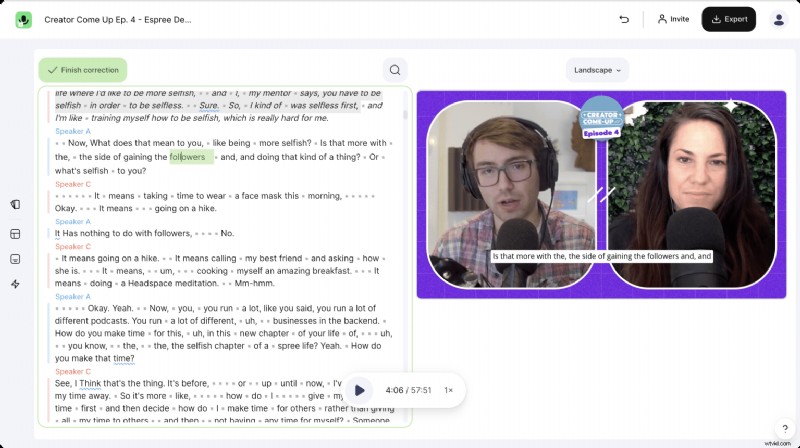
Although the transcription engine is highly accurate—supporting over 30 languages—minor errors may occur. Correct them by double‑clicking a word in the text pane and pressing Enter. Use arrow keys to navigate quickly. To adjust subtitle length, drag the breakpoint triangle to a new position. For multi‑aspect‑ratio projects, ensure subtitles are appropriately sized and not positioned near the edges to avoid clipping.
#5 Render and Export Your Video
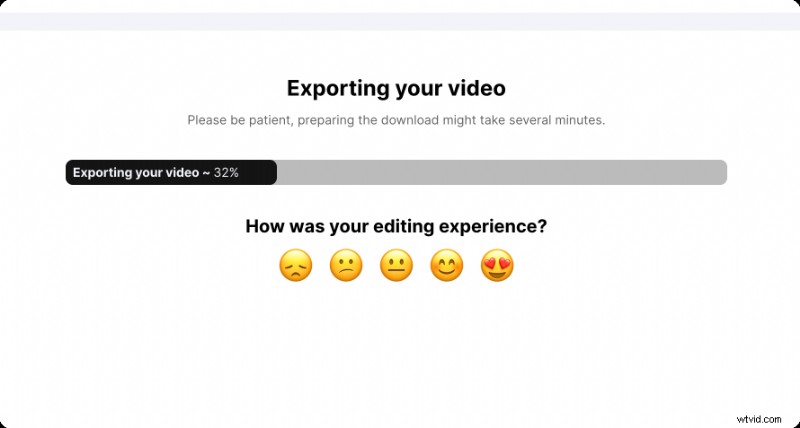
Click "Export" in the upper right corner and choose your download option. The rendering happens entirely in the cloud, so you can continue working on other tasks while your video finalizes. You’ll receive a confirmation email once the file is ready, and you can also publish directly to connected platforms from within the editor.
Conclusion
Embedding subtitles permanently is a best practice for modern video creators. It guarantees visibility, boosts engagement, and streamlines cross‑platform distribution. Thanks to tools like Streamlabs Podcast Editor, the process is now faster and more accessible than ever.
Edit your videos with text to grow your streams, podcasts & interviews!
Enabling creators to do more
Further Reading
15 best subtitle fonts you should use for your videos
The 15 best fonts for captions and subtitles you should use in 2021 for your videos. Inter, Roboto, Poppins, Arial, and many more awesome fonts.
May 31, 2023
Michael Sieb
How to add Subtitles or Closed Captions to a video?
This is a complete guide for adding captions and subtitles to your video in different ways. Learn everything you need to know about subtitling.
June 01, 2023
Michael Sieb
How to add subtitles & closed captions to Vimeo videos?
Learn how to add subtitles or close captions (SRT files) to your Vimeo videos. A step‑by‑step guide that covers subtitle creation and usage.
June 01, 2023
Michael Sieb