Video editing is only half of the equation. The other half—exporting—determines whether your final product reaches its full visual potential.
In this article
- What is a Video Thumbnail, and Why It Matters in Modern Editing
- The Power of Wondershare Filmora for Video Production
- How to Set a Video Thumbnail in Filmora
- All Export Options Available in Filmora
- Conclusion
Wondershare Filmora
1. What is a Video Thumbnail, and Why It Matters in Modern Editing
A video thumbnail is the image that represents your clip on platforms and websites. It serves as a visual preview, enticing viewers and increasing click‑through rates. A compelling thumbnail can be the difference between a video that languishes in the background and one that captivates an audience.
Key benefits of an effective thumbnail include:
- Immediate visual appeal in a crowded content landscape.
- Improved click‑through metrics that many platforms use to gauge popularity.
- Accurate representation of the video’s core message, helping viewers decide whether to watch.
- Brand consistency, reinforcing recognition and memorability.
- Higher engagement and potential revenue through ads, sponsorships, and conversions.
2. The Power of Wondershare Filmora for Video Production
Since its launch in 2015, Filmora has become a go‑to tool for creators worldwide. With over 15 AI‑powered features and a comprehensive suite of editing tools, it empowers users to craft polished videos in a matter of minutes. Filmora supports 4K resolution export, ensuring your final product retains every detail.
3. How to Set a Video Thumbnail in Filmora
Adding a thumbnail before finalizing your export is straightforward. Follow these steps:
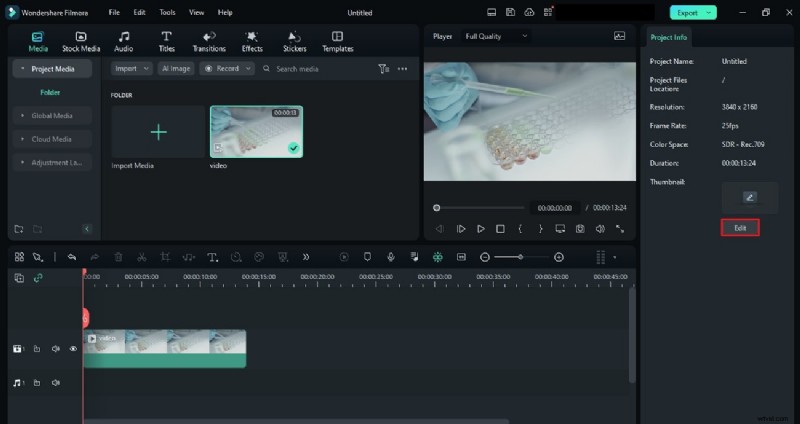
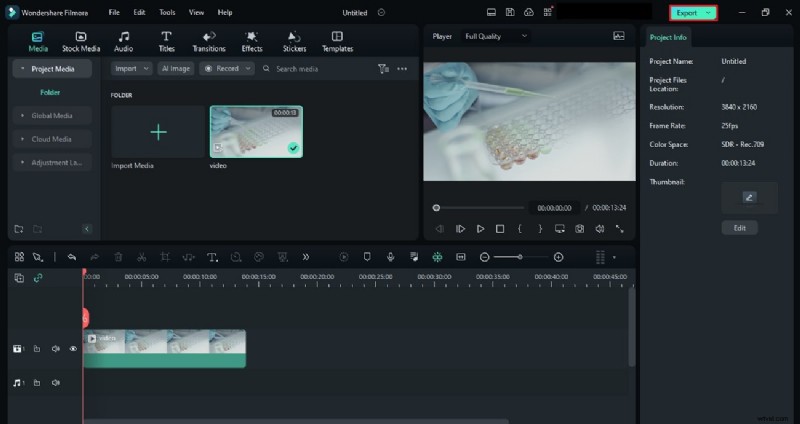
Step 1: Open the Edit Panel
After editing, click the empty track on your timeline. The right‑hand panel will display an “Edit” button. Click it to open the “Set Thumbnail” window.
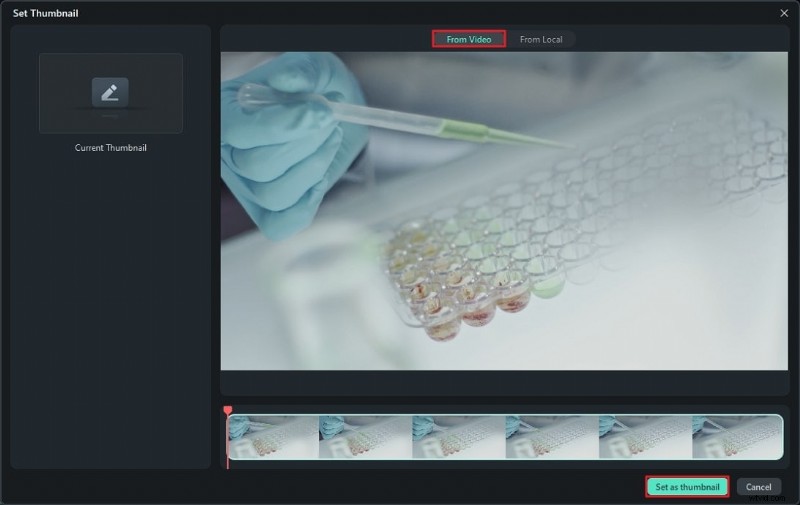
Step 2: Choose a Frame from Your Video
Select the “From Video” tab. Use the playhead slider to locate a frame that best represents your content, then click “Set as thumbnail.”
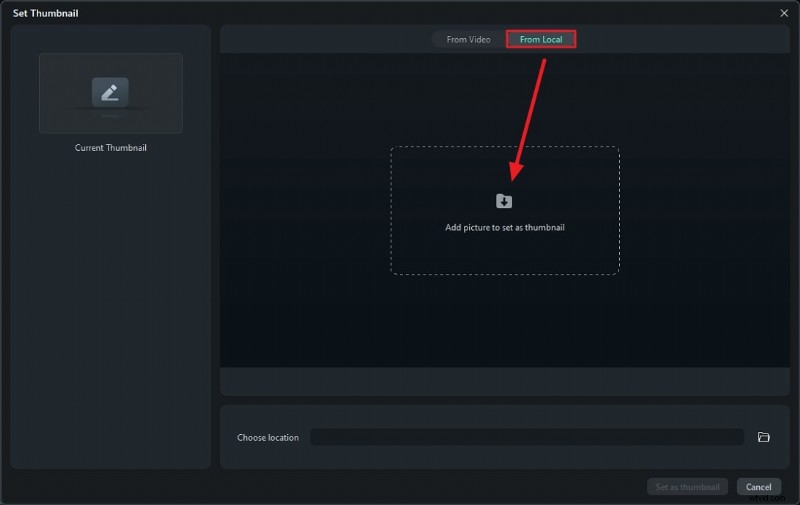
Step 3: Use a Custom Image (Optional)
To upload a separate image, switch to the “From Local” tab, click “Add a picture to set as thumbnail,” and import your chosen still. Confirm with “Set as thumbnail.”
4. All Export Options Available in Filmora
Filmora offers five distinct export pathways, each tailored to different needs.
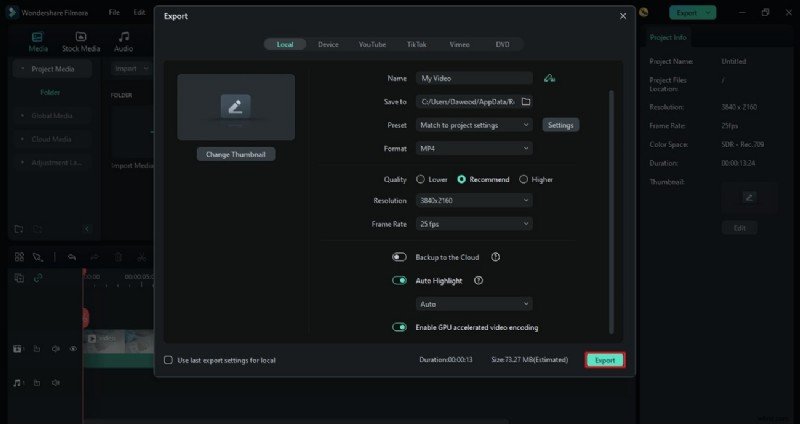
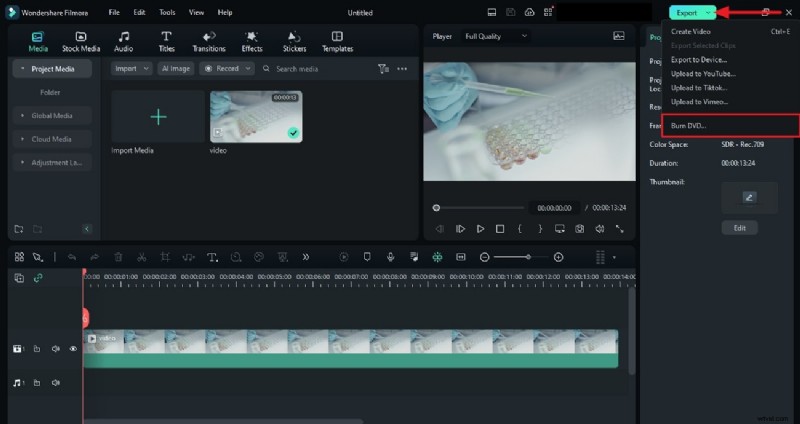
4.1 Direct Export
Step 1
Click the “Export” button in the top‑right corner. The Export window appears.
Step 2
Adjust settings as desired and click “Export” to save the file locally.
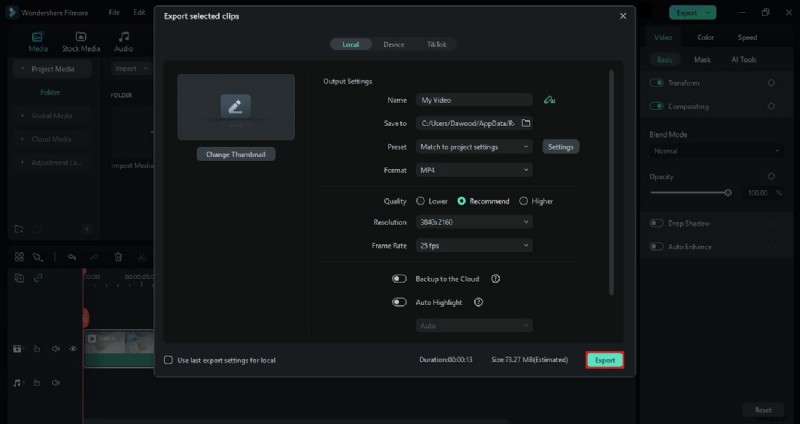
4.2 Export Selected Clips
Step 1
Select clips on the timeline, then choose “Export Selected Clips” from the Export menu.

Step 2
Configure options in the window and hit “Export.”
4.3 Export to a Device
Step 1
From the Export window, select the “Device” tab.
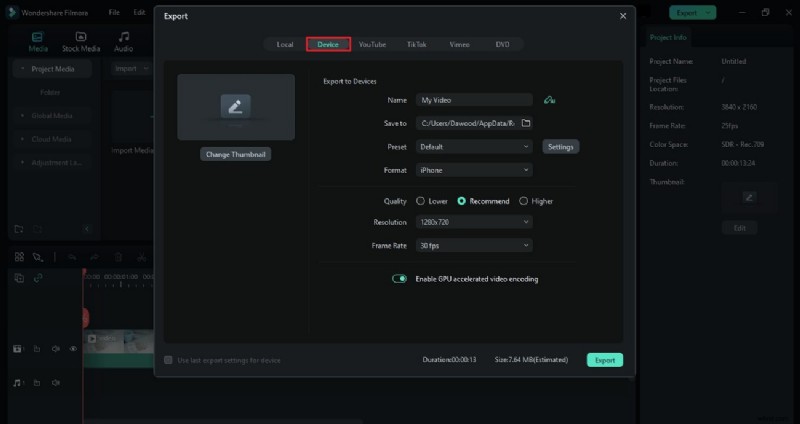
Step 2
Choose the target device, adjust settings, and click “Export.”

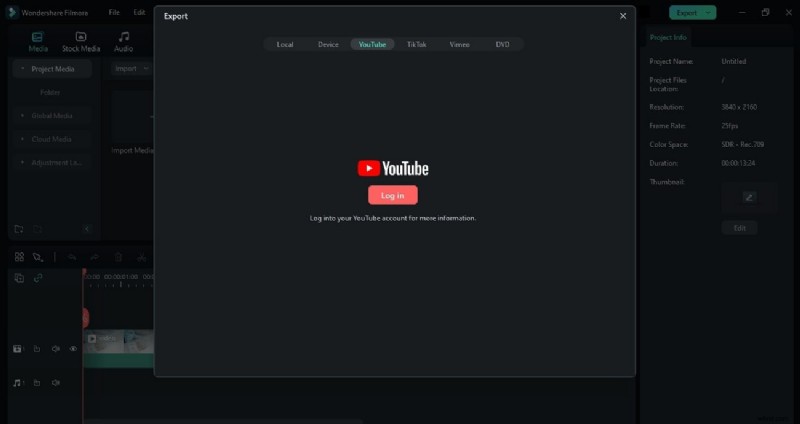
4.4 Direct Upload to Social Platforms
Step 1
Select your desired platform from the Export menu.

Step 2
Log in, tweak export settings, then click “Export” to upload.
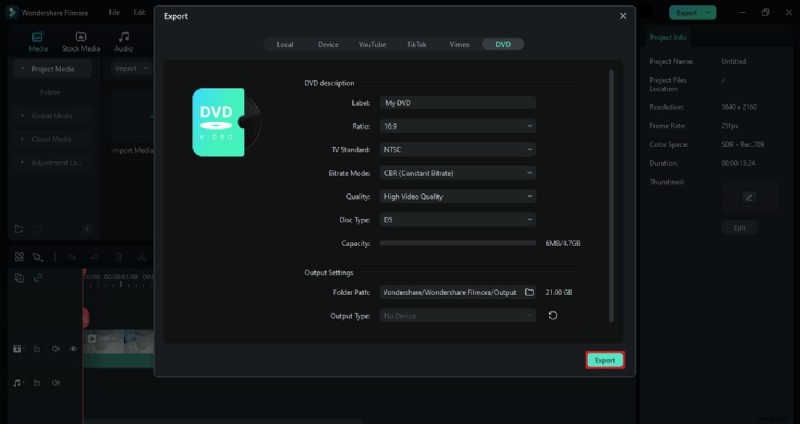
4.5 Burn to DVD
Step 1
Choose the “DVD” tab in the Export window.
Step 2
Enter DVD details, adjust output settings, and click “Export” to burn.
Conclusion
Exporting in high definition is essential for delivering a polished viewing experience. With Wondershare Filmora’s intuitive interface, AI enhancements, and versatile export options, you can confidently produce and share videos that look their best.