How to crop a video on Mac? Come and find the solutions in this article. It offers the best 5 ways to crop videos on Mac. Easy and Fast.
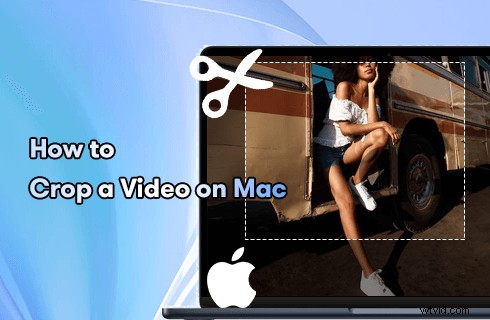
How to Crop a Video on Mac
You may feel upset when a video is long and with few exciting segments or you made a mistake when you shoot a video and want to delete it in the final product. Under these circumstances, you need one way to help you achieve your goal.
In fact, there are some one-sided tutorials to teach you how to crop a video, but they ignored that different devices need different tutorials. In this article, it will focus on Mac devices and introduce you 5 best ways on how to crop a video on Mac with detailed steps.
How to Crop a Video on Mac with iMovie?
iMovie is one video editing tool professionally developed for macOS, and iOS devices. With iMovie, you can design your own story through cropping and create high-quality and styled videos.
Pros:
Free to use iMovie to edit your videos.
Full of different editing functions.
Reliable and safe to use.
Cons:
It only supports 16:9 cropping aspect ratio.
How to crop a video on iMovie on Mac step by step?
Step 1. Download & Install
Easily download iMovie in the App Store and then install it on Mac.
Step 2. Choose the video that you want to crop
Launch iMovie, click ‘+’ in projects to create a new one or an existing one, then click the import icon or drag a video to import a video you want to crop on your Mac.
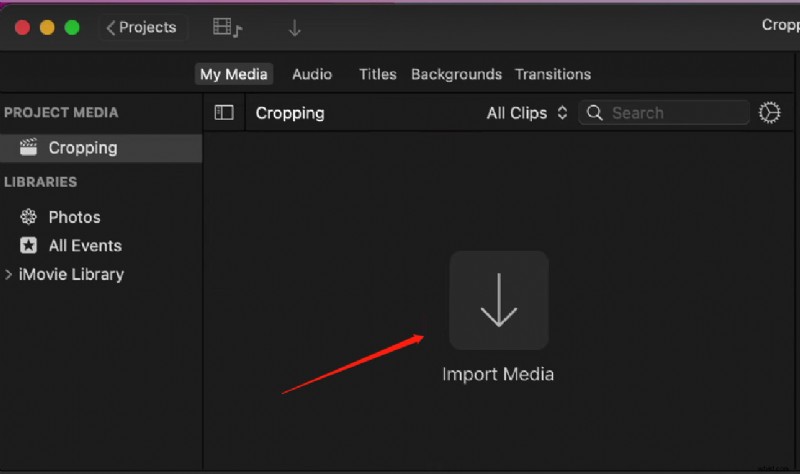
Import the Video to Crop
Step 3. Cut the video first
Drag the start and end clip to choose the segment you want to crop.
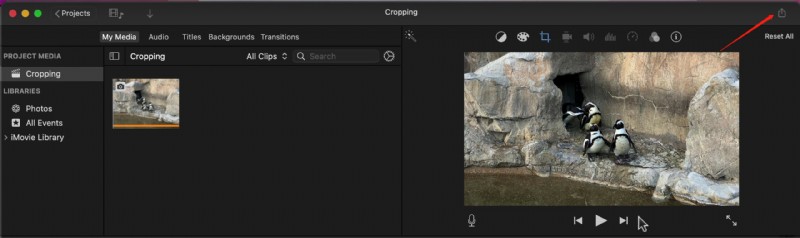
Step 4. Crop the video
Click ‘Crop’ icon (like the image shown blow), there will be appearing 3 choices. If you want to crop the video into the size you want, just click ‘Crop to Fill’. Drag the corner to choose the size you want.
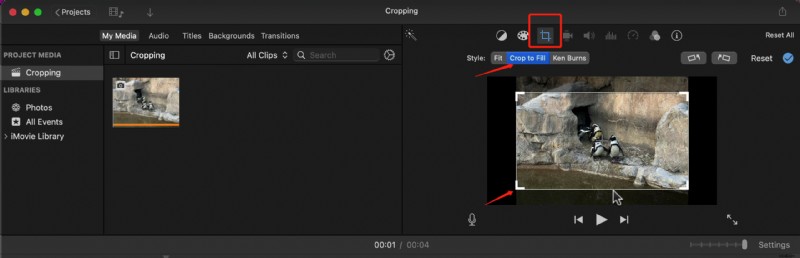
Click the Crop Icon
Step 5. See the video cropped
Click the blue logo to see the video cropped.
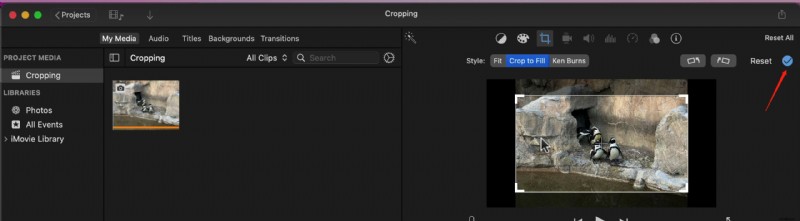
Preview the Cropped Video
Step 6. Save the video
When you finish your crop, click the export icon to save the video.
Save the Cropped Video on iMovie
How to Crop a Video on Mac with QuickTime?
QuickTime, developed by App Inc., is a multimedia framework that is available to editing video files, images, sounds, and more. Some users are curious about whether it can crop videos. Actually, although both QuickTime and iMovie are developed by App Inc., The features of editing videos of QuickTime are different from iMovie, it only supports cutting videos.
Pros:
Multiple functions like recording, editing, and handling different formats.
Reliable, no malware.
Cons:
Not support cropping videos.
Although QuickTime doesn’t support cropping video size, here will tell you how to crop video length on Mac with QuickTime?
Step 1. Download & Install
Download QuickTime on App Store and install it on Mac.
Step 2. Open a video
Double-click to open a video, then the QuickTime Player will play the video you open.
Step 3. Enter ‘Trim Video’ mode
Click ‘Edit’, then click ‘Trim’. Then, you will enter the trim video mode.
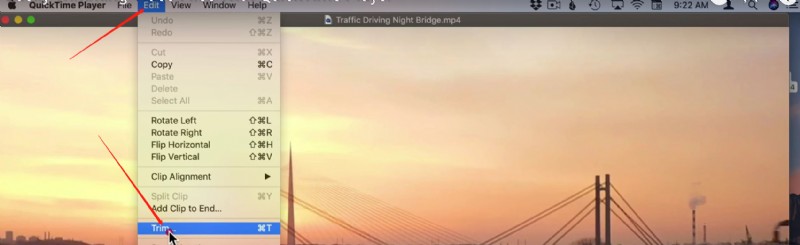
Go to Trim Video Mode
Step 4. Trim video
Click and drag the ends to trim the video from the beginning to the end, then click ‘Trim’ and the trimmed video will be left.
Step 5. Save the video
Click ‘File’, choose ‘Save’, and edit the name of the video.
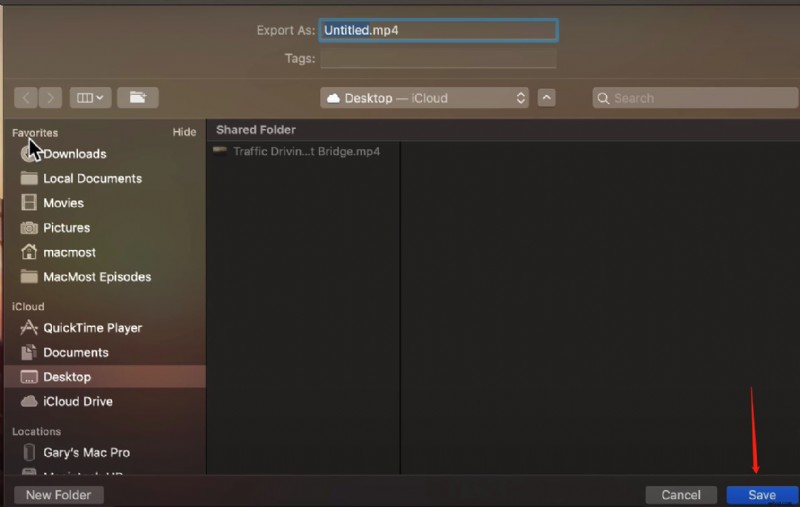
Save Trimmed Video in iMovie
How to Crop a Video on Mac with Final Cut Pro?
Final Cut Pro is one video editing software for businesses and professionals, you can use Final Cut Pro to crop videos. Although Final Cut Pro is a professional video editor, its interface is standard and you can easily get the function through the icons even you are a beginner.
Pros:
Professional and powerful editing tool.
Audio, editing, and color grading functions.
Cons:
The limitation of export settings
Step 1. Free download & Install
Download and install Final Cut Pro on App Store.
Step 2. Import the video you want to crop
Click ‘Import Media’ to import the video in Final Cut Pro.
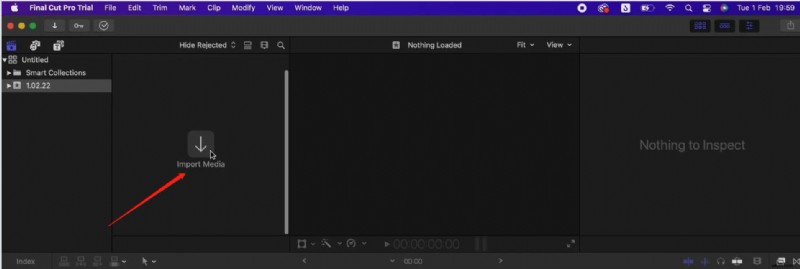
Import Video to Final Cut Pro
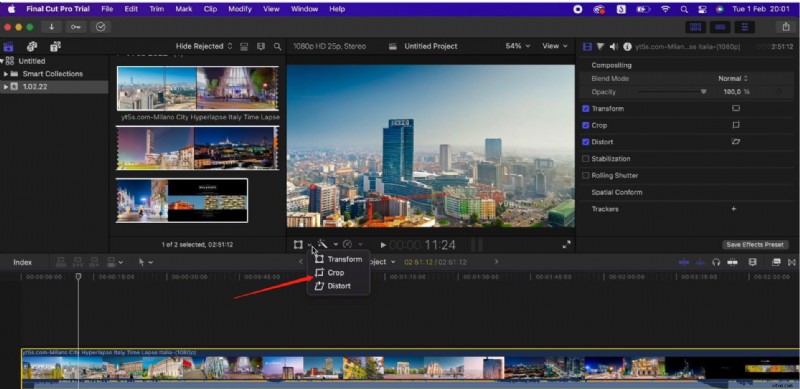
Step 3. Begin to crop the video
Click the button in the middle of this tool (you can see from the image below), there are 3 choices, click ’Crop’.
Crop Video in Final Cut Pro
Step 4. Crop the video
Click ‘Crop’ again, Drag the corner to crop.
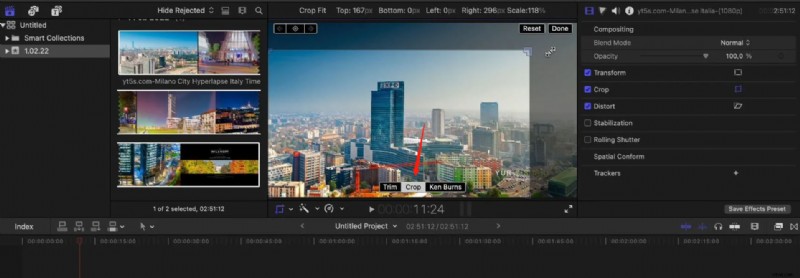
Click Crop Button
Step 5. Preview the cropped video
While you finish Click ‘Done’ to preview the video.
Step 6. Save and export the video
Click the export icon, then choose ‘Export File’.
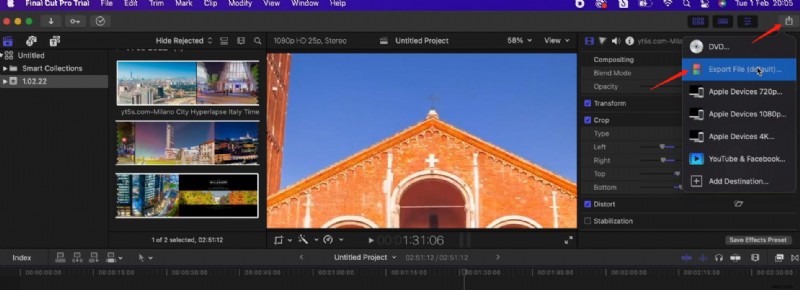
Save Cropped Video in Final Cut Pro
How to Crop a Video on Mac with VLC?
VLC is a free and useful media player that supports playing videos in many formats. It is not developed by App Inc. It is developed by the VideoLan Project. Except for its strong media player function, it has some functions of editing videos including cropping videos. What’s more, it is available on desktop and mobile devices (Mac, Windows, Android, and iOS devices). Here will take an example of how to crop a video on Mac with VLC step by step.
Step 1. Download & Install VLC
Download and install the VLC media player on your Mac.
Open File in VLC
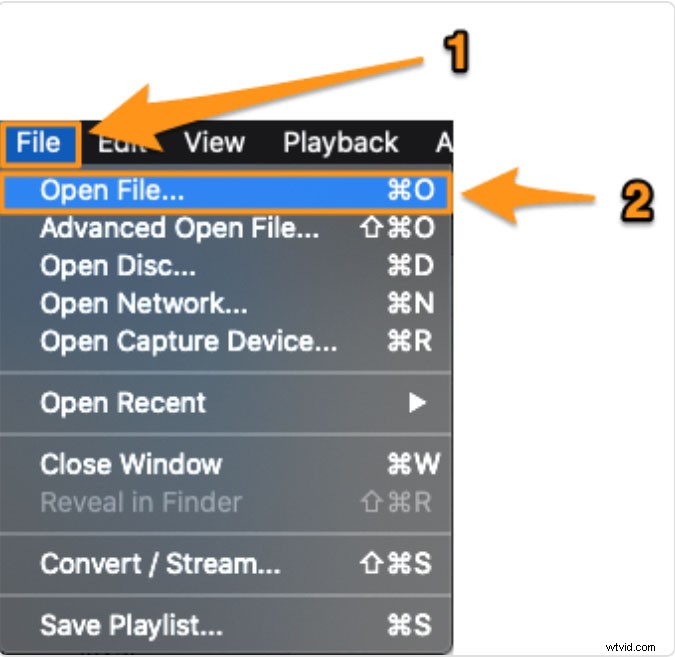
Step 2. Launch VLC and open the file
Click ‘File’, and ‘Open File’ to choose the video you want to crop.
Step 3. Start to crop the video
Click ‘Window > Video Effects, click ‘Crop’, enter the value (in pixels), hit ‘Enter’ to crop the video, then you will preview the cropped video in VLC.
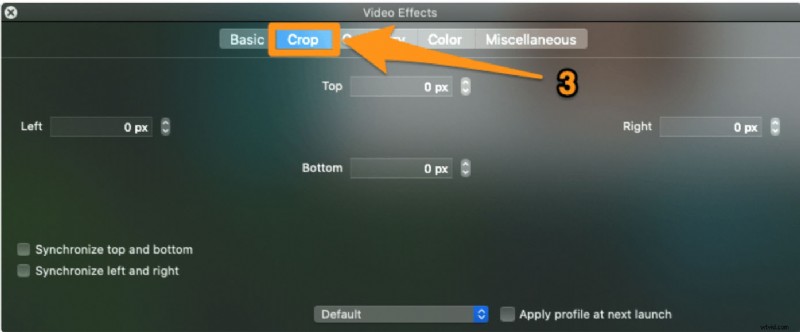
Crop Video in VLC
Step 4. Save the video
Saving the cropped video in VLC is a little bit complex, just follow to save the cropped video in VLC.
- Click ‘VLC > Preferences’
- Click ‘Show All’ button.
- Click ‘Video > Filters > Croppadd’
- Enter the value that you have entered in the Step 3.
- Click ‘Filters > Video Cropping Filter > Save’, then choose a file name of the video and save it.
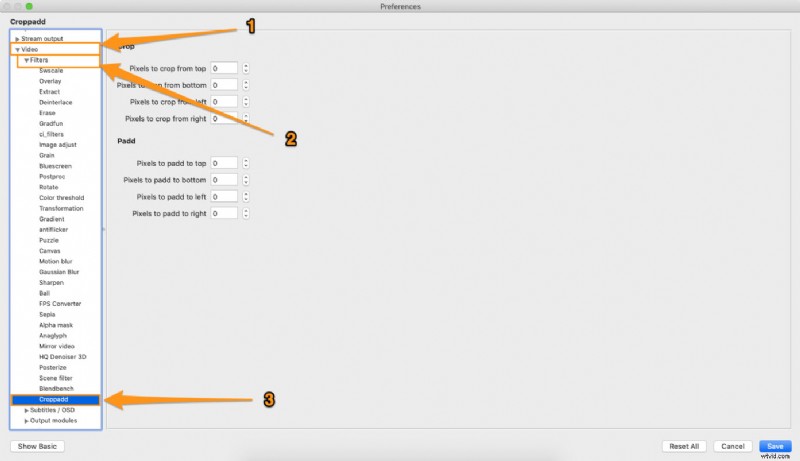
Save Cropped Video in VLC
How to Crop a Video on Mac Online?
Cropping a video on Mac online is much more convenient than downloading tools, especially for some users who only need to crop videos and don’t have other editing requirements. Clideo is one of the best online tools that is available in cropping videos. You can use Clideo to crop videos and then change the video formats to any other formats. The whole process of cropping video with Clideo online only need 3 steps. Easy and fast.
How to crop a video on Mac with Clideo online?
Step 1. Enter the official website of Clideo
Enter ‘Clideo’ on Google and then go to visit its official website.
Step 2. Choose your video you want to crop
Click ‘Choose File’ button to choose the file from your computer, also you can choose the file from Google Drive or Dropbox.
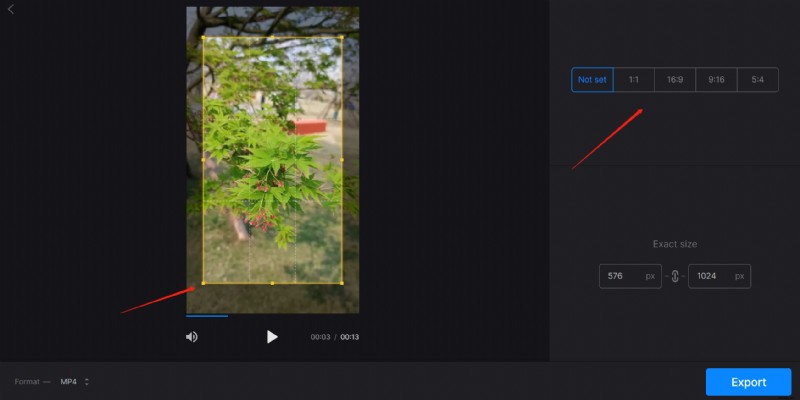
Step 3. Crop the video
Drag the corner to crop, there are some video scales for you to choose, or you can set the size by yourself.
Step 4. Save the cropped video
Choose the video format and then click ‘Export’ to save your video.
Crop Video on Mac Online
Final Thoughts
In this article, it introduces you to 5 ways how to crop a video on Mac. In fact, some of them can really help you crop videos. iMovie and Final Cut Pro are 2 professional tools compared with others, these 2 tools can meet your needs to crop videos on Mac. QuickTime, it is more professional in media viewing. With the increasing popularity of short videos nowadays, there are more and more video editors appearing in the market, some are for Mac (like the tools listed in this article), and others like FilmForth are for Windows. You can choose the most suitable one to crop the video.