Create Stunning Cut‑Out Animation with Filmora
Filmora is a user‑friendly video editor that empowers you to transform ordinary photos into engaging cut‑out animations. Follow this expert guide to achieve a polished look without the need for expensive green‑screen equipment.
Preparation
- Compatible computer (Windows or macOS)
- High‑quality photo series
- Filmora video editor (free download available)
Step 1 – Install Filmora
Download the latest version of Filmora from the official website and run the installer.
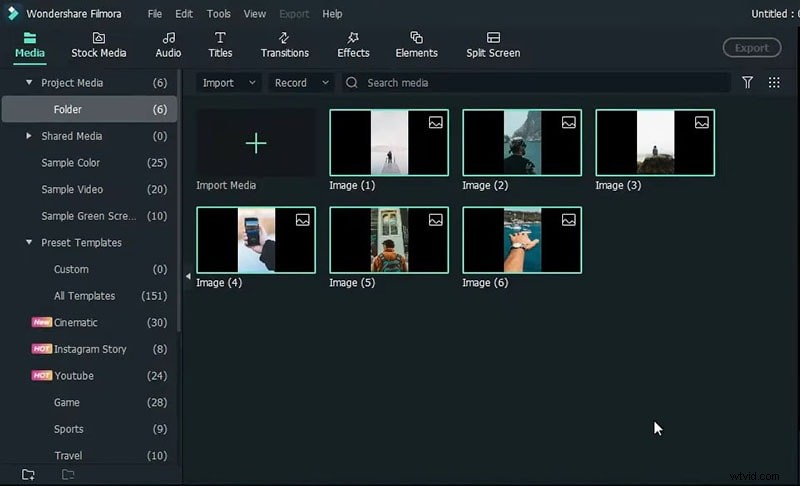
Step 2 – Prepare Your Images
Use a consistent filter and exposure for all photos to maintain visual cohesion. Import them into Filmora’s Media Library.
Step 3 – Set Photo Duration
Navigate to File > Preferences, then the Editing tab. Set each photo’s duration to 2 seconds. Drag the images onto the timeline.

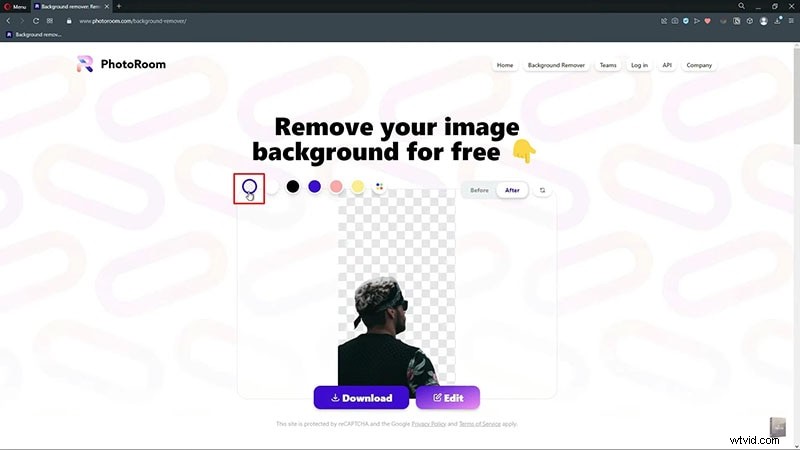
Step 4 – Remove Backgrounds
Use PhotoRoom to isolate subjects. Upload a photo, select the “No Background” option, and download the transparent PNG. Repeat for all images.
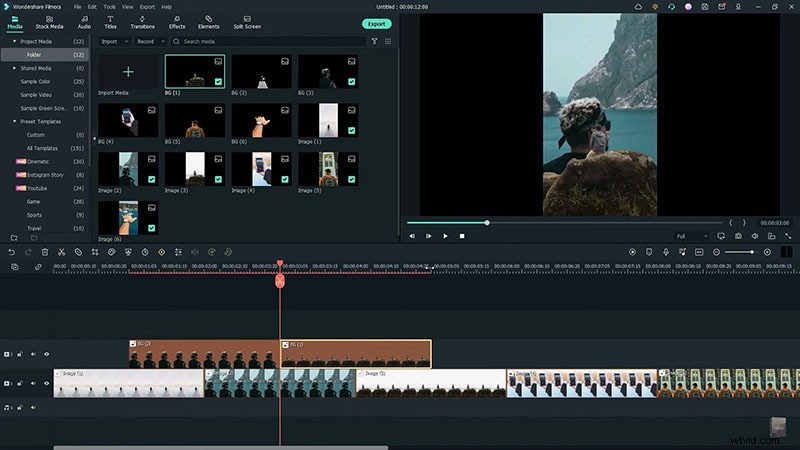
Step 5 – Layer Cut‑Outs on the Timeline
Re‑import the transparent PNGs into Filmora. Zoom in to view the timeline clearly. Position each cut‑out at the desired frame (e.g., 1s, 3s, etc.) and overlay them above the base photos.
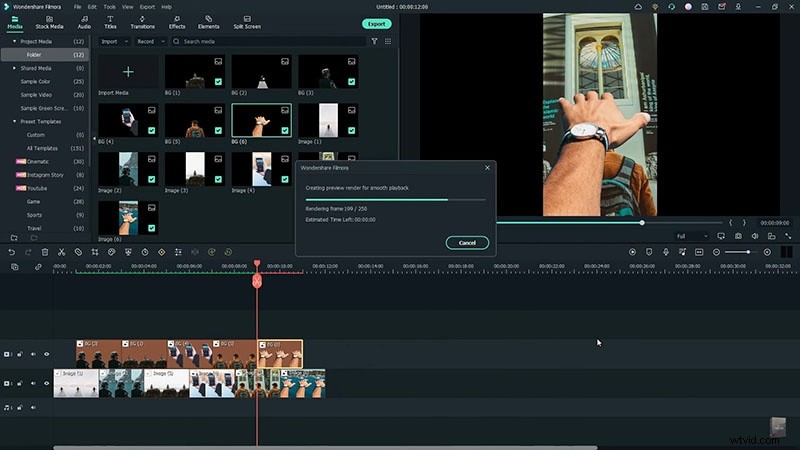
Step 6 – Render Your Animation
After aligning all layers, render the project. Preview the result to confirm smooth transitions and correct timing.
Key Takeaways
- Background replacement is achievable without a green screen.
- Seamless transitions enhance visual flow.
- Filmora offers diverse background templates across genres like social, business, and sports.