How to Create a Rain Stop Video Effect
Looking to add a dramatic rain‑stop effect to your footage? Follow our detailed, step‑by‑step guide to craft a professional‑looking rain stop effect in Filmora.
Tools You’ll Need
- Computer running Windows or macOS
- Your base video clip (hand or any subject)
- Filmora Video Editor (latest version)
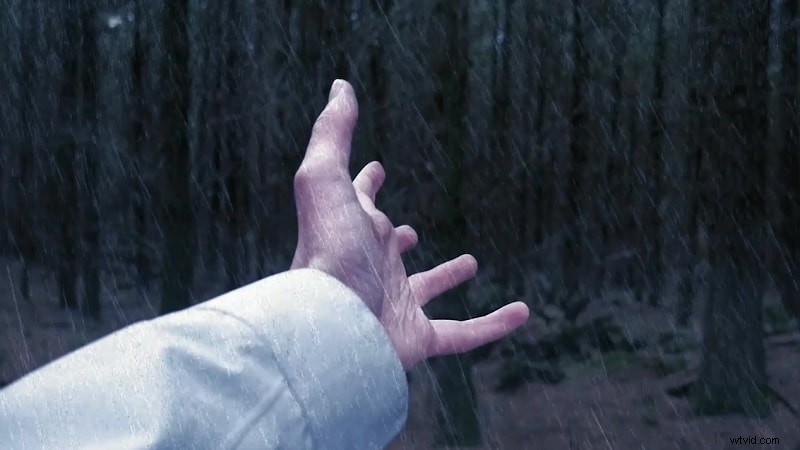
Step 1: Prepare Your Footage
Record a short clip of the subject you want to highlight—typically a hand—using your camera. Keep the lighting consistent and avoid excessive background motion.
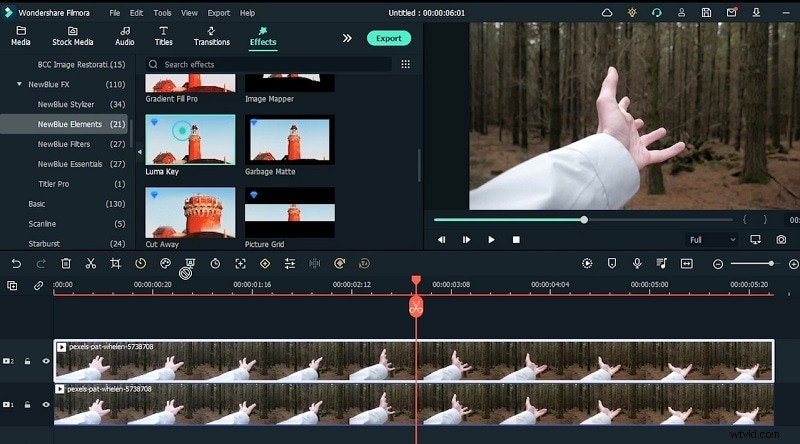
Step 2: Import Into Filmora
Launch Filmora, click the Video Editor button, and import your footage. Drag the clip onto the timeline. For smoother editing, duplicate the clip on a separate track.

Step 3: Apply the Luma Key
Navigate to the Effects panel, search for “Luma Key,” and drag it onto the top track. Adjust the Threshold slider until the background becomes transparent, revealing only the subject.
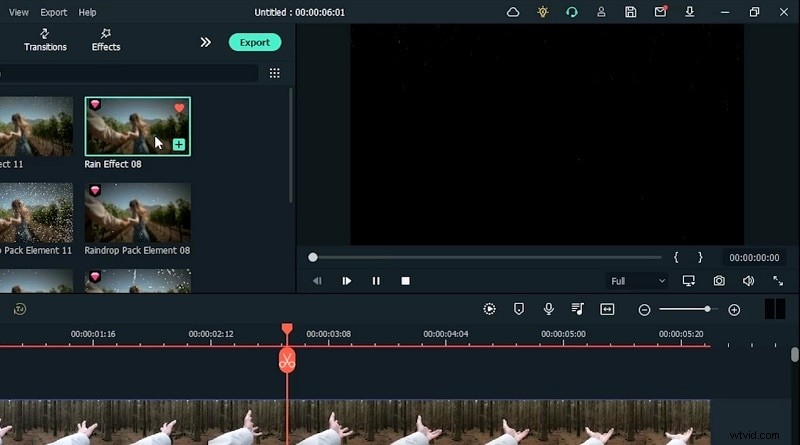
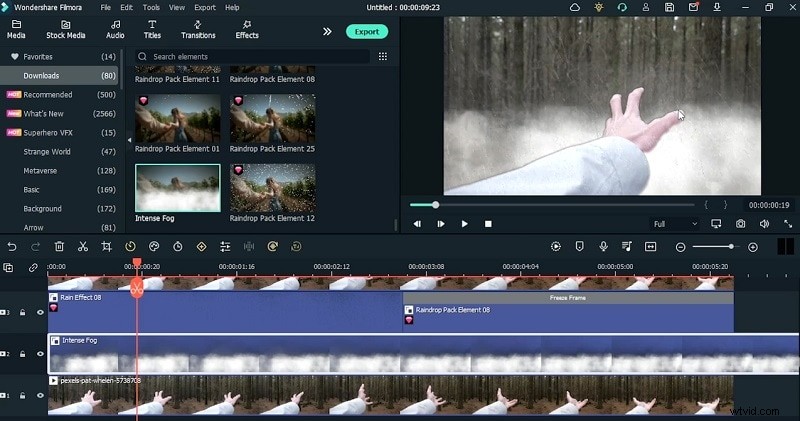
Step 4: Add Rain Overlays
In the Elements section, locate Rain Effect 11 and Rain Effect 08. Place Rain Effect 11 on the upper track and Rain Effect 08 beneath the main video to create a layered rain look.
Step 5: Fine‑Tune the Rain Direction
Select the rain overlay, open its settings, and flip the effect so drops fall in a single direction, eliminating abrupt motion.
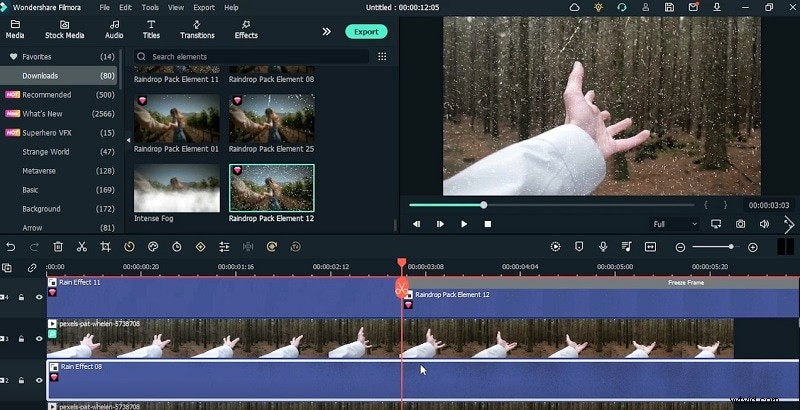
Step 6: Freeze Key Frames for the Rain Stop
Identify the moment where the rain should halt. Pause the video, then use the Split tool to isolate that frame. Replace the second half of the rain overlay with Rain Drop 12 to freeze the effect.
Step 7: Introduce Fog for Atmosphere
Drag a new track above the existing ones. From the Effects list, add a Smoke Fog overlay, then lower its opacity to blend naturally.
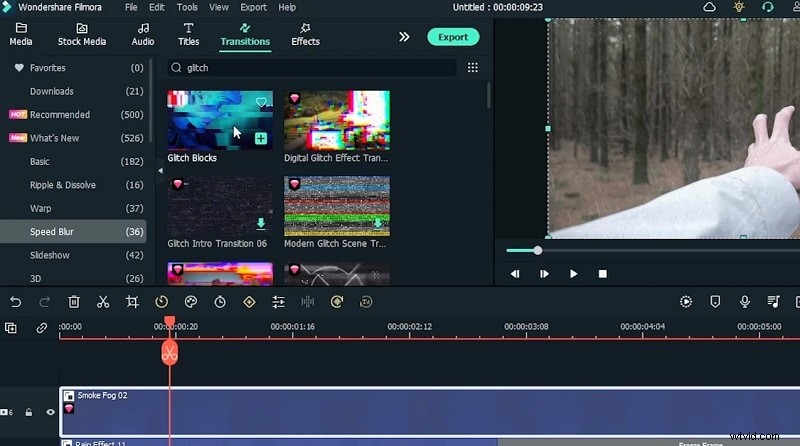
Step 8: Add Glitch Transitions
Search the Transitions panel for “Glitch.” Apply a Glitch Blocks transition between clips, ensuring its duration matches the timeline for a seamless cut.
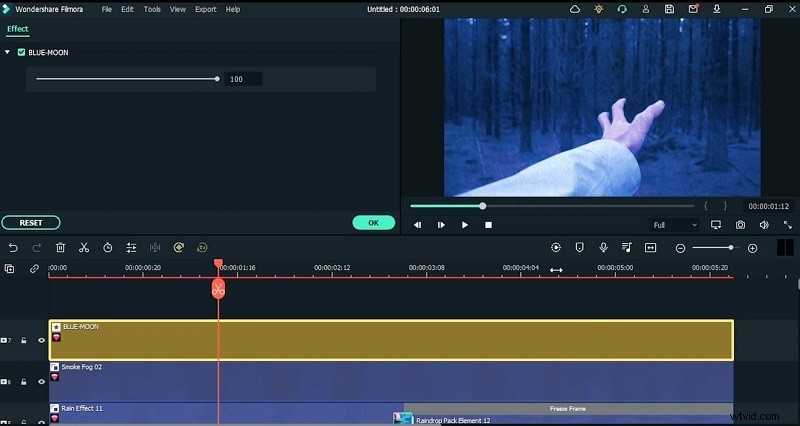
Step 9: Color Grading and LUTs
Apply a blue hue by adding a Blue LUT from the Effects menu, then fine‑tune with a Dark Film overlay to enhance mood.
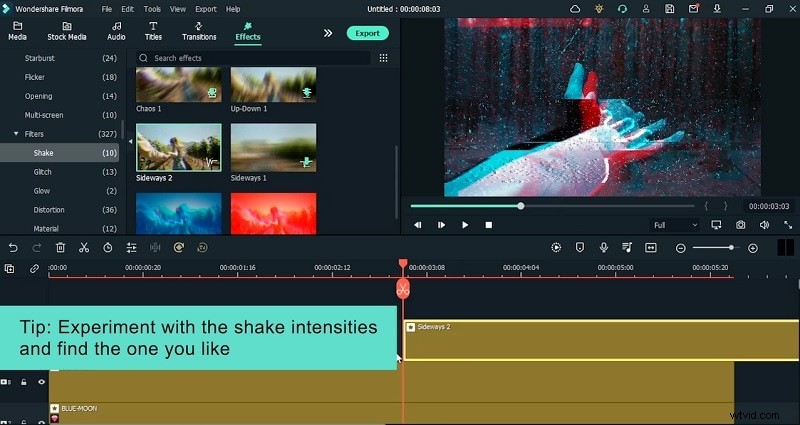
Step 10: Add Motion Shake
From the Filters panel, insert the Sideways 2 Shake filter. Adjust the intensity to simulate a subtle camera shake during the glitch segment.
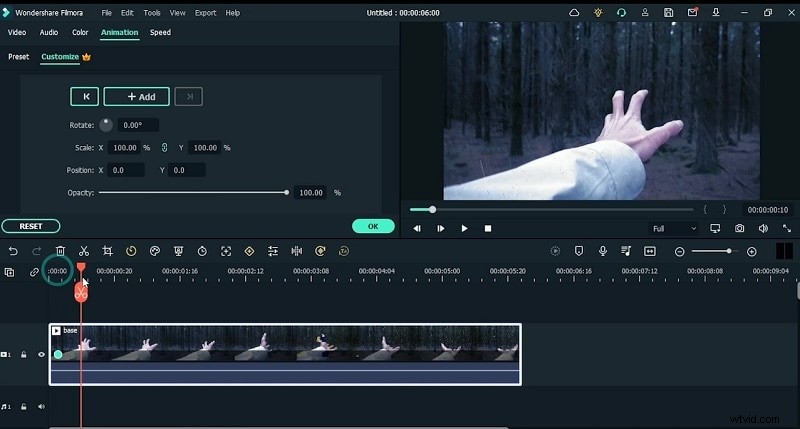
Step 11: Keyframe Animations
To synchronize the subject’s movement with camera motion, use Animations to add keyframes that modify scale, rotation, and position at critical points.
Step 12: Export and Review
After final adjustments, preview the entire sequence to ensure all effects align perfectly. Export the project to your preferred format and share or upload as desired.

Conclusion
With Filmora’s intuitive tools, crafting a compelling rain stop effect is straightforward. Follow these steps to elevate your video projects and captivate your audience.