Preparation
What you need:
- A computer running Windows or macOS
- Your source video footage
- The Filmora video editor installed
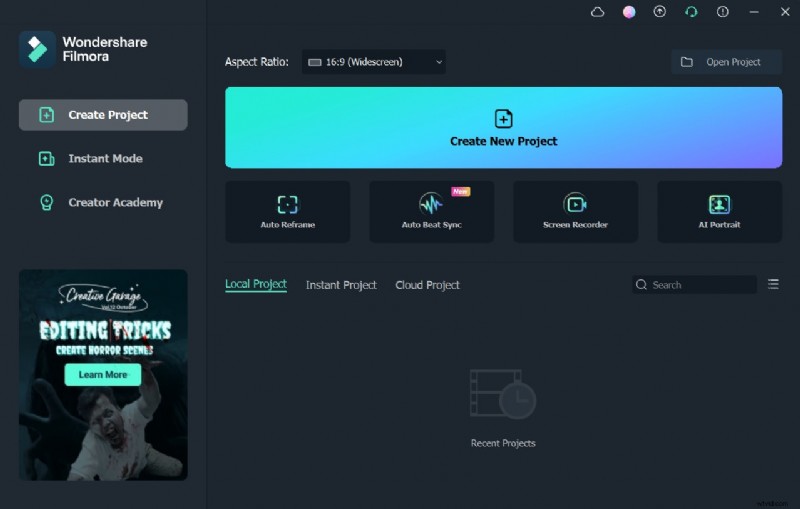
Step 1
Begin by downloading and installing Filmora on your computer. Once installed, launch the application.
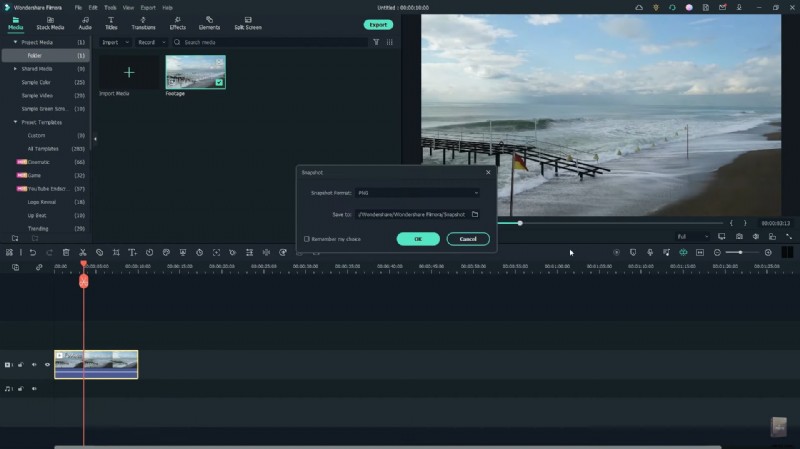
Step 2
Import a clear sky video into the Project Media panel and drag it onto the timeline. Ensure the clip is stable, then capture a still frame of the sky.
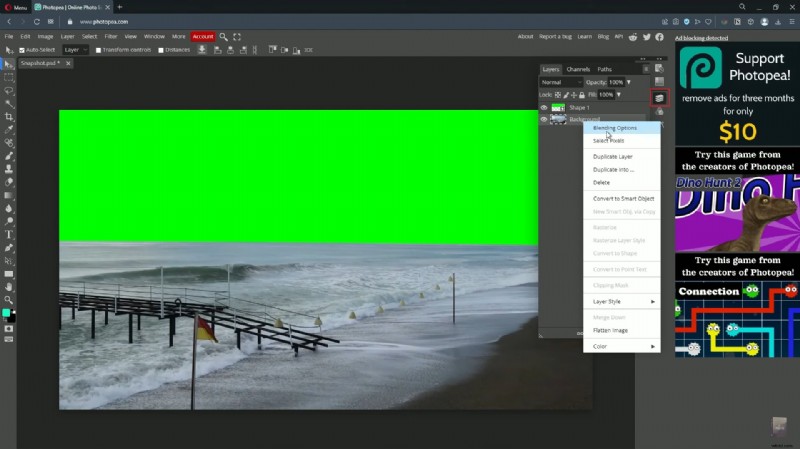
Step 3
Upload the captured frame to Photopea. Use the Pen tool, set the color to green, and outline the sky. In the Layers panel, delete the background and export the result as a PNG file.
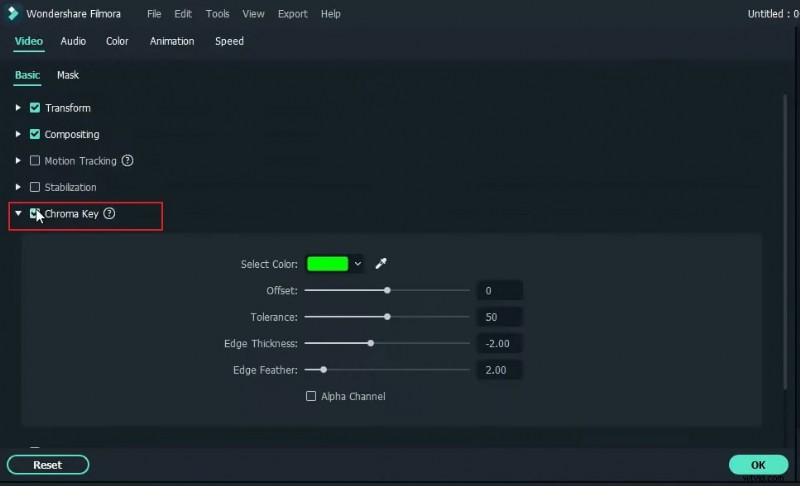
Step 4
Back in Filmora, import the PNG into Project Media and overlay it on the original video clip in the timeline. Adjust the duration to match, then export the composite. Re‑import the exported clip, right‑click it, choose Properties, and enable the Chroma Key option.
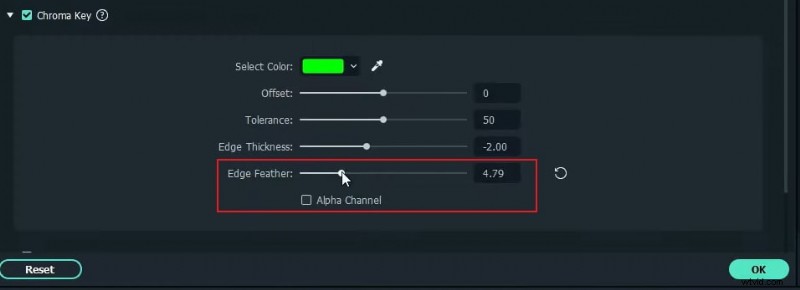
Step 5
Move the composite clip to the second layer in the timeline. From Stock Media, download a sky image or video of your choice, then drop it below the clip. Right‑click the asset, select Edit Properties, increase Edge Feather for a smoother blend, confirm, and revisit Edit Properties for further fine‑tuning.
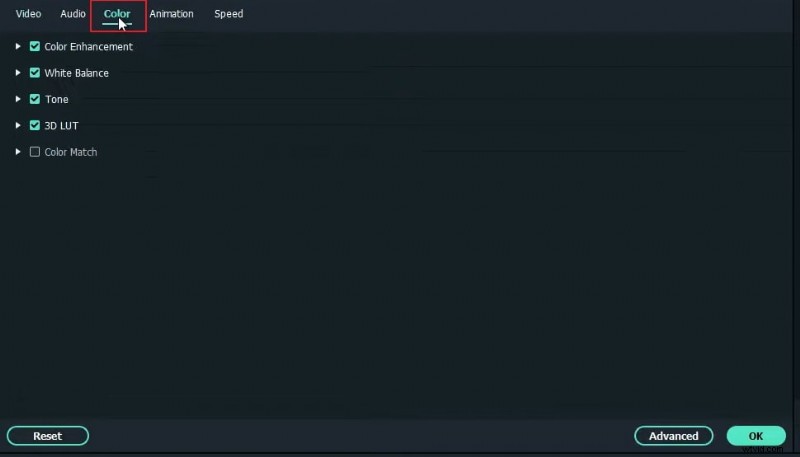
Step 6
In Edit Properties, adjust the Colors section to match the sky’s hue and saturation across layers. Erase any remaining unwanted elements. Render the final video to preview the seamless sky replacement.
Summary
Key takeaways:
- You can swap any background using a green‑screen technique.
- Applying smooth transitions enhances visual flow.
- Filmora offers a variety of built‑in backgrounds, from social to business and sports themes.