
Capture and Edit Your Own Glass Textures in 5 Simple Steps (Free Project Files Included)
PremiumBeat recently launched the Glass Textures Freebie Pack, featuring 25 high‑resolution glass textures that can be overlaid on photos and videos. In this tutorial we reveal how those textures were captured, and how you can produce your own using gear you likely already own. Download the accompanying project files and follow along step‑by‑step.
What Equipment Do You Need?
While you can use a smartphone for basic shots, a DSLR or mirrorless camera delivers the clarity, depth of field, and RAW format that give your textures professional quality.
Camera
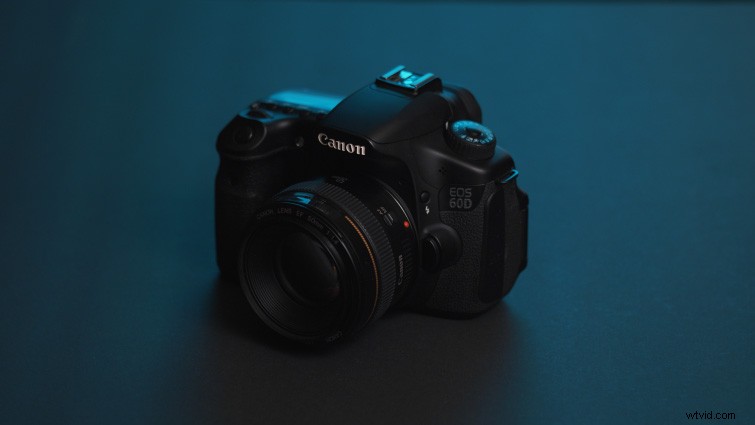 Using a DSLR or mirrorless camera will work best.
Choose a camera that can shoot RAW and offers high resolution. This ensures you capture fine detail and have full control during post‑processing.
Tripod
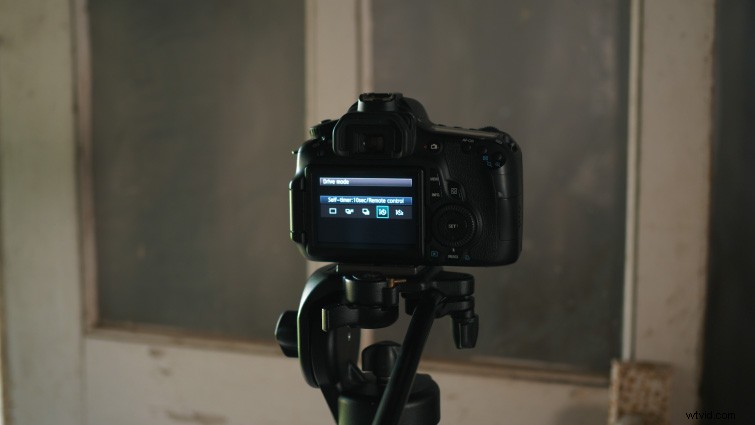 Using a tripod will make it easy to dial in focus on the surface of the glass.
A tripod stabilizes your camera, allowing you to use a long exposure or self‑timer without camera shake. It also makes precise focus adjustments trivial.
Lens Options
Key lens characteristics:
- Short focal length (50–200 mm) for a narrow field of view.
- Wide aperture (f/2.8 or lower) for a shallow depth of field.
- Macro capability for capturing minute surface details.
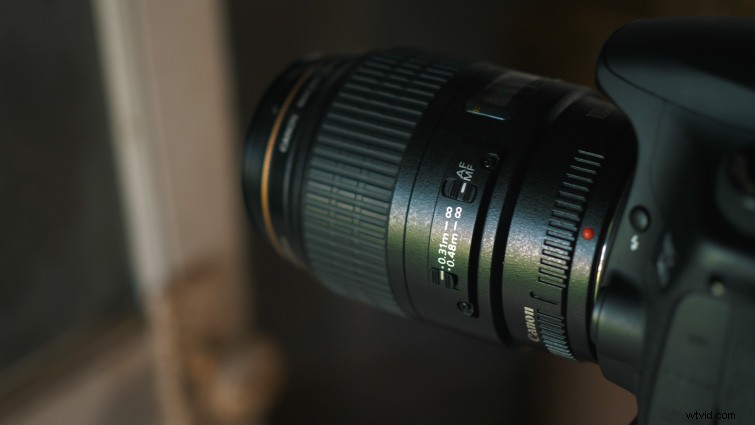 A macro lens will work best for glass textures.
The Canon 100 mm f/2.8 macro lens is an excellent choice, but if you lack a macro lens, a 50 mm prime with an f/1.8 aperture will still perform well. Adding a macro extension tube can transform a standard lens into a macro‑capable one.
Macro Extension Tube Set
When you don’t have a dedicated macro lens, a $15 extension tube is a cost‑effective alternative. The 7 mm tube shifts the lens further from the sensor, creating a macro effect that works best on 50 mm lenses.
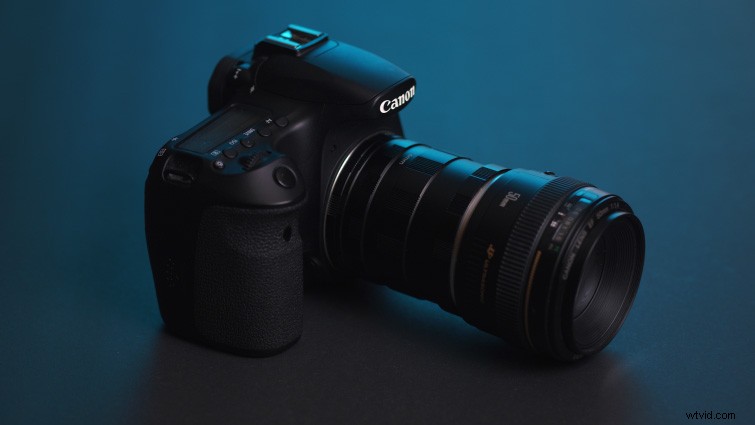 Macro Extension Tube Sets extend the lens away from the camera, creating a macro effect.
Using a 7 mm tube on a 50 mm lens yields slightly soft edges, but the resulting texture can still be useful as an overlay.
Where to Take the Glass Texture Images?
Start with objects you already have access to—windows, doors, and vehicles are all excellent sources of glass. Aim to photograph a single pane from the front, as this maximizes surface detail.
Around Your Home
Single‑pane glass on doors or windows provides an easy, ready‑made backdrop. Position the camera directly in front of the glass, as close as possible. If shooting a window, stand outside so the interior remains dark and the sunlight highlights dust and water spots.
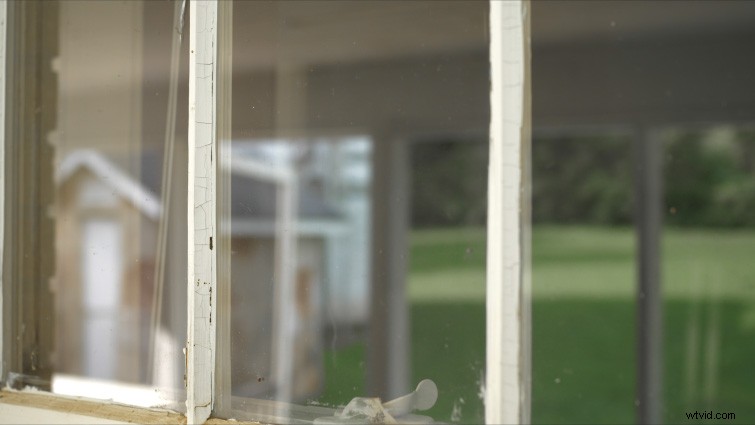 Use windows around wherever you live.
Storage Sheds or Old Buildings
Old structures often feature uniquely textured glass. A storage shed door or a weathered window can yield striking results.
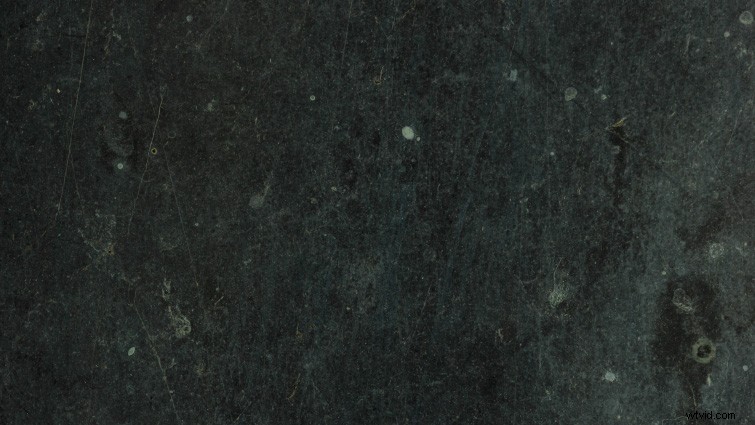 Glass texture from a storage shed.
Vehicles
Car windows accumulate dust, grime, and weathering. Tinted glass especially offers dramatic contrast when photographed from the outside.
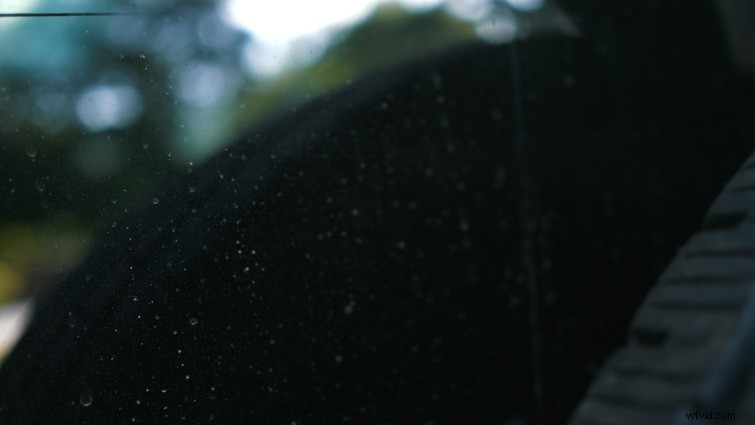 Using glass on vehicles can work great because of the tinted glass.
Creating Glass Textures in a Studio
For full creative control, set up a dedicated station. A large glass picture frame—preferably acrylic for clarity—serves as a stable mounting surface. Remove the backing, apply dust, water, or other textures, and photograph the result.
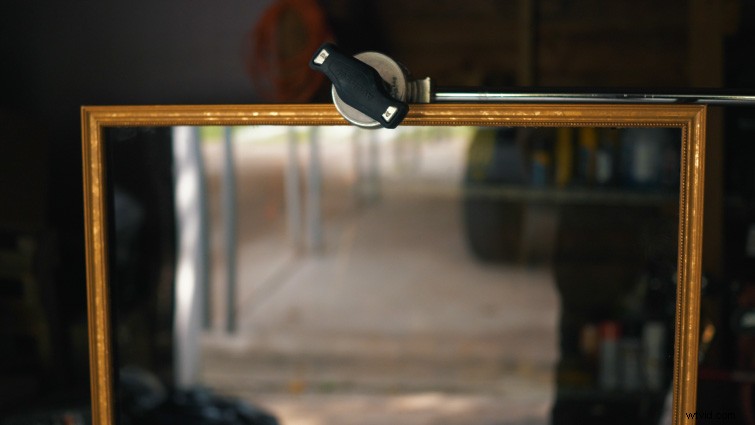 Glass picture frames can easily mount to stands.
Additional Gear That Helps
Black Poster Board
Place a sheet of black poster board behind the glass to eliminate distracting background reflections.
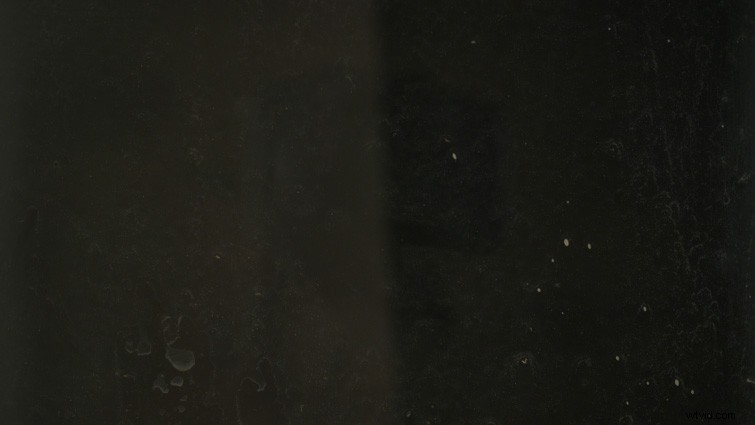 Place a black poster board behind your glass to block out the background.
Flashlight
Shining a flashlight at various angles accentuates surface imperfections.
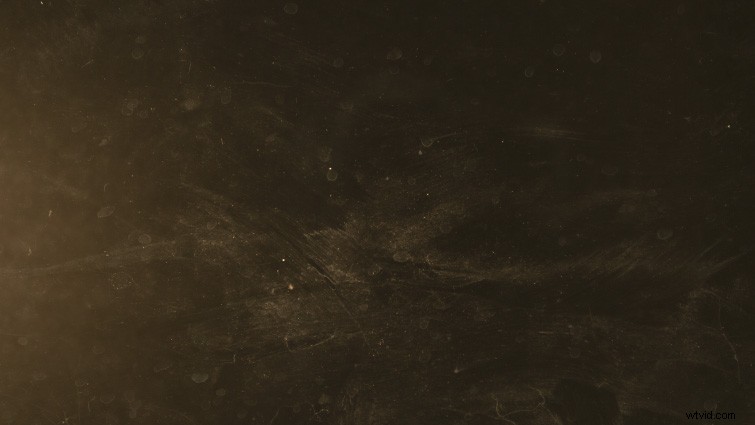 Illuminate dust and dirt on glass using a flashlight.
Dark Towel or T‑Shirt
Hold a dark towel or wear a dark shirt behind the camera to reduce unwanted reflections.
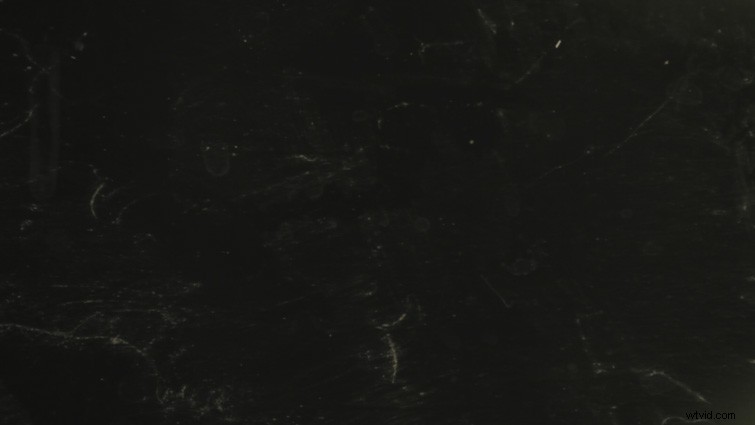 Block reflections behind the camera by holding up a dark towel.
Processing the RAW Texture Images
Open your RAW files in Photoshop; Adobe Camera RAW will launch automatically. Adjust the following under the Basic tab:
- Increase Contrast to make the texture pop.
- Raise Whites and lower Blacks to enhance detail.
- Boost Clarity if the texture appears soft.
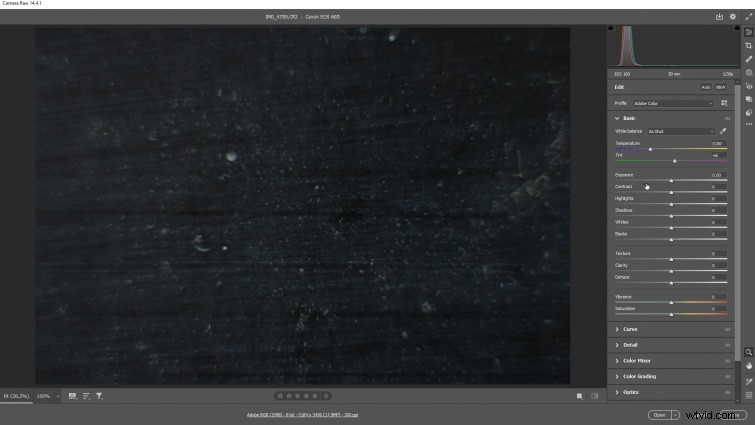 Processing the RAW image in Adobe Camera RAW.
Under the Optics tab, enable Remove Chromatic Aberration and check Use Profile Corrections to eliminate color fringing.
 Remove chromatic aberration under the Optics tab.
For a monochrome texture, click the B&W button at the top of the tab stack, then hit Open to transfer the image into Photoshop. Export it in your preferred format.
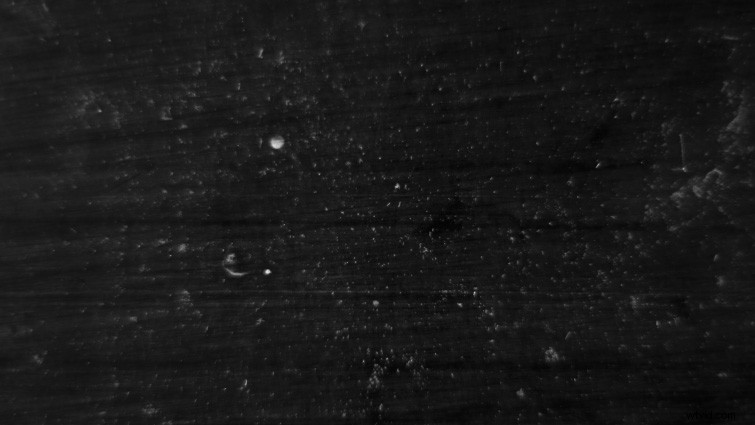 Make the glass texture black & white if you prefer.
Want to Animate Your Textures?
Once you’ve created your glass textures, try animating them in After Effects. Our tutorial How to Animate Glass Textures on Videos in After Effects covers layering, blending modes, and motion presets.
Need music for your project? We used royalty‑free tracks in this video:
- “Vapor Wave” by Mountaineer
- “Miami Nights” by Ben Beiny
- “Retro Vision” by Konstantin Garbuzyuk