Learn four tricks for compositing special effects in After Effects. Watch the tutorial and learn how to use these tips without any plugins.
We’ve covered some basic compositing tips in After Effects before, so now let’s learn some techniques for compositing special effects. These tips are useful for both practical and CGI effects you’re adding into your footage. The best part is that you don’t need any third-party plugins for any of the effects in After Effects.
Ready? Let’s get started!
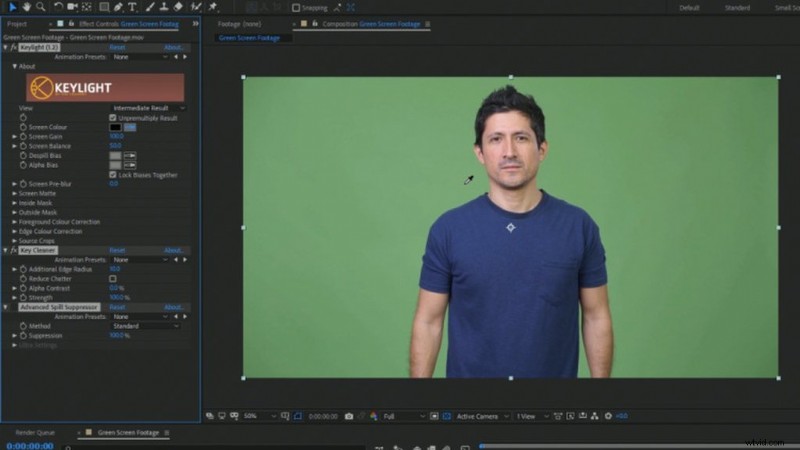
Keying Green Screen Footage
Before we start, if you need some help keying your green screen footage, PremiumBeat has you covered. That article walks through the keying process that Adobe recommends. I actually use it all the time, even in place of third-party keying plugins that I own.
Color Matching
Color matching is one of my favorite effects to do because it emulates light from a scene reflected back on the element you’re compositing. Plus, it’s super easy to do! In your composition, you should have some background footage and an element you’re compositing to it. (This can be an image, green screen footage, CGI footage, etc.)
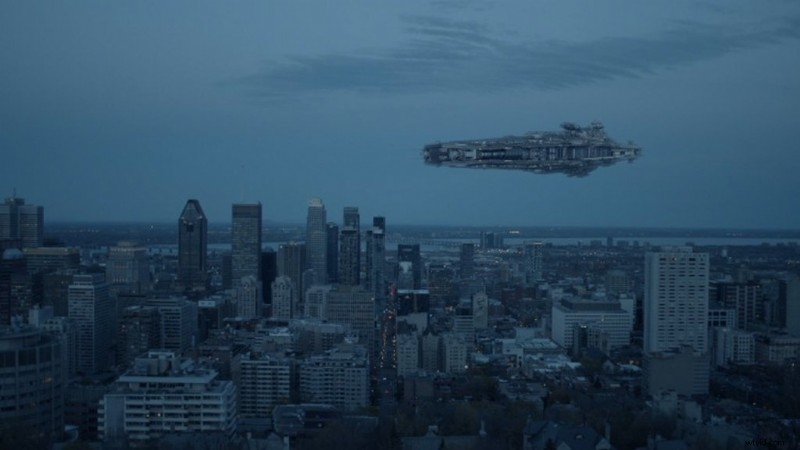
First, create an Adjustment layer and place it between the background footage and the composite element. Apply the effect Gaussian Blur to the Adjustment layer and set the Blurriness to 100. This helps smooth out the colors to give us a nice color average.
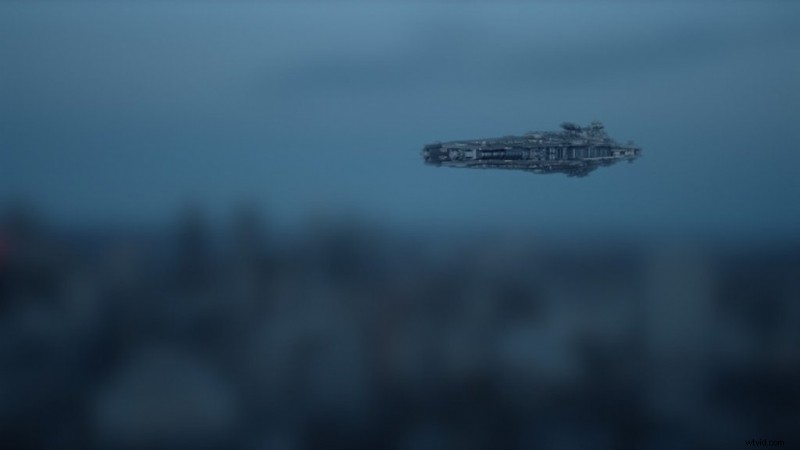
Next, apply the Tint effect to the composite element. (In my example, it’s the space ship.) Now, use the color picker in the Tint effect for the Map Black to and the Map White to settings. Select a darker color and a lighter color on the background footage, near where your subject will be composited in.
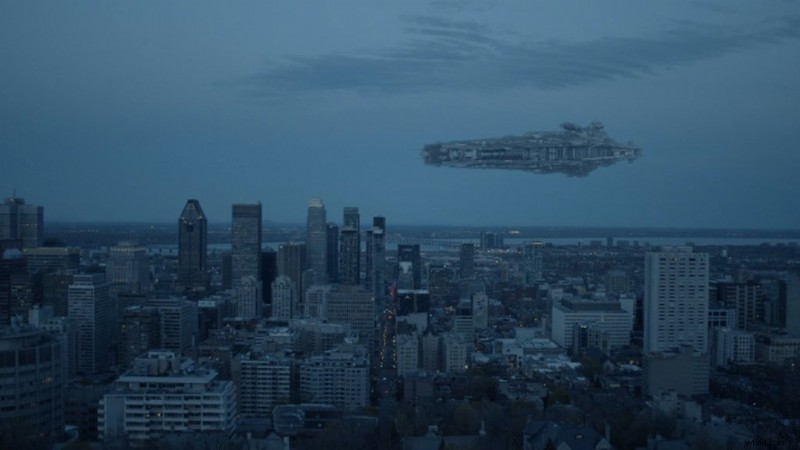
Now delete the Adjustment layer with the Gaussian Blur effect, and set the Tint amount to a lower value. Usually around 10%-15%, but sometimes up to 50% if your subject is located in the far distance of the sky, like in this case.
Light Wrap
Create a light wrap effect on your subject to emulate natural light blooming around them. This is typically reserved for scenes where the background is very bright or overexposed — such as a bright sky or lights behind your subject. In this example, we’re going to be working with green screen footage and a background footage plate.
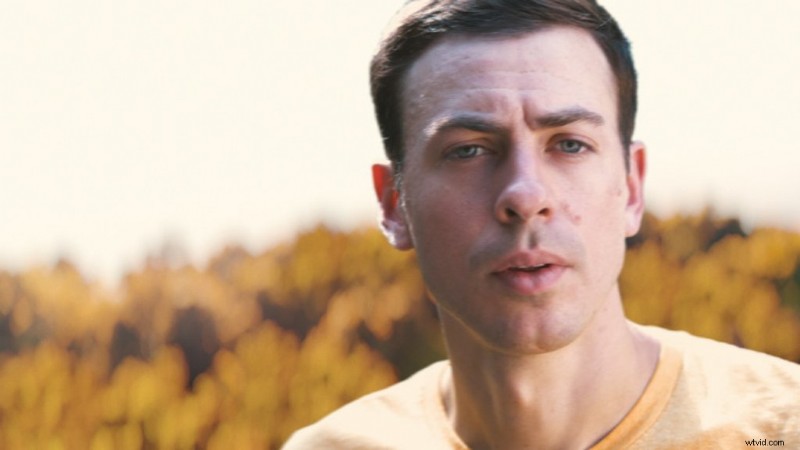
First, duplicate your background footage and move a copy of it to the top of the composition. This is going to serve as our light wrap layer after we apply some effects to it. Apply a Gaussian Blur effect and set the Blurriness to 100.
Next, apply the Set Matte effect and set the Take Matte From Layer to your green screen footage. Also, check on Invert Matte. Then, apply the Channel Blur effect and set the Alpha Blurriness between 50-80. Finally, apply a second Set Matte effect, and set the Take Matte From Layer to your green screen footage again.
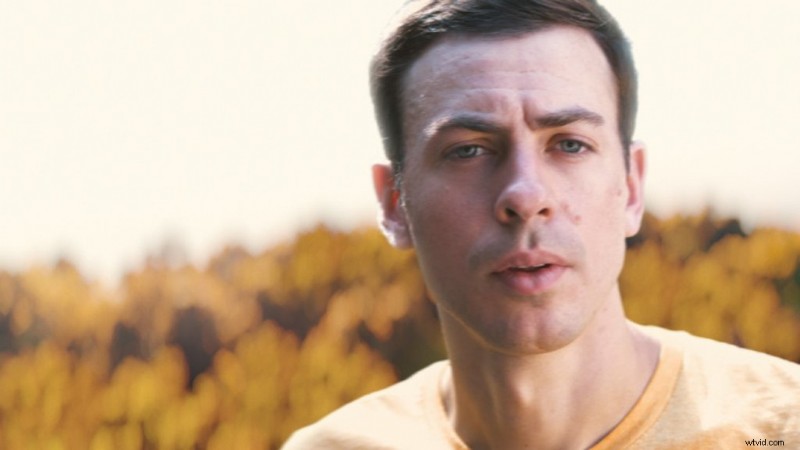
The result should be a layer with only your light wrap on it. Set the layer to a Screen blending mode and adjust the Alpha Blurriness setting to adjust the amount of light wrap you want. I also recommend adjusting the opacity of the light wrap layer, if needed.
Adding Motion Blur
After you’ve keyed your green screen footage, you may notice a bit of a jumpy look to it. This is because a lot of natural motion blur gets keyed away around the edges of your subject during movement. However, we can add this back in using Pixel Motion Blur in After Effects.

First, pre-compose your green screen footage. Then, apply the effect Pixel Motion Blur. Set the Shutter Samples between 12-16 (or higher) depending on how fast-moving your subject is. You can also increase the Shutter Angle setting to add even more motion blur, if needed.

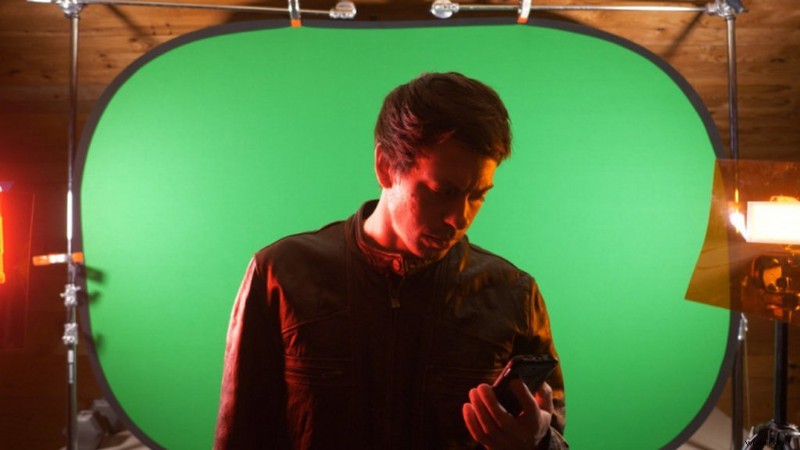
Using Colored Lights
You can use practical colored lighting on your green screen subject to match the scene they’re going to be added into. You can do this in a variety of ways. Two of the easiest are by using colored gels or RGB colored lights.
Colored gels are definitely a cheaper option and you can usually pick up a nice set for around twenty to thirty dollars. The biggest pro for them is that you can use them with your bigger lights to output a lot of color.
Alternatively, smaller RGB colored lights are very popular and make it quick and easy to dial in many different color combinations. The only drawback is that they likely won’t output as much light.
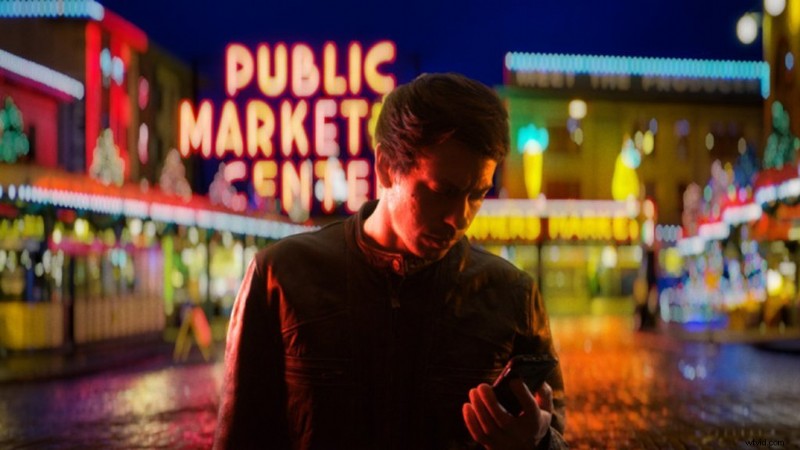
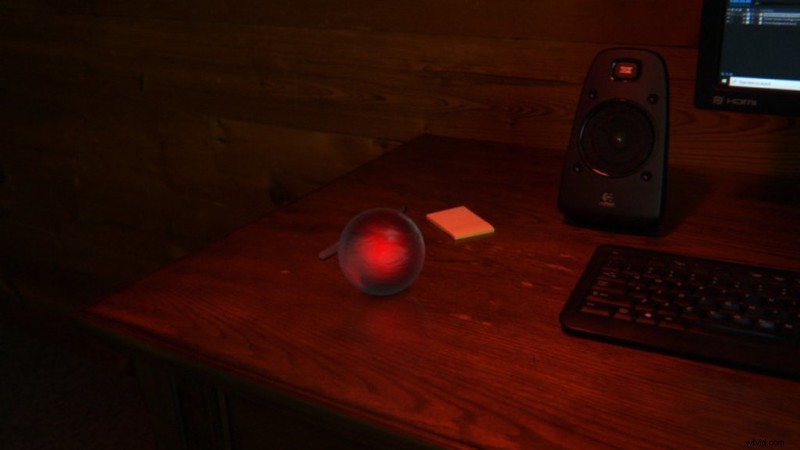
Another way you can use colored lighting is by adding light to a location you’re filming, where you’re going to composite something into later. For example, for the red glowing orb I added a light facing down with a red gel to light up the surrounding area with red light.
Interested in the royalty-free tracks we used to make this video? Give them another listen:
- “Lo Fi Waves” by Origami Pigeon
- “Influencers” by FASSounds
- “Lo Fi Beach Dawn” by Trending Music
- “Lo Fi Abstract Chillhop” by Trending Music
- “Chilling in the West Indies” by Mattijs Muller
- “Ambient” by Sugar Beats
- “Lo-Fi Dreams” by Trending Music
Discover more tips on producing video and find FREE video elements:
- The 5 Essential Phases of Video Editing
- 60+ Free Mographs, Elements, and Assets for Video
- 5 Tactics to Keep Viewers Engaged with Social Video
- Lens Basics:16-35mm or 24-70mm for Video?
- 7 YouTube Channels on Filmmaking, Camera Reviews, and Gear