You’ve finally found the perfect stock clip for you project, but the look doesn’t quite match any of the footage you already have. Here are three tips for color grading your stock footage to perfectly blend with your video.
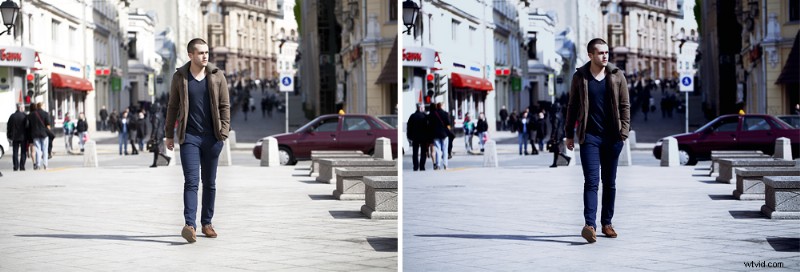
1. Adjust Color Balance
Color balancing allows you to adjust the intensity of individual colors, with a focus on the primary colors — Red, Green, and Blue (RGB).
Let’s say you’re working on a heist film. Most action films feature an overall darker look with a lot of blue shadows. If you need to use stock footage b-roll, perhaps footage of people walking along city streets, you can easily adjust the footage to suit the overall look of your film.
It’s the same process as editing photos, but it takes a few more steps since your image is constantly moving. Watch the entire clip first to get a feeling for the overall cast of colors. Since light and shadows can change throughout a clip, you need to find a balance that mediates the darkest darks and lightest lights.
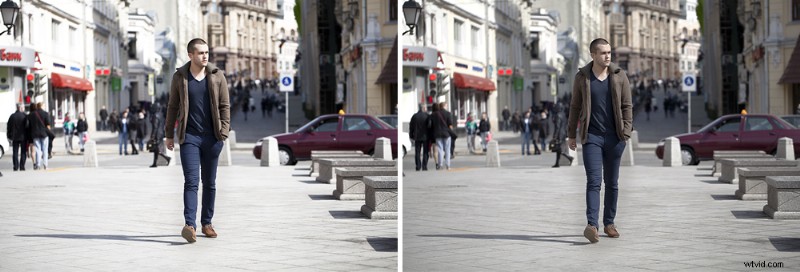
2. Adjust Contrast
You may find that even after you adjust the color balance, the stock footage still doesn’t quite match your own clips. This doesn’t have anything to do with your editing or color grading. It actually comes down to the different types of cameras and video recording formats. Some cameras shoot with a higher contrast while other cameras, especially cameras that shoot in RAW, will capture footage in a lower contrast, giving you more room to adjust in color correction.
One of the easiest ways to tie together different types of camera footage is to adjust the contrast. Contrast adjusts the luminance — the intensity of light — in your footage. By adjusting the contrast in your footage, you can quickly darken shadows and lift highlights, or vice versa. The higher the contrast, the more apparent the difference between lights and darks becomes.
3. Use Color Grading Presets and LUTs
If you aren’t an expert colorist, you may fear color grading software. You may not even have any color grading specific programs. Fear not! You can use many professional non-linear editors.
You can use Lumetri Color Presets in Premiere Pro or use the built in color grading wheels in Final Cut Pro. If you don’t have any experience with coloring footage yourself, you may find it much easier to add presets or Look Up Tables (LUT).
Check out these free color grading presets from PremiumBeat. In their demo video, you can see how they instantly changed the look of Shutterstock Footage by applying their PremiumGrades. You can also check out our guide to color grading presets here!
If you are looking for additional footage to color grade for your projects, check out Shutterstock Footage for all your stock video needs.
Top Image: Camera Color Correction by NorGal