Take your video editing skills to the next level by working with source patching in the timeline panel in Adobe Premiere Pro.
Whether you’re new to Premiere Pro or simply switching over from another NLE, the timeline panel can be a bit intimidating. One of the first things you’ll want to learn is source patching. While you can easily get by without knowing how to patch a source, figuring out how to use this feature will streamline your workflow and help cut through the confusion.
Let’s have a closer look at how it works.
The Journey of a Premiere Pro Clip
First, let’s talk about how a file makes its way around Adobe Premiere Pro.
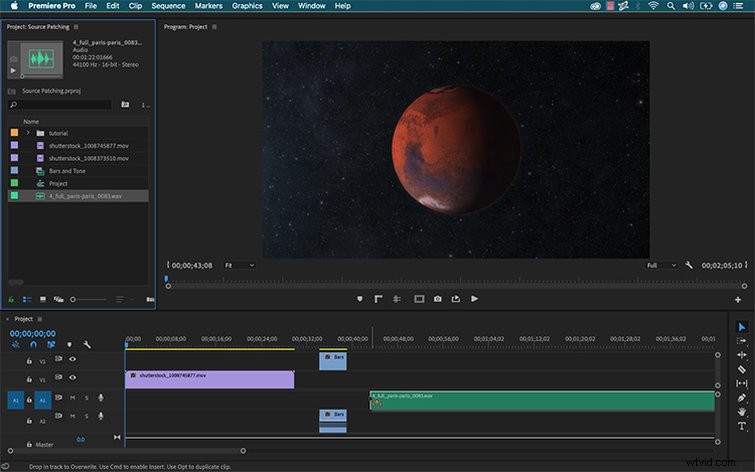
When editing video, I’m essentially taking my source material from the project panel and moving it into the timeline where I’ll craft my edit. Now, there are a number of different ways to do this.
One method is to simply drag assets from the project panel and drop them straight into the timeline. With this method, I can place the assets wherever I want. I can use keyboard shortcuts to specify if I want to perform an insert, overwrite, overlay, or replace edit. This particular method is good if I’m in a hurry and want to quickly slam a cut together, but it lacks a lot of options.