Here’s how you can save time on revisions and improve the organization of your editing projects through nesting sequences with Adobe Premiere Pro.
When we’re talking about nesting sequences, it’s more along the lines of Russian nesting dolls than a bird’s nest. The concept of nesting is simply placing a smaller editing timeline within a larger timeline — nests on nests on nests. These shorter timelines could be parts of a much larger production, such as scenes within a movie, segments within a news broadcast, or even graphics and animations.
Just keep in mind, nested sequences are not a specific type of sequence, but rather a function available to better organize your project. Before we get into an Inception situation, let’s take a quick look at how to create nested sequences and then break down their benefits and how they can improve your skills as an editor.
Creating a Nested Sequence
Any sequence within Premiere Pro can be used as a nested sequence. You don’t have to convert a pre-existing timeline or make any changes that’ll affect pre-existing sequences.
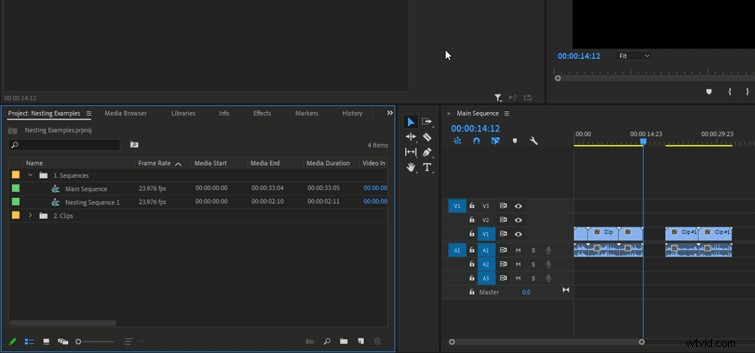
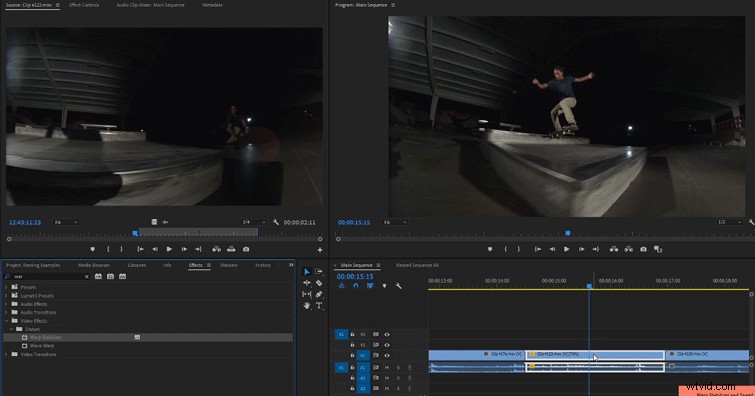
The simplest way to nest a sequence is by dragging and dropping a current sequence into the timeline of another sequence. Locate the sequence you’d like to nest, right-click on the file in the media browser, click insert, then the sequence will be dropped within the current open timeline. Be sure to have enough room within the current timeline to be able to fit the nested sequence, otherwise, current footage could be overwritten.
You can also create a nested sequence from a current clip within a timeline. This will both create a new sequence from this clip and automatically nest that sequence at the placement of the original clip. To do so, simply right-click the clip, click Nest, then name the new sequence. The current clip should change to a new color and the new sequence will be located in the project’s media browser.
Benefits of Nesting Sequences
Organization
A truly professional editor keeps their projects organized. From perfectly named folders to tightly managed timelines, having a well-organized project makes editing larger projects easier and efficient. Nesting is just one more way to keep everything clean and streamlined.
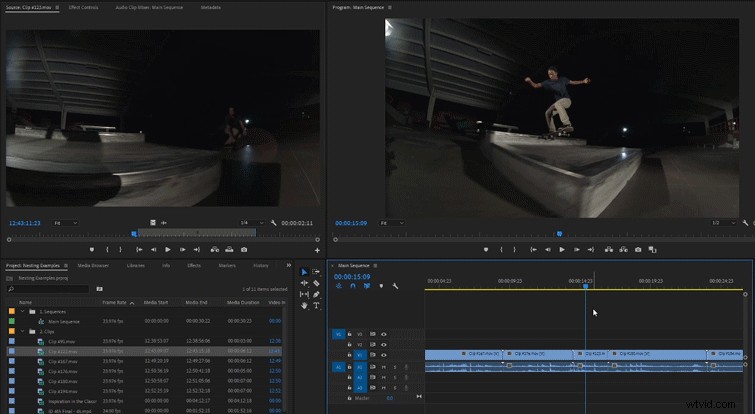
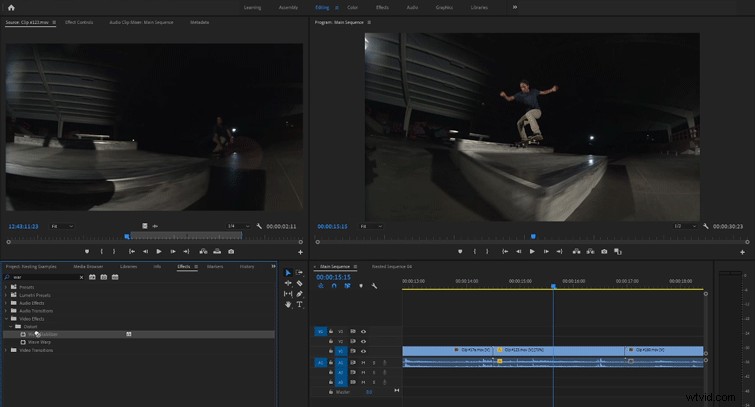
Nesting is perfect to use when you have multiple scenes across a large project. Each scene consists of its own nest sequence that’s later pieced together with the other scenes in the main sequence. This will make your main sequence look clean and organized. If you need to make changes to a specific scene, you can open up the nested sequence and only edit that sequence, affecting only the scene you need to modify. A nested sequence will function as if it’s a single clip within the larger timeline. You’ll be able to add effects, trim, slice, or do any other edits to it, just like a normal clip you’d drop in. Any effects added to a nested sequence will affect every clip located in the sequence. This can be a huge timesaver when making blanket changes like color correction or resizing.
Recently, I edited a very large timeline for an online stream that totaled over an hour, with over fifteen separate segments and scenes. Having the entire project located within a single timeline would have caused a lot of issues (especially when needing to make minor changes) and would have looked like a mess. Breaking each scene into its own nested sequence allowed me to focus on each scene individually and bring them together when finished. This helped me tackle the project as a whole, setting each scene as small goals to finish.
It’s a lot easier for people to view things in large chunks and break them into smaller chunks, as necessary. Seeing an entire timeline with thousands of small clips can be daunting, affecting how you function as an editor. Use sequence nesting to keep your workspace clean and organized.
Dynamic Edits
There’s almost nothing worse than a tedious task — especially a tedious task you could have prevented! I highly suggest using nested sequences whenever you need to reuse assets, footage, or transitions you’ll use multiple times within a project. For example, this may be an intro title sequence you’ll use across multiple videos. Nested sequences are dynamic and adjust across all of the timelines they’re located in. If you make a small change in one, they’ll be applied to all sequences across the board. You’ll save a ton of time by not having to go into each individual timeline to make adjustments. Make that change just a single time and have it be changed everywhere it’s found.
Double Down on Effects
A common issue within Premiere Pro is not being able to add Warp Stabilizer and adjust the speed within the same clip. I’m not entirely sure why this is an issue, but it has been for years. The easiest way to get around this little problem is, you guessed it, nesting!
Start off by creating a nested sequence of the clip you’ll want to stabilize and adjust the speed of. Add the Warp Stabilizer to the clip within the nested sequence and adjust to your liking. Once the Warp Stabilizer is added, go back to the main timeline and adjust the speed on the nest sequence. There are a few other effects that cannot be mixed within a single clip and nesting will solve that issue.
Edit smarter, not harder! Think ahead on how you want to structure out your projects and use nested sequences in the places that you can. Nested sequences will keep your projects organized, professional, and streamlined.
Keep exploring the Premiere Pro possibilities with this helpful handpicked content:
- Free Computer Benchmark Tests for Video Editors
- How to Create the VHS Look in Premiere Pro + Free VHS Effect Presets
- How to Create Digital Crowd Duplication in Premiere Pro
- Color Grading Freebie: 65+ Free Premiere Pro Looks