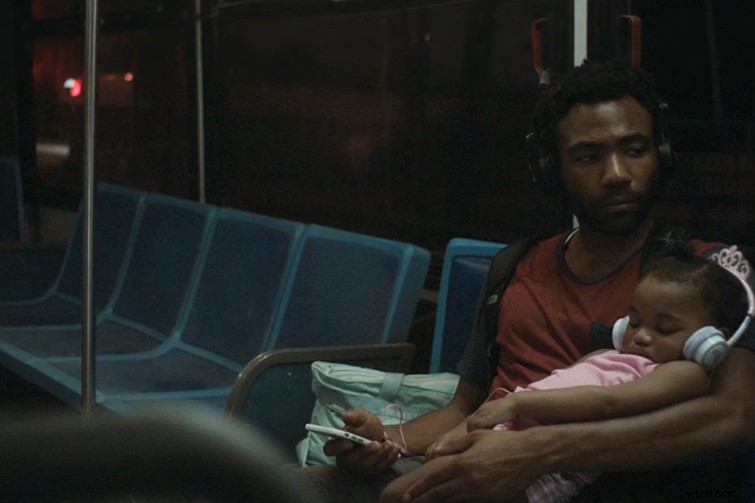
These interviews take an insightful look into how the filmmakers behind “Atlanta” created the their own unique style and look.
In some great interviews with No Film School, Brian Hallett, and Pro Video Coalition, Director of Photography Christian Sprenger offers some fascinating insights into how he worked with director Hiro Murai and Donald Glover to create Atlanta’s signature look and style.
Fresh on the heels of Atlanta’s success, let’s explore how they were able to develop the cinematic look that has helped launch an Emmy-award winning program.
The Camera and Lights
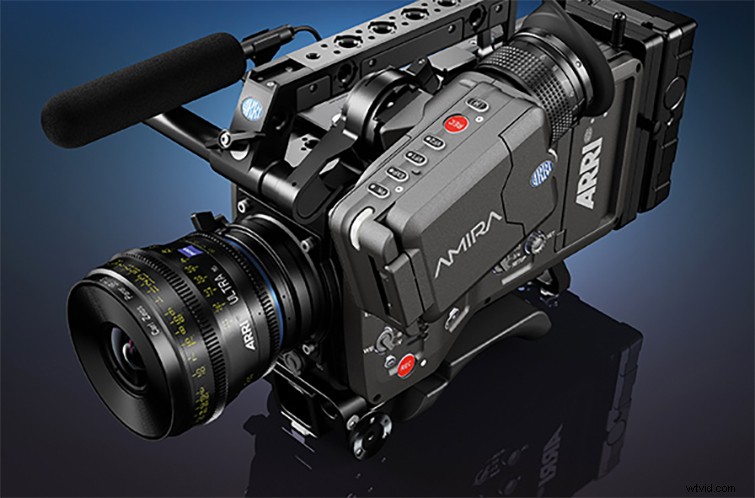
As much a stylistic choice as an industry-standard selection, Sprenger and Murai’s decision to shoot on ARRI Amira with Kowa Cine Prominar lenses gave the team the same production-level look of modern film and television — along with some leeway for their push process. Also with their LED-heavy production, the team made use of Cineo Trucolor sources and ARRI SkyPanel lights (the latter of which you can read more about here).
Under Exposure Processing

With the ARRI Amira, Sprenger worked with a bumped-up ISO (around 1280 or 1600) while underexposed three or four stops to create a temperamental, foggy film look. When shooting with a pushed ISO and underexposed footage, Sprenger cautions that it can quickly become difficult to see through the camera’s eyepiece and monitor the footage, which can become almost completely black.
On-Set Color Grading
From the same interview with NFS, Sprenger explains their on-set color grading workflow, which basically created a post house on set. The team used “a combination of DaVinci Resolve and Pomfort Livegrade,” which allowed them to build “custom curves to apply to the Rec.709 image and [they] would then send those baked images out for dailies and editorial use.”
Bonus: Creating the Atlanta Trailer Transition
As an added bonus, any fan of the series is surely fond of the viral sensation Atlanta trailer, which recently came out to promote the much-anticipated second season. While the effect seems like a tricky VFX-heavy concept, it’s actually a pretty ingenious technique that combines in-camera tricks and some simple green screen compositing. To get the results of the final video above, the team at Cinecom.net have done the legwork of recreating the effect and outlining a step-by-step process to make it on your own. Check out the video tutorial below, and read the full article breakdown at PremiumBeat.
If you’re interested in more info on the post-production process for “This is America,” check out PremiumBeat’s interview with editor Ernie Gilbert (and see if you can catch the hidden cuts)!