In this video tutorial, we’ll discuss how to create a realistic miniature look in your video projects using a drone and Adobe After Effects.
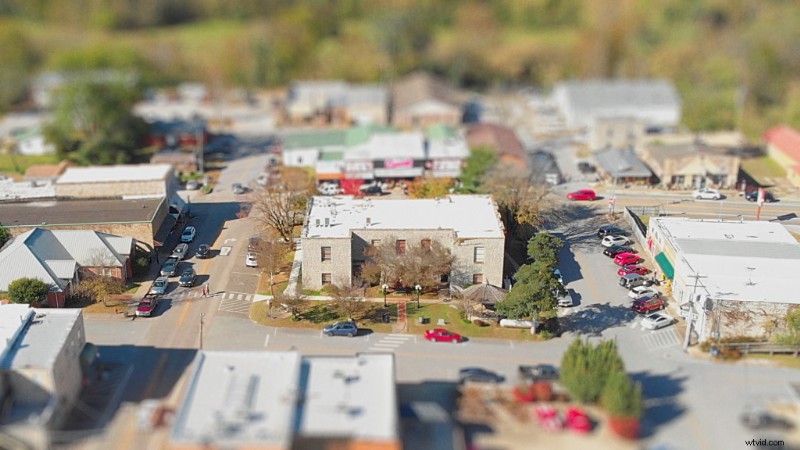
So, you’ve probably seen the miniature look before. It looks like everything in a scene has been miniaturized with a shallow depth of field. (The look also resembles visuals you can get with a tilt-shift lens.) There are many ways to create this effect, and it’s typically done with presets or instant Instagram-like filters.
However, these presets don’t replicate the subtle details of an actual macro lens, which we can replicate much more closely in After Effects. And, while we’re there, we can create a realistic stop-motion effect on our footage to help sell the look.
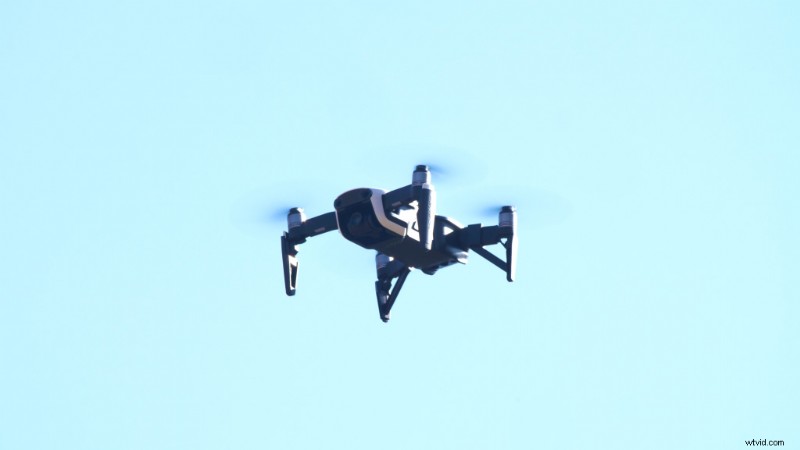
Oh, and did I mention, we’ll be filming everything with a drone?
Ready to learn all the macro details to create the miniature look? Let’s get started!
Download the Free Project File!These assets are free for personal or commercial use. By downloading, you agree not to redistribute them.
Filmmaking Steps
Let’s start with a list of filmmaking steps to use when you’re out on location with your drone.
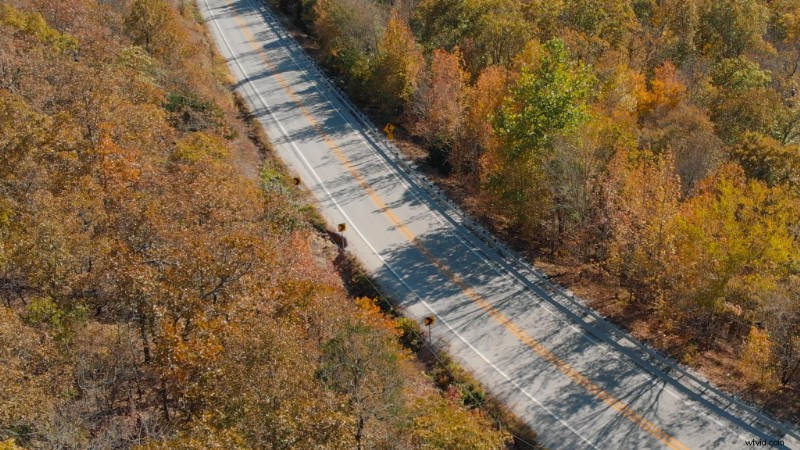
Film on a Sunny Day
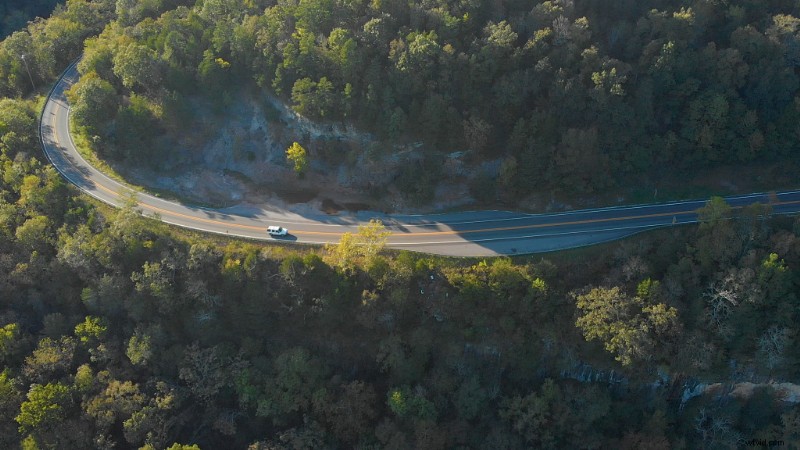
Film on a sunny day so everything in your scene casts a shadow. And, it might be even better to film in the morning or evening, so you get some longer shadows. This mimics the harsh lighting usually found on miniature models.
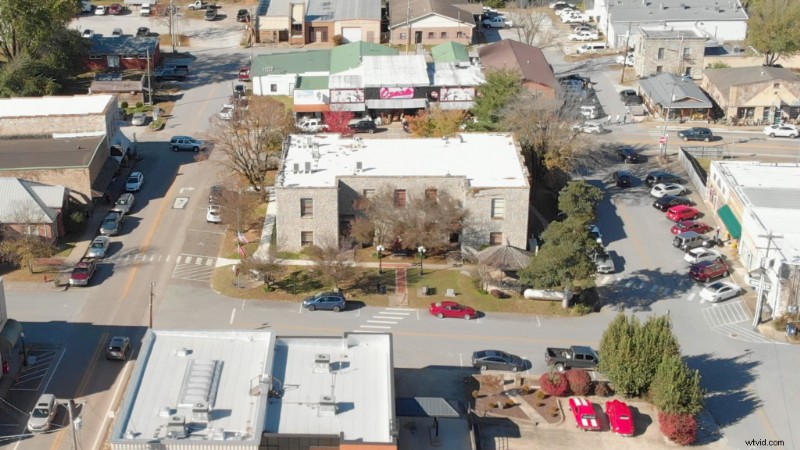
Fly the Drone Between 100 – 200 Feet
I recommend flying the drone at a height between 100 and 200 feet. This is subjective, but that range worked with most of my shots. If you get too close to your subjects, there’ll be more noticeable movement from the drone when you speed the footage up.
Drone Camera Angled Down at 45°
Start with your drone camera facing down at a 45-degree angle. You can imagine if you’re looking at a miniature scene on a table top, you’ll probably be looking down at about a 45-degree angle.
Tripod Mode
If your drone has Tripod Mode, I recommend turning that on once you get your drone into position. Tripod Mode with DJI drones helps limit the movement of the drone, and it’ll try harder to stay in place. (And, if it does move, it’ll move much slower.)
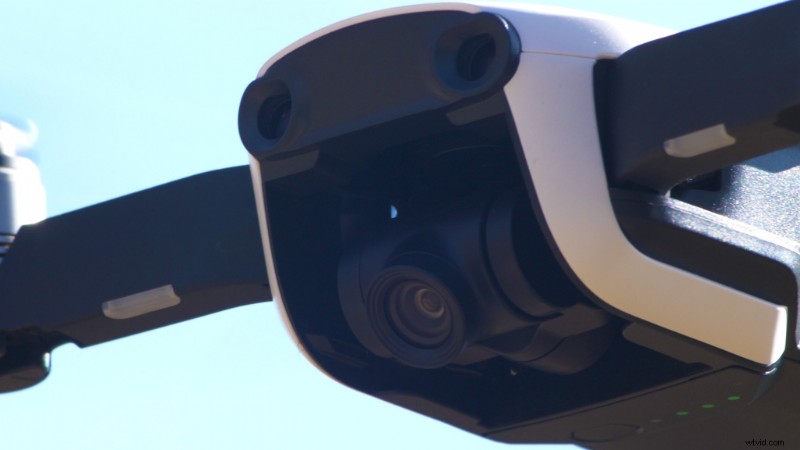
Zoom In (or Film in 4K)
This is optional, but zoom in a little bit if your drone has the ability. With a slight zoom, you’re narrowing the lens field of view, which mimics the look of a macro lens.
Now, if you don’t have the ability to zoom in, just be sure to film in 4K. Then, we can actually zoom in, in post, which will also narrow the field of view.
Fast Shutter Speed
Film with a fast shutter speed. Leave off any ND filters, and crank the shutter speed up to 500 or 600+. This is because we don’t want any motion blur on our footage. Later, it’ll help make our footage look as though we’re moving everything frame-by-frame.
Film for One to Two Minutes
Finally, hit record and let the drone film in place for one to two minutes. We’re doing this because we’ll eventually speed up the footage by about 10x in post, so a one-minute clip will turn into about six-seconds.
Creating the Miniature Look in After Effects
Now, let’s walk through creating the miniature look on our drone footage in After Effects.
Crop the 4K Footage
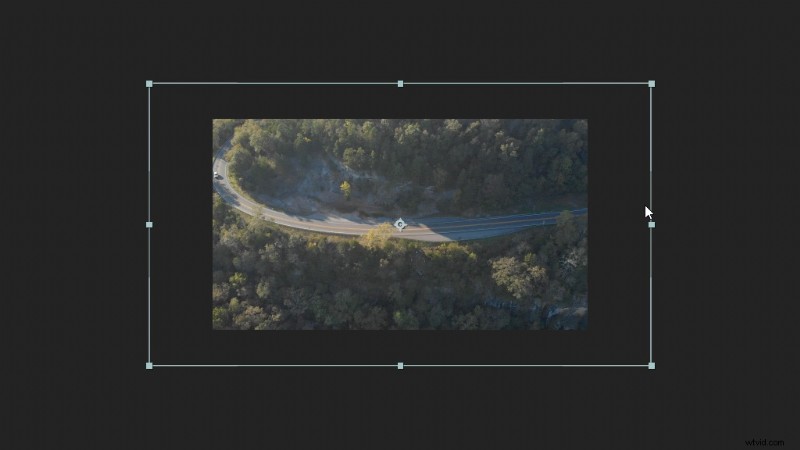
First, add your footage into a 1080p composition. Since our original footage is 4K, you can crop in on it or re-frame it. Again, this helps narrow the field of view a bit to mimic a macro lens.
Time Stretch
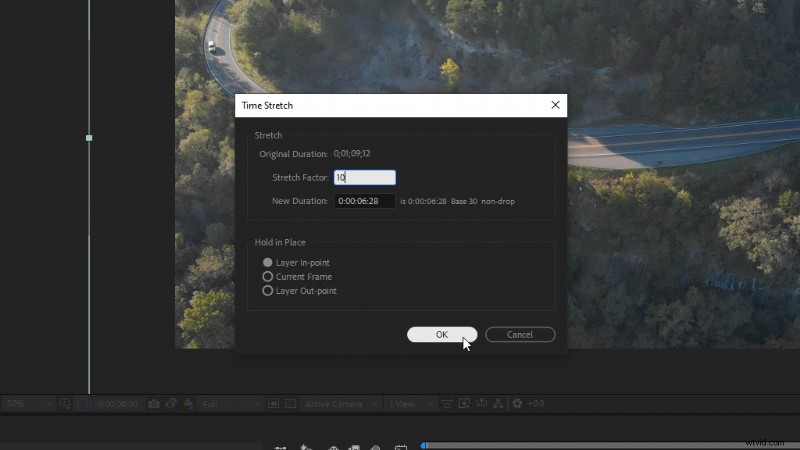
Next, right-click the footage and navigate to Time and then Time Stretch. We’re going to set the Stretch Factor to 10, and then click OK.
Now, let’s right-click our footage and select Pre-compose. Name it “Footage,” and select Move all attributes into the new composition, and select OK.
Lower the Frame Rate
To complete stop-motion movement on our footage, we need to lower the frame rate of our composition. So, just-right click outside of your footage and select Composition Settings. Then, set the frame rate to 12.
Now when we preview our footage, it’s going to have a fast, stutter feel to it.
Adjusting the Color
Create an Adjustment Layer and apply the effect Lumetri Color. Under Basic Correction, set the Contrast to 40 and the Saturation to 140. This’ll help give everything a more plastic/painted look.
Something else that I like to do is add the Unsharp Mask effect. Set the Radius to 3. This sharpens the detail, but I really like how it emphasizes the reflections in the scene. Again, helping to mimic a glossy, painted surface.
Creating the Blur Map

We need to create a Blur Map in order to create realistic blur falloff.
First, we need to create a new Solid. Select Make Comp Size and click OK. Then, right-click on the Solid, and navigate to Layer Styles, then Gradient Overlay.
Then, under the Gradient Overlay settings, change the Style to Reflected. Think of the bright white area as the part of our footage that’ll be in focus, and the black area will be out of focus.
Under the Colors setting, you can adjust how harsh you want the falloff to be by adjusting the bottom black and white sliders.
You can also adjust the angle of the gradient or the position, if you need to move it around to line up better with your footage.
Once you have your gradient set up, go ahead and right-click on it and Pre-compose it. Name it “Ramp.” Then, we can turn off the comp visibility by clicking on the eye icon.
Camera Lens Blur
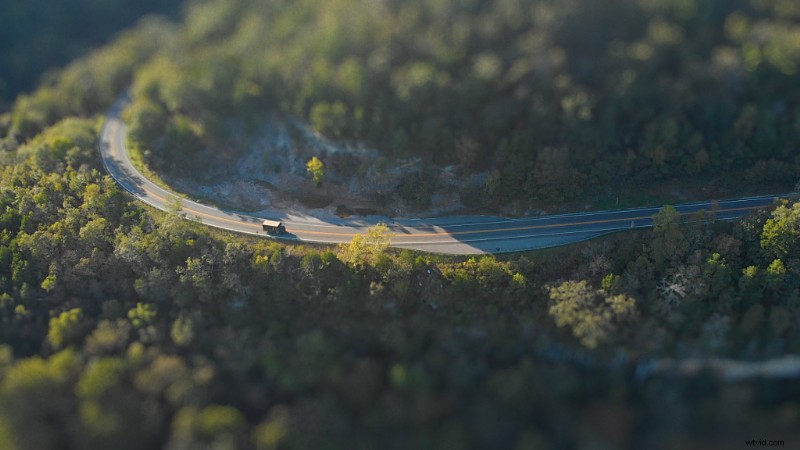
Create a new Adjustment Layer above everything else and apply the effect Camera Lens Blur.
Set the Blur Radius to 20, and then check on Repeat Edge Pixels.
Under Blur Map, for the layer, select the “Ramp” comp we created. Then, check on to Invert the Blur Map.
Now, we can really see our miniature scene take shape. You can continue to adjust settings like the Blur Radius, or adjust the Iris Shape, which will change how the bokeh looks. I also like the subtle look of increasing the Diffraction Fringe.
Film Grain
One final thing I recommend is adding some film grain on top of your footage. The grain will accent nicely with a blurry background, adding a bit more realism to the bokeh.
Check out this free film grain from Shutterstock.
Just drag and drop in the film grain footage above everything in your composition and set the Blending Mode to Overlay. And that completes our miniature look!
Looking for more video tutorials? Check these out.
- Edit for Social Media with Premiere Pro’s Auto Reframe
- The Benefits of Understanding White Balance in the Digital Era
- Using Tungsten Lighting in a Daylight-balanced Scene
- IPhone 11 Filmmaking
- How Many People Do You (Really) Need On a Film or Video Set?
Interested in the tracks we used to make this video?
- “Lo-fi Dreams” by Trending Music
- “Stir Crazy” by Tonemassif
- “Adapta” by Tonemassif