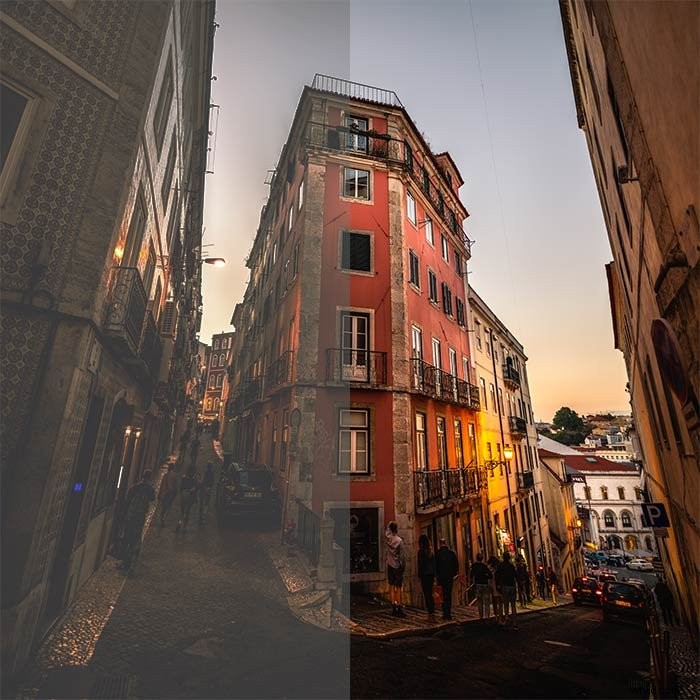
While browsing for inspiration, you will inevitably bump into photos edited in a faded, matte effect. This matte look gives images a hazy, yet warm feel. Fortunately, it’s straightforward to do yourself.
We show you how to easily create a matte effect in Photoshop!
What You Will Need to Create a Matte Effect in Photoshop
Adobe Photoshop or any other editing software that lets you adjust curves.
A great photo that feels moody already. This technique works best with dark, late-afternoon shots or artificial light.
I advise not to apply it for bright daylight scenes without significant shadows. It would not add any plus, but potentially mess up the exposure.
How to Create a Matte Look in Photoshop – Step by Step
There are countless ways to create a matte look in Photoshop. I will show you the three most straightforward and practical methods.
Note: for easier comparison, I only applied the adjustments to the bottom half of the photo.
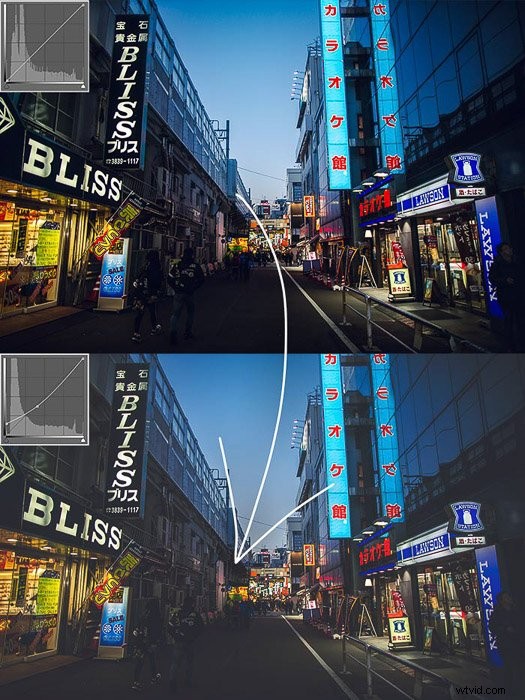
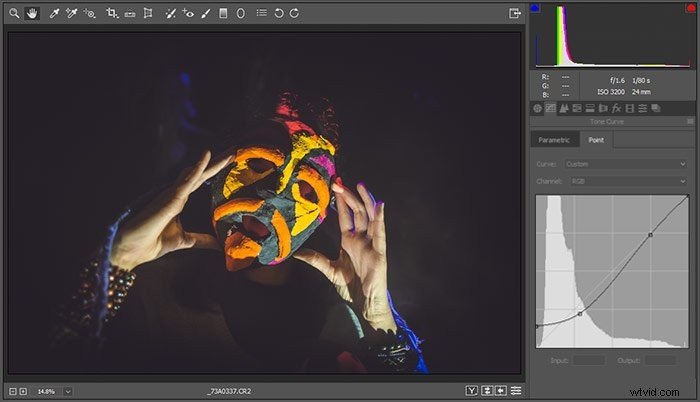
Using the Curves Adjustment Layer to Create a Matte Look
Curves are essential functions. On the horizontal axis is the first exposure. On the vertical axis, you can set how you want to adjust that, assigning a new level to the original levels.
1. Once you have imported your photo into Photoshop, add a Curves Adjustment Layer using the adjustments panel. 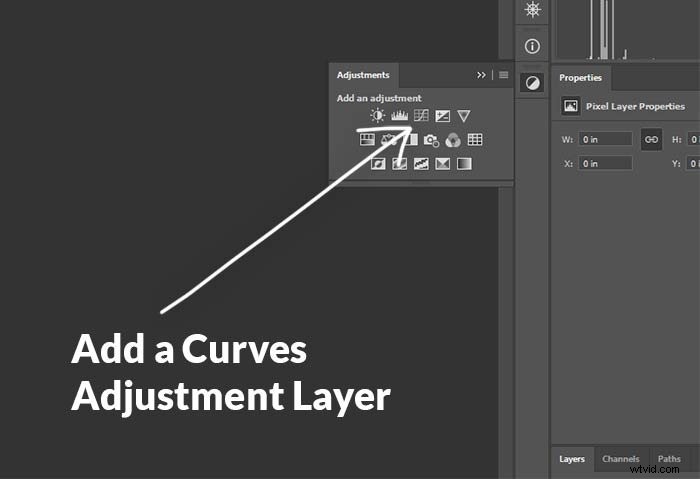
2. Grab the point on the bottom left corner, and pull it up. By doing this, you raise the darkest parts of the photo. 
3. Adjust the exposure to get a nice, gradual transition between the darker tones and the rest of the image.
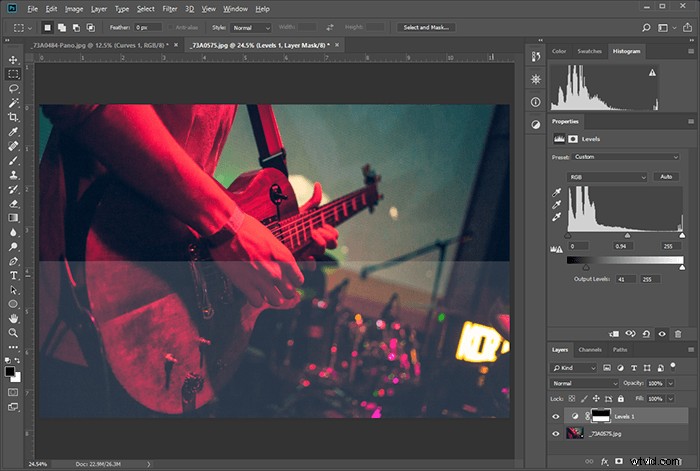
Using the Levels Adjustment Layer
1. Create a Levels Adjustment Layer.
2. Adjust the left button on the black-to-white scale to your taste. This adjustment does the same as pulling up the left side of curves.
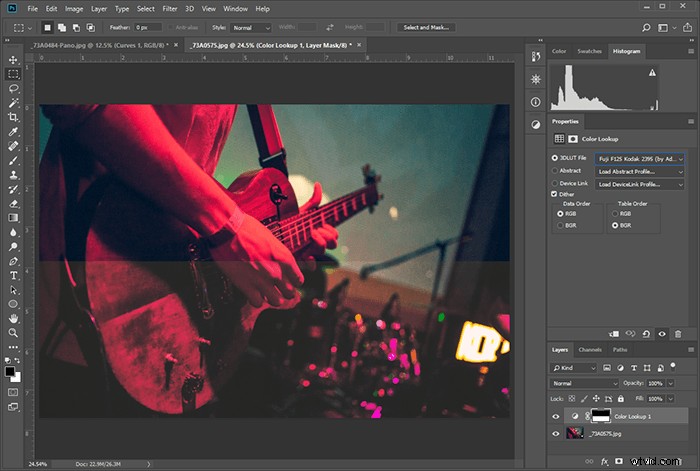
Using Colour Lookup
1. Create a Colour Lookup Adjustment Layer
2. Choose a Lookup that gives you a matte look. Not all Lookups do it, but there are many. Each of them has a color profile as well.
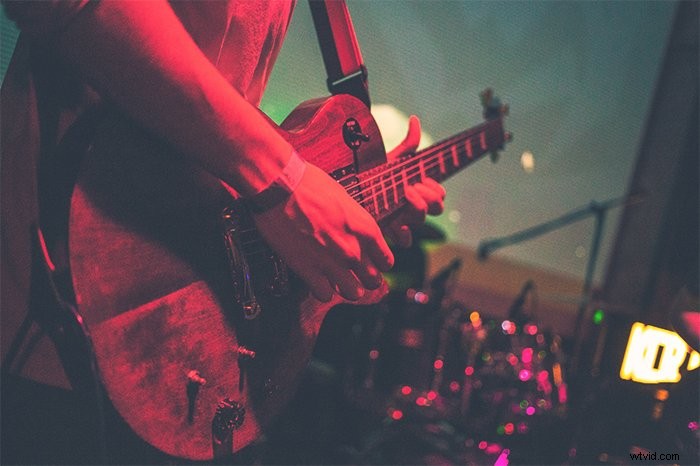
For this shot of a guitarist, I felt that the Fuji F125 Kodak 2395 was the best one. Try a few, and choose the one you like best.
Creating a Matte Look With Curves in Camera Raw / Lightroom
You can add a matte effect the same way as described in the curves adjustment layer section. You’ll find Curves on the second panel of either software.
Conclusion
This technique is simple yet powerful. A lot of photographers use it every day.
However, use it with caution. Be careful not to hide important details from the shadows, unless that is your intention. Use the matte effect to smooth out the darker areas where needed.
As with every technique, define your photo using the Photoshop tools, but do not let the tools define your image.