Everyone has messed up once or twice trying something new. Here’s what I learned setting up my first product photo shoot.
A few years ago, while I was still an energetic young undergrad, I was a video production intern for a large airline company. I was flying all around the country to record videos and photograph company events. It was a pretty sweet gig. I got to learn a lot and had a good time doing it.
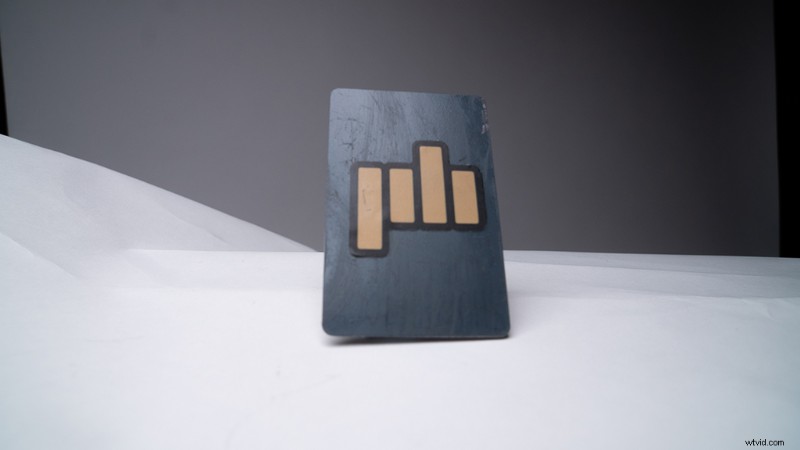
One fateful day, though, my boss tasked me with shooting some product shots of the airline’s new rewards cards for a social post. I accepted happily, but what they didn’t know is that I had never done a product shoot in my entire life.
Here’s how I messed it up — and how you can learn to successfully set up your own product photoshoot.
How I Destroyed A Set
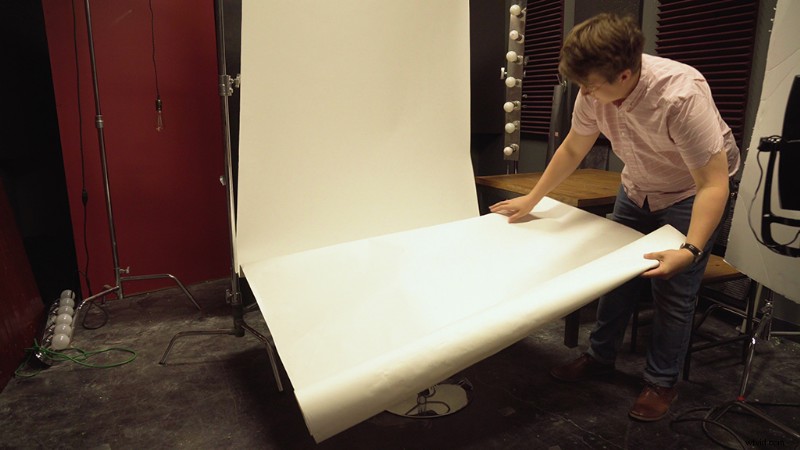
In every major studio, there is a roll of seamless paper hanging from the ceiling. You use this paper to create a seamless infinite background for photoshoots, green-screening, etc. In the airline’s studio, we had an eight-foot. roll. I pulled down the paper, and I thought it was a good idea to set the paper on top of a stool so I could get level with the rewards cards when photographing them. When I placed the paper on top of the stool, it immediately crumpled around the base. The one thing you need to know about seamless paper is that once creases form, the paper is useless.
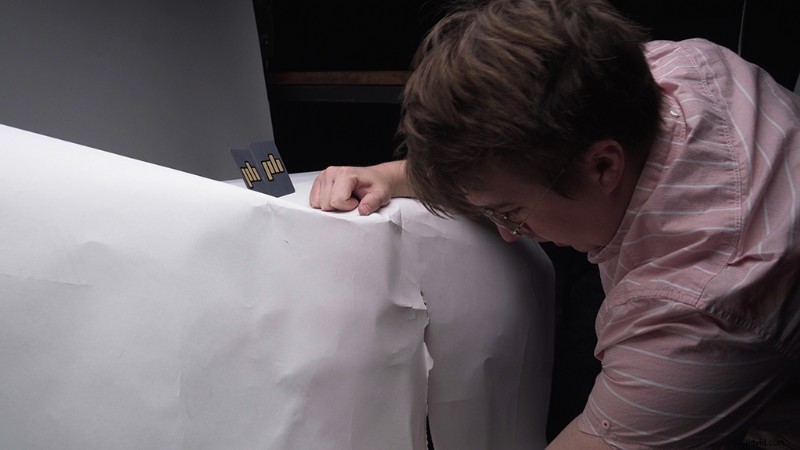
So to remedy the creased paper, I went all in and tried folding the paper around the base of the stool. My hand instantly went through one of the creases, putting a two-foot hole right under the stool.
Things were going extremely well.
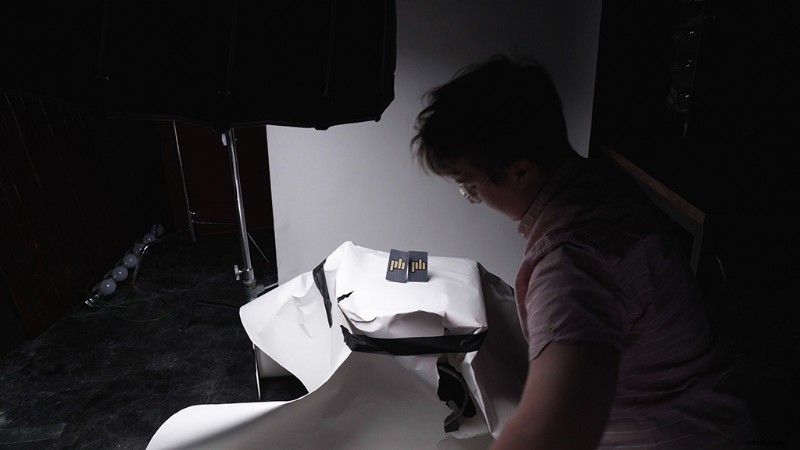
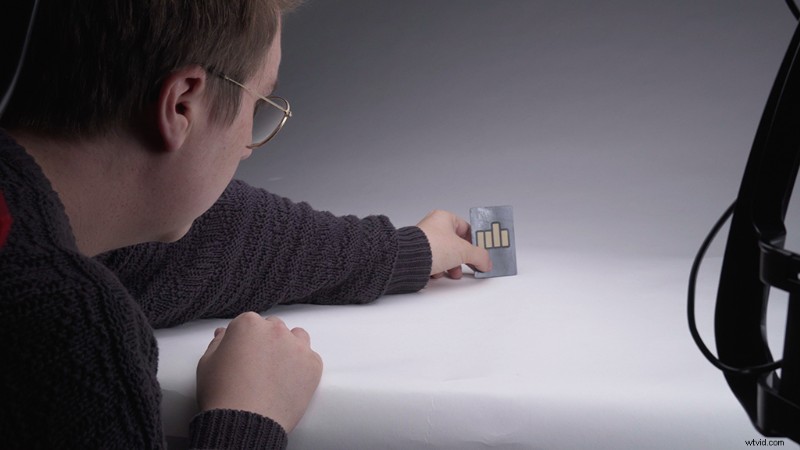
After mashing the set together and haphazardly taping the rewards cards to the stool, I tried my best to take photos of these cards. Since I had no idea how to adjust the settings to match the studio lighting, they turned out . . . awful.
Correctly Setting Up A Product Shot
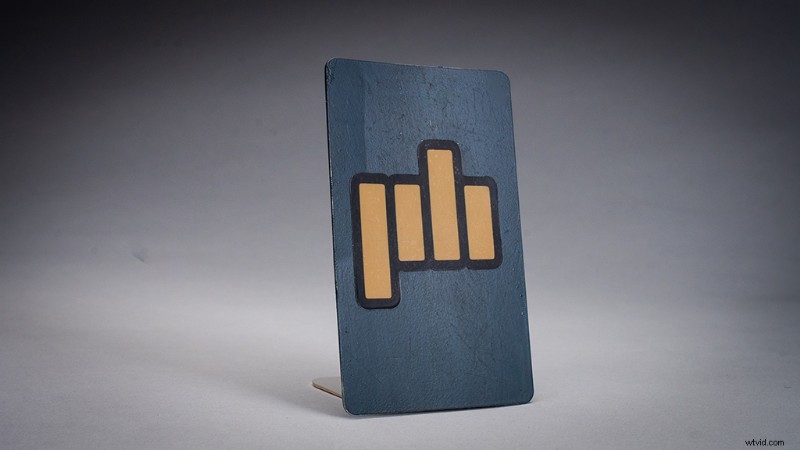
First, lay out your seamless paper on a wide, flat surface (avoid stools). Clip it in place so it doesn’t roll out. After that, set up a soft box light above your product. Adjust the lighting, and make sure the whites don’t become blown out. From there, set up a bounce system using a whiteboard and an LED light. Place your product in the center of the seamless paper, and align it so that the background swoops at the base of the product.
For a more detailed look at product shots and how to make them more dynamic using video, check out this tutorial.
Interested in the tracks we used to make this video?
- “Jazz Manouche Forever” by Studio Le Bus
- “Swing Detective” by Studio Le Bus
- “Finger Snappin” by Sirus Music
Looking for more video tutorials? Check these out.
- After Effects Playbook: 10 Tips and Tricks for Almost Everything
- Drones Vs. Helicopters: Which Is Better for Professional Aerial Footage?
- How to Use Colored Smoke Canisters on Your Next Film or Video Project
- Video Tutorial: How to Use the Duotone Effect in Your Portraits
- 4 Landscape Photography Mistakes You Can Easily Avoid