In music production, fade‑ins and fade‑outs are essential tools that help a track transition smoothly, whether you’re polishing a podcast or mastering a single. Think of the iconic fade‑out in The Beatles’ “Hey Jude” – it’s a classic example of how a subtle volume drop can leave a lasting impression.
This guide explains how to create professional‑quality fades in GarageBand on both Mac and iPhone, and it introduces an excellent alternative for those who need a quick, free solution.
What You’ll Learn
- Creating fades in GarageBand on Mac
- Adding fades in GarageBand on iPhone
- Using Filmora as a GarageBand alternative on Mac
1. Creating Fades in GarageBand on Mac
GarageBand offers both automatic and manual fade controls, giving you precise control over the timing and intensity of each fade.
Step 1 – Open Your Project
Launch GarageBand and load the song you wish to edit from the home screen.
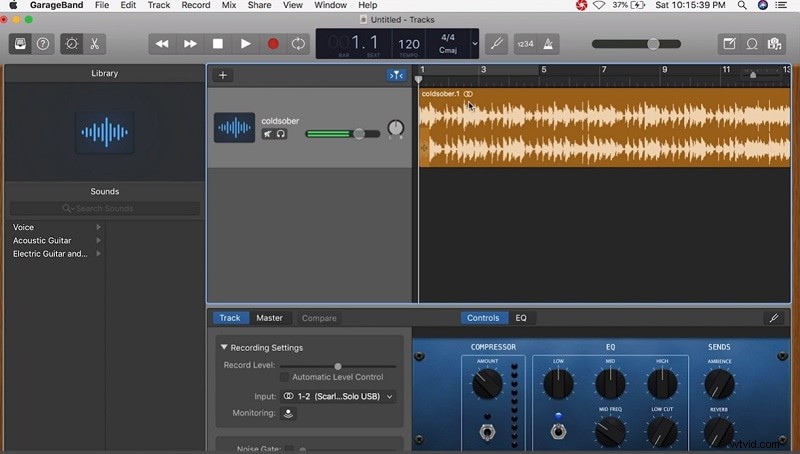
Step 2 – Show the Master Track
Click Track → Show Master Track from the menu. The master track appears beneath the last user track.
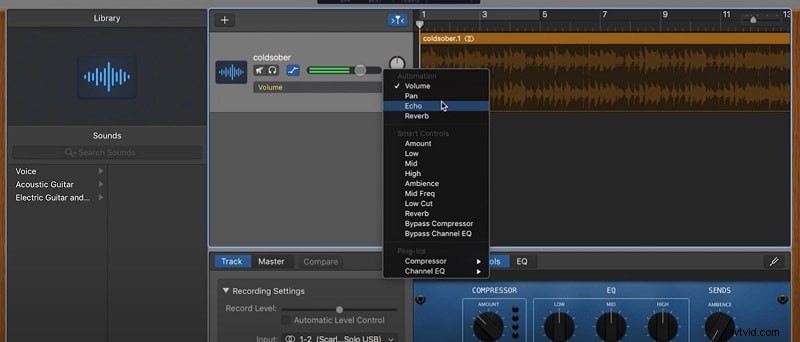
Step 3 – Apply a Volume Fade
Navigate to Mix → Produce Volume Fade‑Out to activate the fade feature.
Step 4 – Adjust the Fade Curve
In the track header, click the volume knob and drag the fade‑out point to set the desired fade duration.
For iPad users, the same automatic fade‑out option is available by opening the song set and toggling the fade‑out switch.
2. Adding Fades in GarageBand on iPhone
GarageBand for iPhone simplifies the fade process with a single toggle for automatic fades.
Step 1 – Select the Track
Open the desired track from the home screen and view it in the mixer.
Step 2 – Enable Automatic Fade‑Out
Tap the settings icon (top right) and open the song set. Scroll to the fade‑out toggle and turn it on.
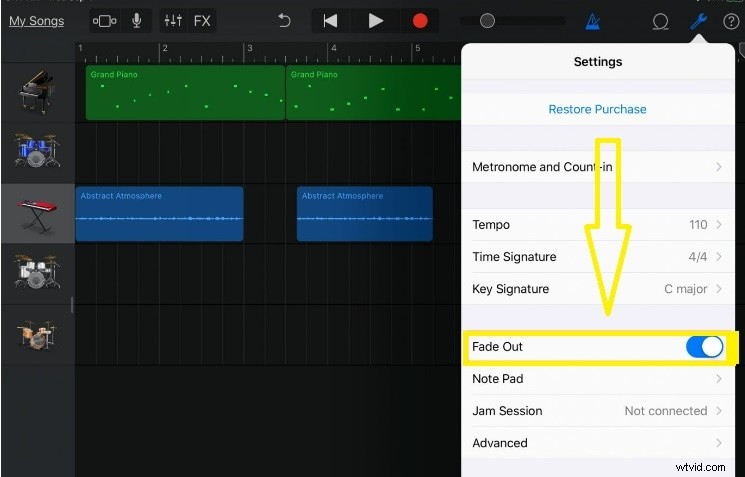
Step 3 – Confirm Your Settings
Tap the Done icon to apply the change.
The automatic fade‑out works across all tracks, applying a smooth volume drop that starts at a preset point and fades at a consistent rate.
3. Filmora: A Free GarageBand Alternative for Mac
Finding a capable, no‑cost MP3 editor can be challenging, but Wondershare Filmora delivers a clean interface and robust multi‑track editing.
Filmora excels in tasks such as adding background music, splitting audio, and applying equalizer and denoise effects—all while supporting numerous file formats.
To fade audio in Filmora, follow these simple steps:
Step 1 – Import Your Media
After launching Filmora, click the Import icon, select your file, and drag it to the timeline.
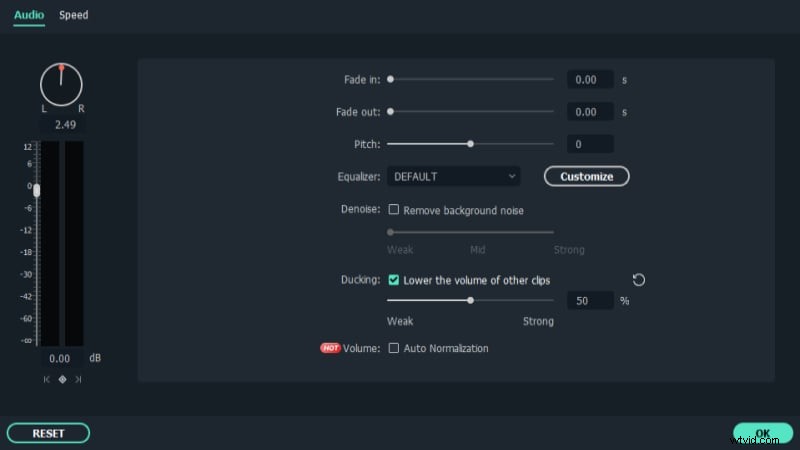
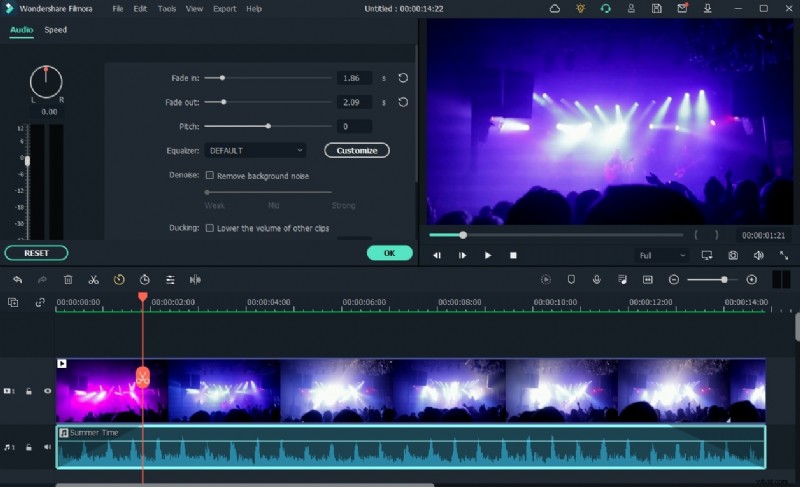
Step 2 – Apply a Fade‑In or Fade‑Out
Double‑click the clip, go to the Audio tab, and adjust the fade‑in/out sliders to your preference.
Step 3 – Export Your Project
Click Create to render the file. Filmora supports MP3, MKV, WMV, AVI, and many more formats, making playback easy on any device.

Conclusion
Whether you’re using GarageBand or Filmora, mastering fade‑in and fade‑out techniques can elevate the professionalism of your audio projects. These steps provide a clear, trustworthy roadmap to achieve smooth transitions and polished finishes.