Logic Pro X has evolved into a powerful, all‑in‑one studio, and its cross‑fade capabilities are no exception. Whether you’re blending two takes, smoothing a loop transition, or creating a seamless mix across multiple tracks, mastering the cross‑fade tool will elevate your production quality.
Below you’ll find a clear, step‑by‑step walkthrough to create cross‑fades directly within Logic Pro X, as well as a quick alternative method using Filmora for users who prefer a lightweight solution.
In this article
- Steps to Crossfade Audio in Logic Pro X
- Alternative Way to Crossfade Audio
- Related FAQs on Crossfading
Part 1. Steps to Crossfade Audio in Logic Pro X
To start, import the audio you want to blend into two separate stereo audio tracks in the Arrange window. Position the two regions side by side so they share a common boundary.
Step 1 – Create Two Tracks
Drag each audio file into a new stereo track. This keeps the original files intact and gives you full control over each region.
Step 2 – Place Regions Adjacent
In the timeline, align the two audio regions so that their ends touch. The cross‑fade will occur at this shared edge.

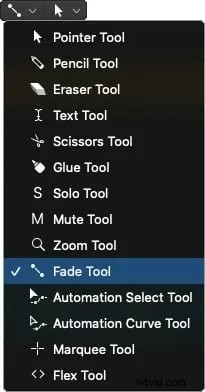
Step 3 – Select the Fade Tool
Click the Fade Tool from the tool menu (located at the top of the screen) or press the F key. This tool allows you to sculpt cross‑fades between adjacent regions.
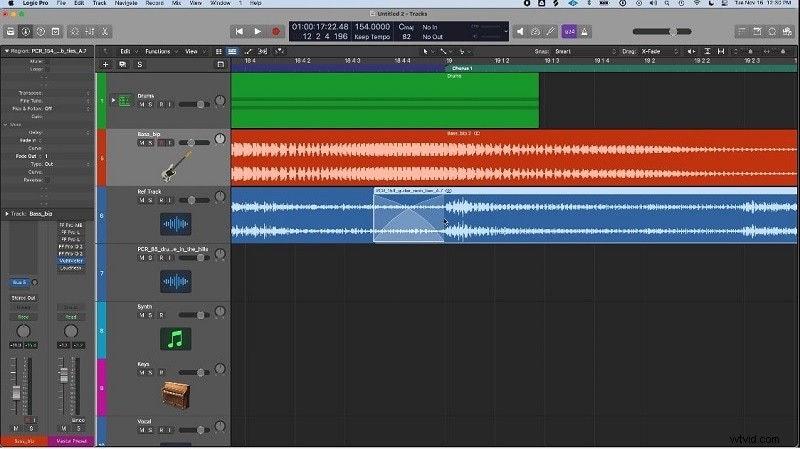
Step 4 – Create the Cross‑Fade
Hover near the boundary of the two regions. When the cursor changes to a cross‑fade icon, click and drag to adjust the fade length. Logic will automatically generate a fade‑in on the right region and a fade‑out on the left, creating a smooth transition.
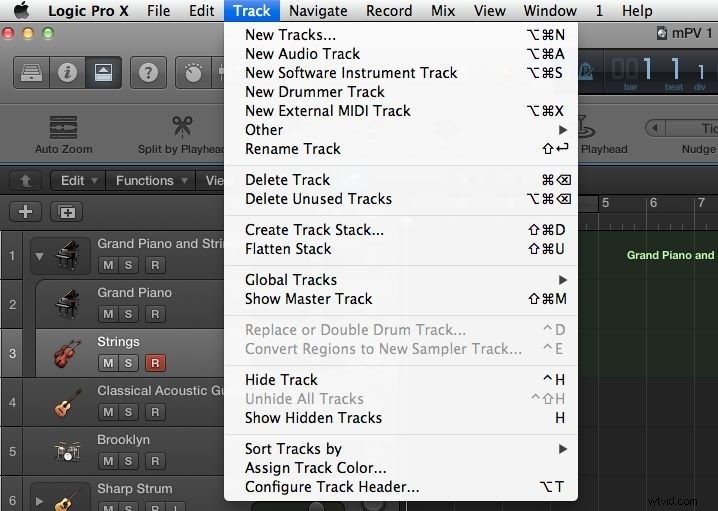
For greater control, you can switch to a larger cross‑fade by choosing New > Horizontal 4‑Fader in the Inspector and selecting the desired style.
Part 2. Alternative Way to Crossfade Audio
If you’re looking for a more lightweight approach, Filmora’s video editor includes a simple cross‑fade function that works well for audio tracks. While not as feature‑rich as Logic, it’s a cost‑effective option for quick edits.
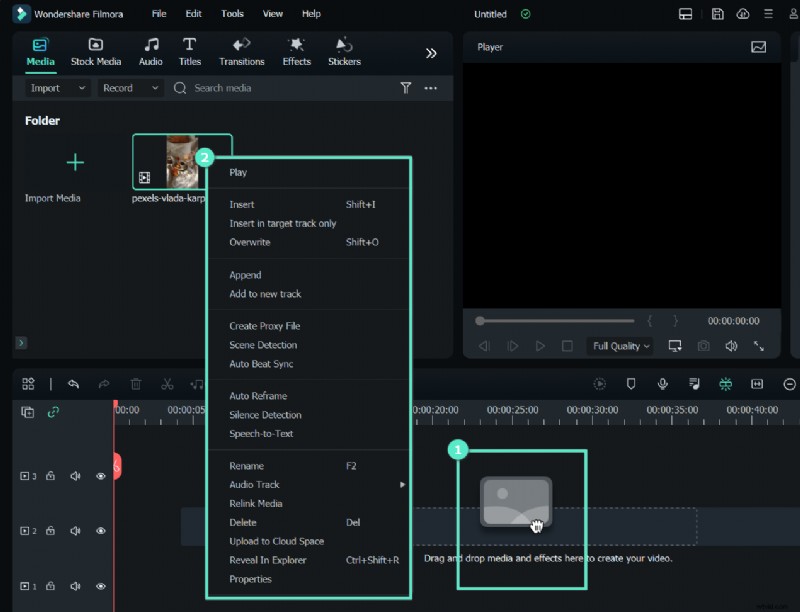
Step 1 – Launch Filmora and Import Files
Open Filmora, choose the Video Editor, and import the audio files you wish to blend. Click the Import button and locate your files.
Step 2 – Split the Audio for Transition
Drag the audio onto the timeline and use the Split tool to cut at the desired cross‑fade point.
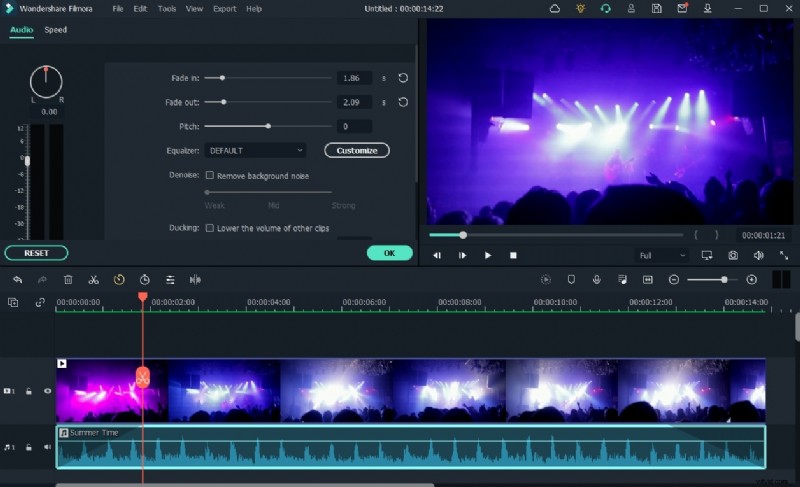
Step 3 – Apply Fade Handles
After splitting, click on each segment. Drag the fade handles (the small triangular icons) to the left or right to set fade‑in and fade‑out durations.
Step 4 – Export Your Faded Audio
When satisfied, click the Export button in the upper right corner. Choose your format and destination, or upload directly to YouTube via the built‑in integration.
Part 3. Related FAQs on Crossfading
1. What is crossfading?
Crossfading blends two audio clips by gradually decreasing the volume of one while simultaneously increasing the volume of the other, eliminating clicks or abrupt stops at the edit point.
2. How do I add a crossfade?
In Logic, hover near the edge of a region, click the cross‑fade icon, and drag to set the fade length. The fade will automatically be applied to both sides of the edit.
3. Can I crossfade MIDI tracks?
MIDI doesn’t support native fades, but you can achieve a similar effect by automating volume or pan curves across the clip. Use the Smart Tool to draw a fade curve on the MIDI track’s automation lane.