Creating compelling visual content is a multi‑step process that demands both creativity and technical precision. While many viewers assume shooting a video is straightforward, the real challenge lies in transforming raw footage into polished, engaging material. After Effects stands out as a powerful tool for enhancing productions, and one of its most sought‑after features is the glitch effect. In this guide, we’ll walk you through the exact steps to produce a high‑quality glitch effect and showcase five premium glitch templates that can elevate any project.
In this article
Part 1: How to Build a Glitch Effect in After Effects
The glitch effect originated as a visual representation of signal distortion, but today it’s celebrated for its aesthetic appeal and dynamic transitions. Below is a concise, step‑by‑step workflow that mirrors industry best practices.
- Start a New Composition – Open After Effects and select New Composition. Define the name, resolution, and frame rate that match your final output.
- Create a Background Layer – Right‑click in the timeline, choose New > Solid, and name it. This will serve as the canvas for your glitch.
- Apply a Gradient – In Effects & Presets, search for 4‑Color Gradient and drag it onto the solid layer. Adjust the colors to suit your project’s mood.
- Add Text or Logo – Either import a logo or use the Text tool to type your title. Style the font and position it centrally.
- Animate Scale – Press S to reveal the Scale property. Insert a keyframe at 1 s, then return to the start and set Scale to 0 % to create a dramatic zoom‑in.
- Animate Opacity – Press T for Opacity, set a keyframe at the start with 0 %, and at 1 s set it to 100 % for a fade‑in effect.
- Apply Easy Ease – Select the last keyframe, hit F9, then open the Graph Editor to fine‑tune the animation curve for smooth acceleration.
- Introduce Distortion – From Effects & Presets, apply a Bad TV or similar distortion effect. Adjust wave height and width to taste.
- Pre‑compose the Text Layer – Right‑click the layer, choose Pre‑compose, name it, and move all attributes into the new composition.
- Add a Solid Layer for the Glitch – Create a new solid (right‑click > New > Solid) that will host the glitch effect.
- Apply a Glitch Effect – Drag a glitch effect (e.g., Strobe Light) onto the solid, tweak its parameters, then pre‑compose as before.
- Insert an Adjustment Layer – Add an Adjustment Layer and apply Displacement Map. Manipulate horizontal/vertical displacement to produce continuous glitching.
- Color the Text (Optional) – Use the Fill effect to add color to your text or logo. Combine with an RGB split for added visual interest.
Following these steps will give you a versatile glitch effect that can be adapted to logos, titles, or full‑screen overlays.
Part 2: Five Premium Glitch Effect Templates for After Effects
Beyond DIY creation, numerous high‑quality templates are available to accelerate production. Here are five standout options that cover a range of styles.
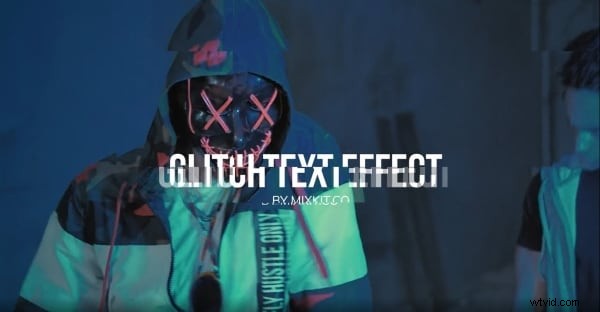
1. Fast Glitch Logo
Designed for speed, this template features vibrant neon colors and rapid distortion, perfect for dynamic intros.

2. Glitch Slideshow Panel
Elevate traditional slideshows by overlaying glitch transitions and distortion, adding a modern twist to presentations.
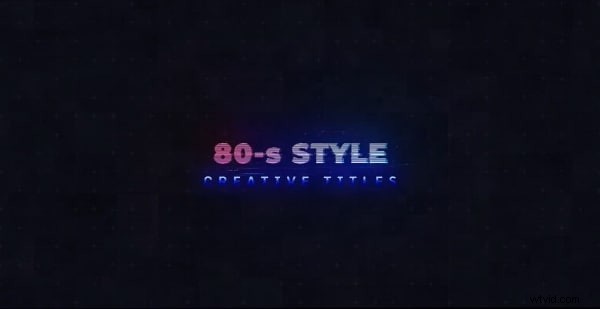
3. Cinematic 80’s Style
This template blends retro aesthetics with contemporary glitch effects, ideal for opening titles or chapter separators.
4. Rolling Glitch Logo
A sleek, electro‑inspired logo animation that delivers a dark, tech‑savvy vibe suitable for brand identities.

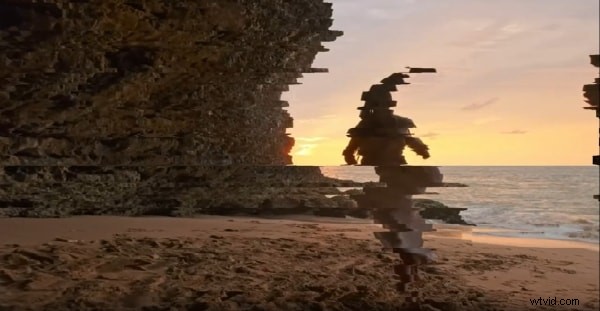
5. Video Glitch Title
Combine a classic title layout with glitch distortion for a retro yet fresh look. Multiple color options allow for brand consistency.
Closing Words
Glitch effects continue to be a staple in modern media, offering a creative way to layer distortion and reveal underlying narratives. Whether you’re crafting a custom effect or leveraging a pre‑made template, mastering the glitch in After Effects can elevate the visual storytelling of any project.