Editing is the heartbeat of video creation, turning raw footage into compelling stories. Yet, it can feel overwhelming, especially when juggling large volumes of media. The good news? With Filmora’s intuitive tools and a few proven strategies, you can streamline your workflow and cut production time dramatically.
In this article
- Organize Your Media
- Use Proxies for Heavy Footage
- Keep Video & Audio Tracks Structured
- Leverage Keyboard Shortcuts
- Work in Stages
1. Organize Your Media
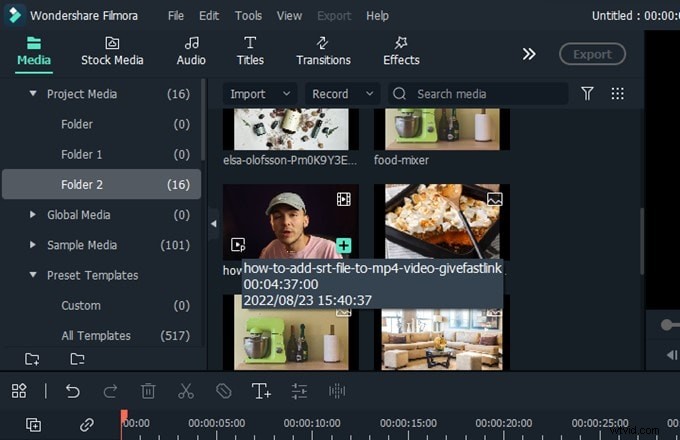
Keeping every clip in its place eliminates search time and reduces errors. Start by creating dedicated folders for each media type.
Create a Folder for Each Media File in Your Project
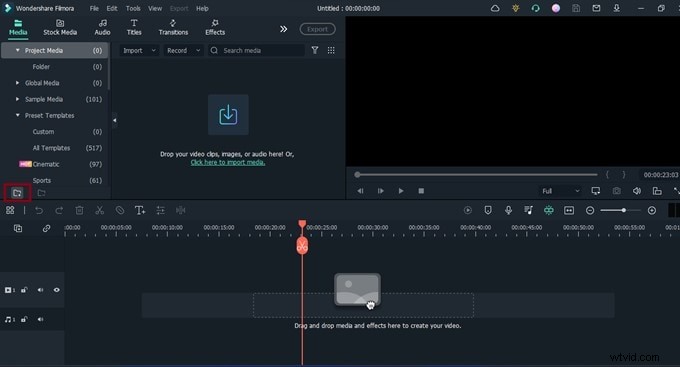
Step 1: Launch Filmora and click Create Project.

Step 2: In the bottom left corner of the Timeline area, click the Folder icon.
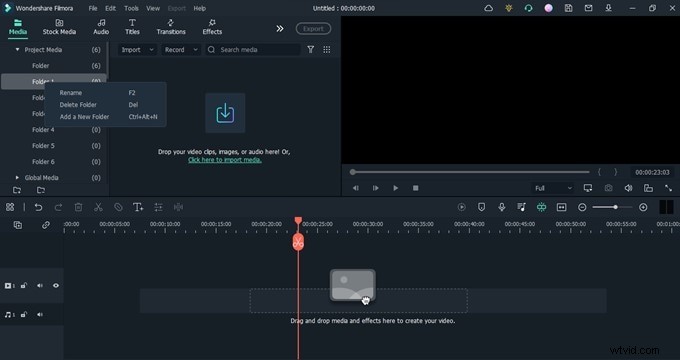
Step 3: Add as many folders as needed and name them (e.g., A‑Roll, B‑Roll, Photos, Audio, Sound FX, Music, Drone Footage).
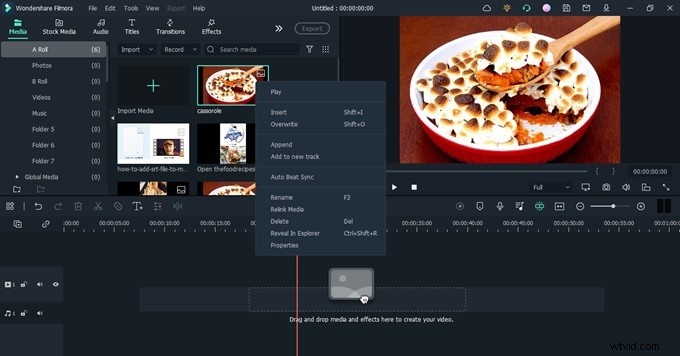
Step 4: Import files into their respective folders. Rename imported clips for clarity—right‑click, select Rename, and choose a descriptive title.
2. Use Proxies for Heavy Footage
High‑resolution files (e.g., 4K) can strain your system. Proxies are lightweight versions that enable smooth playback and editing.
Step 1: Right‑click a large clip and select Create Proxy File.
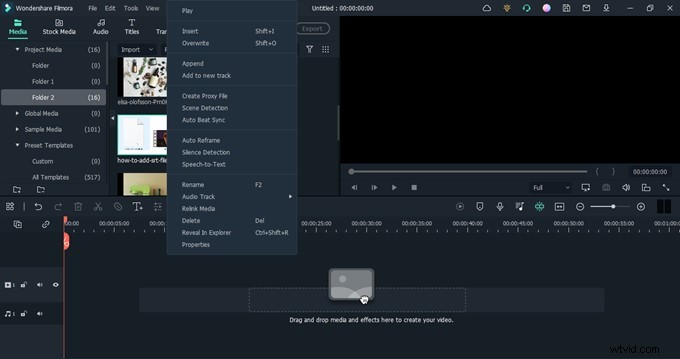
Step 2: A proxy icon appears once processing completes.
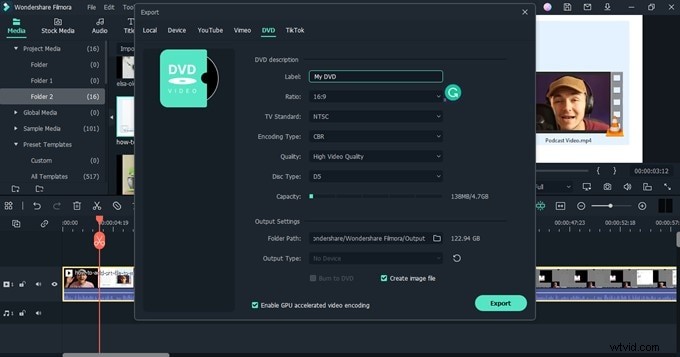
Step 3: Drag the proxy clip to the Timeline, edit as usual, then export.
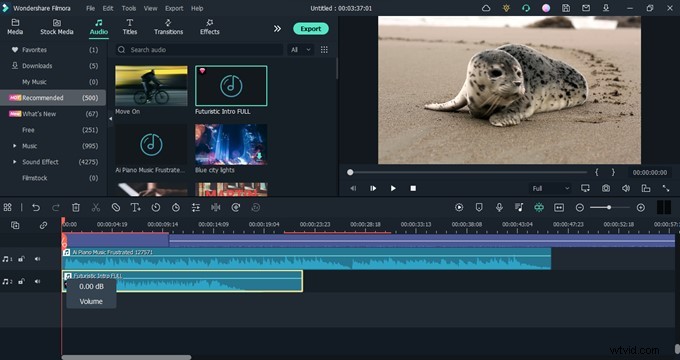
3. Keep Video & Audio Tracks Structured
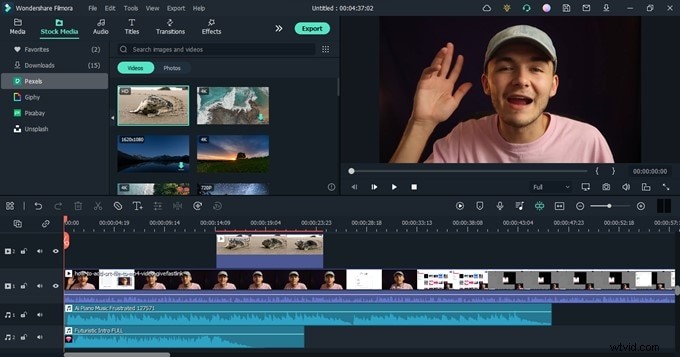
Using separate tracks for different content types keeps edits organized and enables simultaneous adjustments.
Step 1: Click the Add icon beside the Timeline and choose Add Video Track or Add Audio Track.

Step 2: Drag clips into their designated tracks: Main footage on Track 1, B‑Roll on Track 2, Graphics on Track 3, etc. For audio, assign Music to Audio 1, Dialogue to Audio 2, and so forth.
4. Leverage Keyboard Shortcuts
Keyboard shortcuts replace repetitive mouse clicks, accelerating every editing action.
Step 1: Open Filmora and go to File > Keyboard Shortcuts.
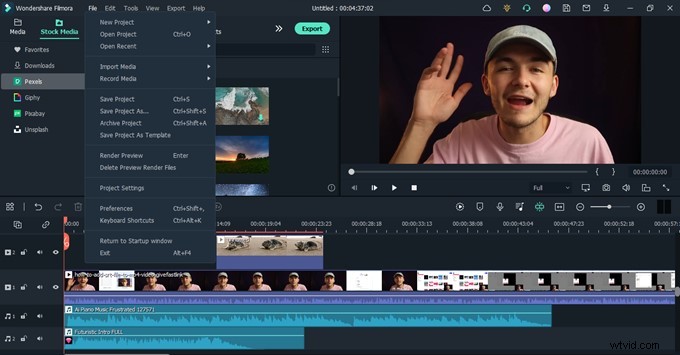
Step 2: The popup displays all available shortcuts. Customize them to match your workflow or switch between Filmora, Premiere Pro, and Final Cut Pro presets.

Example: Press Ctrl + Alt + N to create a new folder instantly.
5. Work in Stages
Editing in phases—rough cut, B‑Roll, audio tweaks, graphics, color grading—ensures focus and reduces rework.
Step 1: Place the main footage on the Timeline and perform a quick cut.
Step 2: Add B‑Roll, then audio, applying necessary edits at each stage. Use markers to flag quick fixes for later review.
Repeat until the project is polished and ready for export.
Conclusion
By organizing your media, utilizing proxies, structuring tracks, harnessing shortcuts, and editing in stages, you transform Filmora from a simple editor into a powerful production engine. Apply these strategies to every project—whether it’s a vlog, corporate video, or short film—and watch your editing speed soar.