Creating a Simple Slideshow in Microsoft Word
Microsoft Word is often overlooked as a presentation tool, yet it can quickly turn a document into a polished slideshow. This guide walks you through the process, from opening Word to exporting your finished deck to PowerPoint.
Part 1 – Easy Steps to Build a Word Slideshow
While PowerPoint is the obvious choice for presentations, Word offers a convenient alternative for quick, text‑centric slides. Ideal for product briefs, training materials, or slide decks that need to be shared as PDFs.
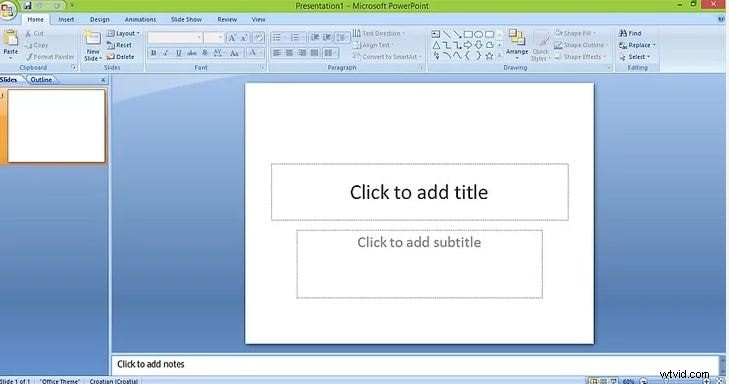
Step 1: Launch Word
Open the Microsoft Office application bundle and start a new Word document.
Step 2: Switch to Outline View
Click the View tab on the ribbon and select Outline to see a slide‑like navigation pane on the left.
Step 3: Add Text and Graphics
In the outline pane, choose the first slide and type your heading. To enrich the slide, go to the Insert tab and choose Picture or Table to add images, charts, or data tables.

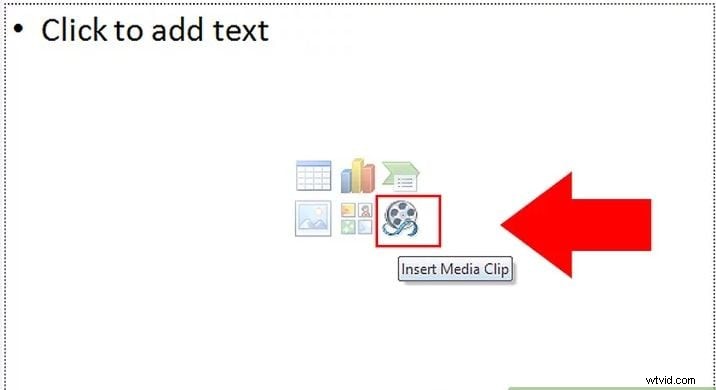
Step 4: Enhance with Charts and Clip Art
Word includes a library of charts and clip art. From the Insert tab, click Chart or Clip Art and pick the graphic that best illustrates your point.
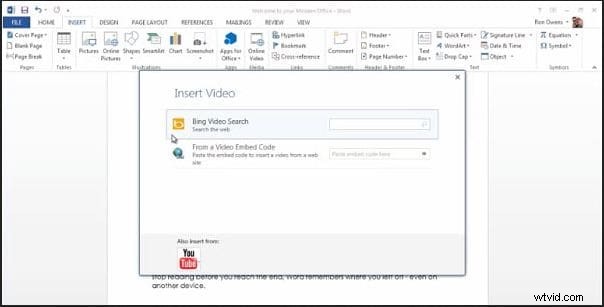
Step 5: Build Additional Slides
Repeat the previous steps for each new slide. For Word 2013 and later, you can also embed online videos by selecting Online Video from the Insert tab.

Step 6: Export to PowerPoint
Once your slides are ready, go to File > Options > Quick Access Toolbar. Choose All Commands and add Send to Microsoft PowerPoint to the toolbar. Click it to open the presentation directly in PowerPoint for further refinement.
Part 2 – Top Alternatives for Advanced Slideshow Creation
If you need more sophisticated features—custom animations, multi‑media integration, or collaborative editing—consider these tools:
1. Icecream Slideshow Maker
A modern, user‑friendly interface lets you add images, video, music, and export to cloud services or DVDs. Free tier available; premium features unlock advanced effects.
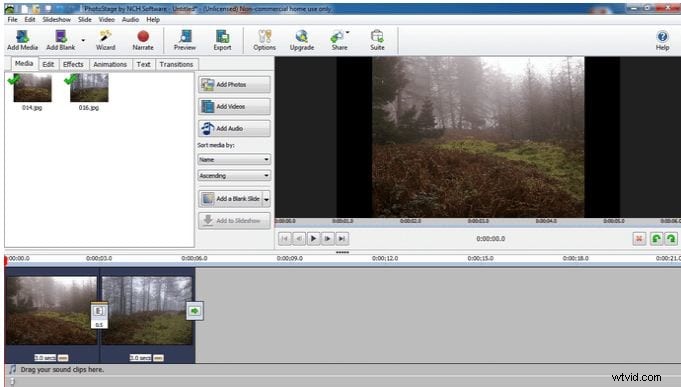
2. PhotoStage Slideshow Software
Supports a wide array of templates, audio tracks, and a built‑in image editor. Ideal for both personal and professional slides; 30‑day free trial.
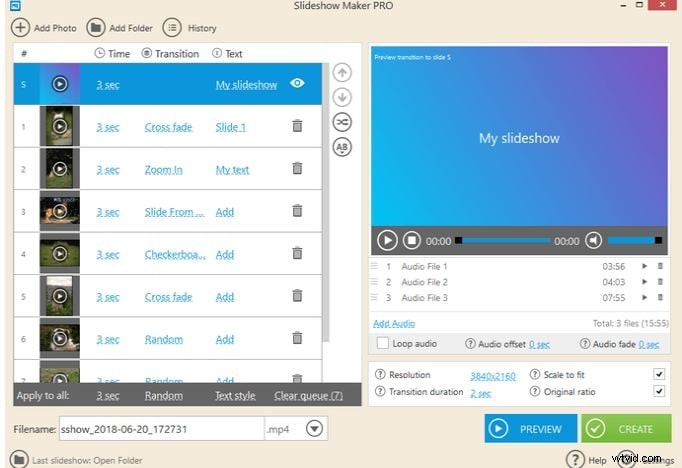
3. Slideshow Maker (4K)
Free utility focused on image‑centric slides. Offers multiple output formats (MP4, AVI, FLV) and background music options.

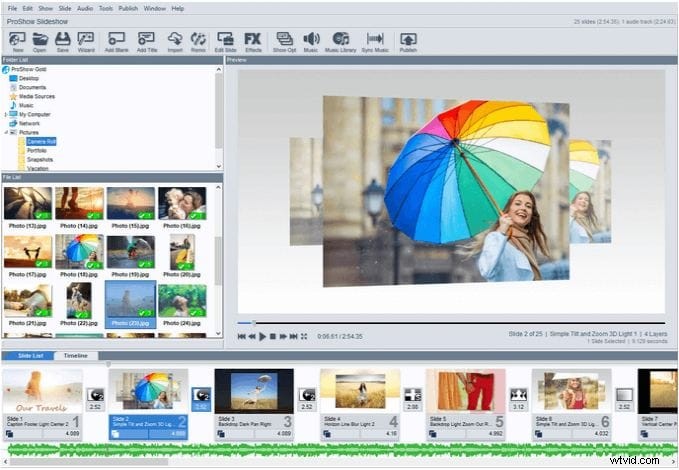
4. ProShow Gold
Comprehensive tool with extensive media libraries, royalty‑free music, and automated features. Free trial, then subscription.
5. Kizoa
Web‑based editor with guided tips, 48 transitions, and 58 image effects. Requires account creation for exporting to social platforms.

Part 3 – Frequently Asked Questions
What is the 10/20/30 rule?
Limit to 10 slides, a 20‑minute runtime, and a minimum font size of 30 points for clarity and impact.
What is the 6x6 bullet rule?
Include no more than six bullet points per slide, each with no more than six words, to avoid clutter.
Why keep slide text minimal?
Concise text retains audience focus; long passages can disengage viewers.
Ideal slide duration?
Aim for 2–3 minutes per slide—enough to cover key points without over‑loading.
Word limit per slide?
Keep under 30 words, spread over 6–8 lines, using bullet points for readability.
Can I create Word slides in Filmora?
Filmora offers advanced editing, templates, and multimedia integration. It’s a solid choice for polished presentations across platforms.
Conclusion
Word’s slideshow feature is quick and accessible for simple presentations. For richer media, explore dedicated tools like Icecream, PhotoStage, or Filmora. Each offers unique strengths—choose based on your project’s complexity and collaboration needs.