Screenshots are essential in today’s digital workflow, helping you share information quickly and accurately. Whether you’re capturing a full screen, a specific window, or a video frame, HP laptops offer a variety of built‑in options and powerful third‑party tools to meet every need.
In this article
- Part 1 – Direct Screenshot Methods on HP Laptops
- Part 2 – Windows Snipping Tool: The Default Solution
- Part 3 – Top 3 Alternatives to the Snipping Tool
- Bonus – Capturing High‑Resolution Video Snapshots with Wondershare Filmora
- Conclusion
Part 1 – Direct Screenshot Methods on HP Laptops
HP devices run Windows 10 and Windows 11, which come with several convenient keyboard shortcuts. These shortcuts allow you to capture the entire screen, a selected window, or a custom region, and they are available on all HP laptops regardless of model.
1. Capture the Entire Screen with PrtSc/PrtScn
Press the PrtSc or PrtScn key to copy a full‑screen image to the clipboard. Paste it into an editor such as Paint (Ctrl+V) and save or edit as needed.
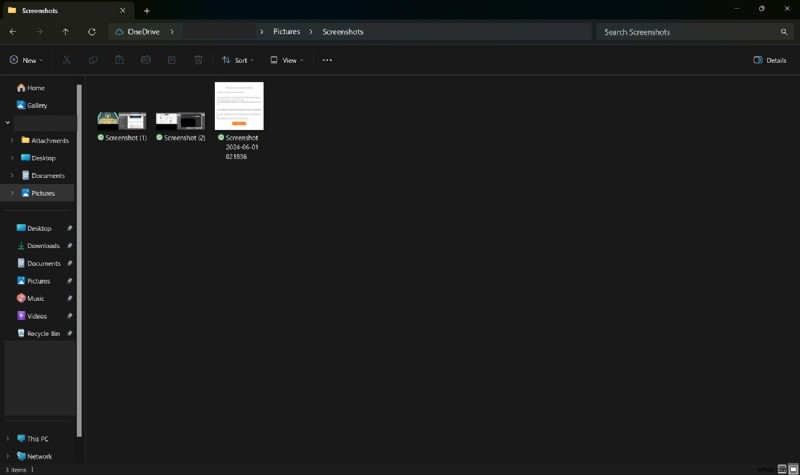
2. Save Directly to the Screenshots Folder with Win+PrtSc
Press Win+PrtSc (or Win+PrtScn) to capture the screen and automatically store the image in Pictures\Screenshots. A brief screen flash confirms the capture.
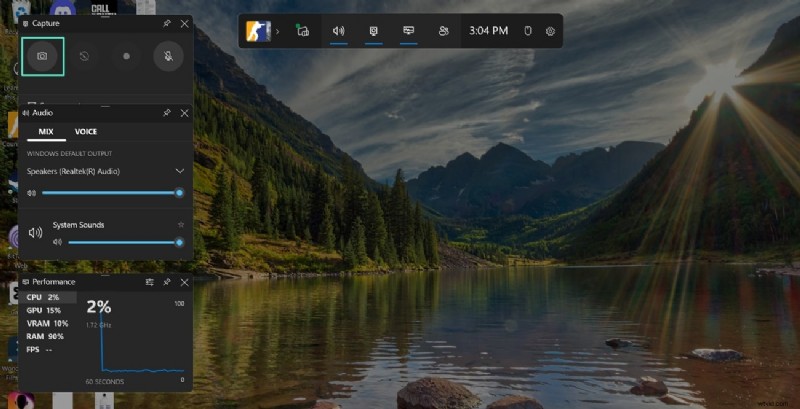
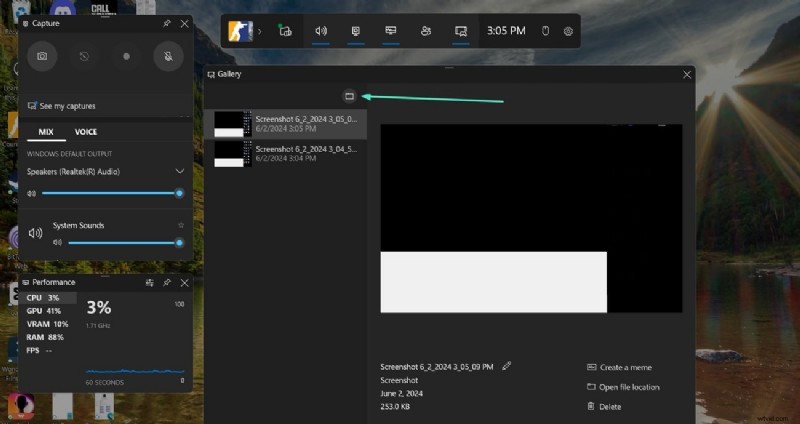
3. Capture with the Xbox Game Bar (Win+G)
The Game Bar, available on Windows 10 and later, includes a camera button that takes a screenshot. After pressing Win+G, click the camera icon and choose a folder to save the image.
4. Capture a Custom Region with Win+Shift+S
Press Win+Shift+S to activate the Snip & Sketch overlay. Drag the crosshair cursor to select the desired area; the image is copied to the clipboard for immediate use.
Part 2 – Windows Snipping Tool: The Default Solution
Windows 10 and 11 include the Snipping Tool (or Snip & Sketch in older builds). It offers additional options such as delayed capture, annotation tools, and direct email sharing.

- Share captured snips via email with a single click.
- Annotate with pens, 3D markers, erasers, and highlighters.
- Save images in GIF, PNG, JPEG, or HTML formats.
Step‑by‑Step Guide to Using the Snipping Tool
1. Open the Start menu, type “Snipping Tool,” and launch the app. The default mode is Rectangular Snip. Change the mode from the toolbar if needed. 2. Click New, then drag to select the area. The capture appears in the editor, ready for annotation.

Part 3 – Top 3 Alternatives to the Snipping Tool
For users who need more advanced editing, cloud sharing, or screen‑recording capabilities, the following free tools are highly recommended.
1. ShareX
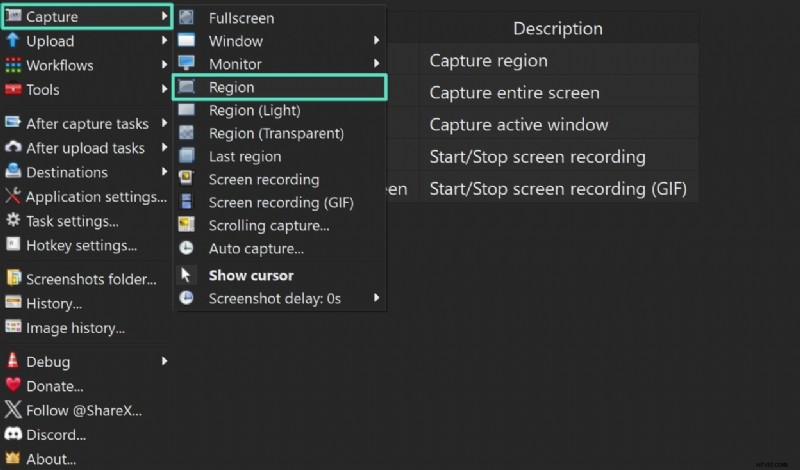
ShareX supports full‑screen, window, monitor, or region capture and includes a built‑in editor, GIF creation, and cloud upload. It also records video directly from the screen.
Using ShareX
1. Launch ShareX and click Capture → Region. Drag to define the area. 2. After capture, the image appears in the editor; use the Tools tab for advanced edits.

2. PicPick
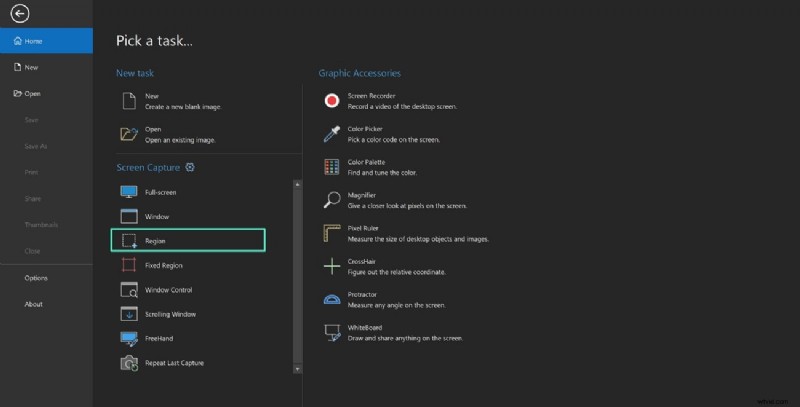
PicPick combines a screen capture utility with a comprehensive editor, including a pixel ruler, whiteboard, and more.
Using PicPick
1. Open PicPick, choose Screen Capture → Region. 2. After selection, the image loads in the editor for annotation.
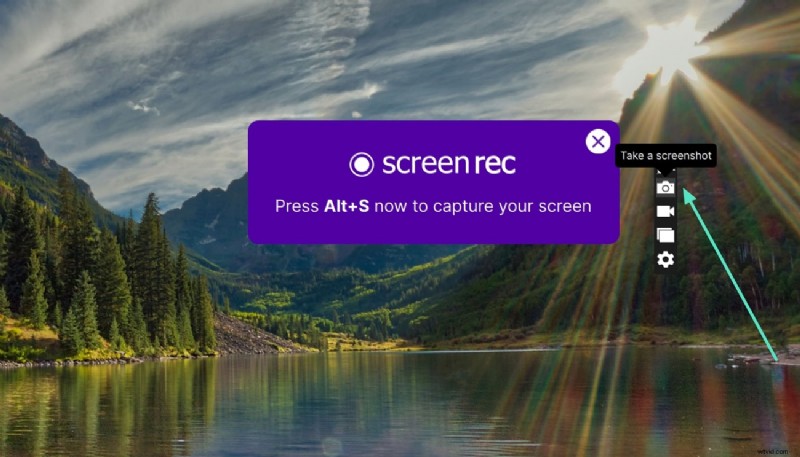
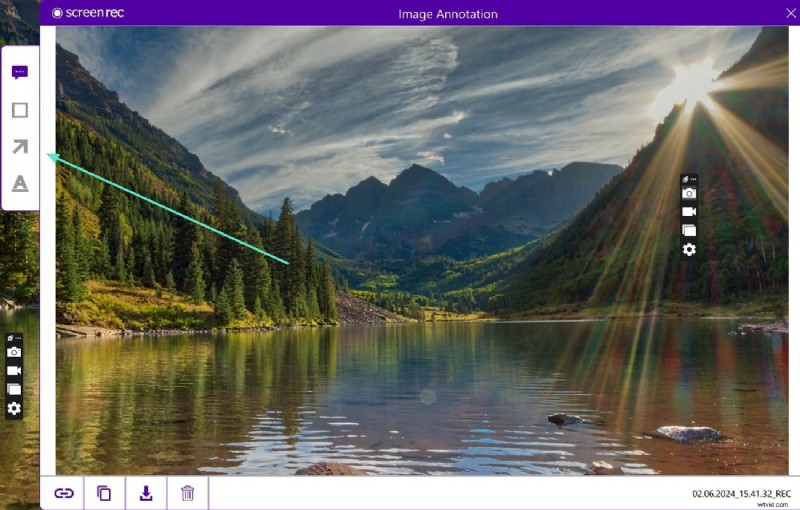
3. ScreenRec
ScreenRec is lightweight and focused on quick captures and sharing. It offers a floating toolbar for on‑the‑fly editing.
Using ScreenRec
1. Run ScreenRec; the right‑hand toolbar appears. Click the Camera icon. 2. Drag to capture; annotate or save directly.
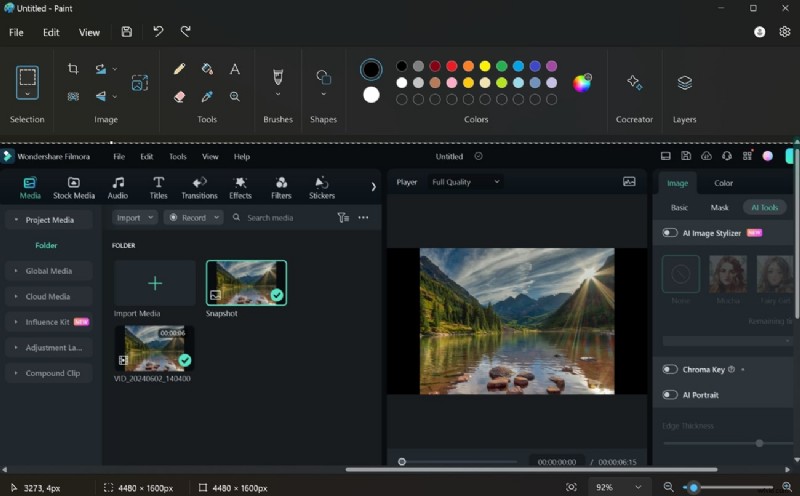
Bonus – Capturing High‑Resolution Video Snapshots with Wondershare Filmora
When you need a still frame from a video, most screenshot tools will yield low‑resolution images. Filmora’s built‑in snapshot feature captures a frame at full video resolution.

Step‑by‑Step Guide in Filmora
Step 1 – Import and Place the Video
Open Filmora, click New Project, then Import the video file. Drag it onto the timeline.
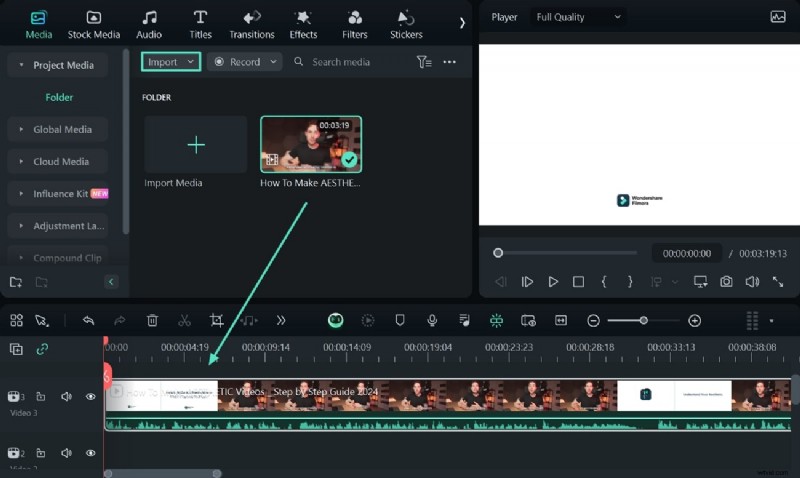
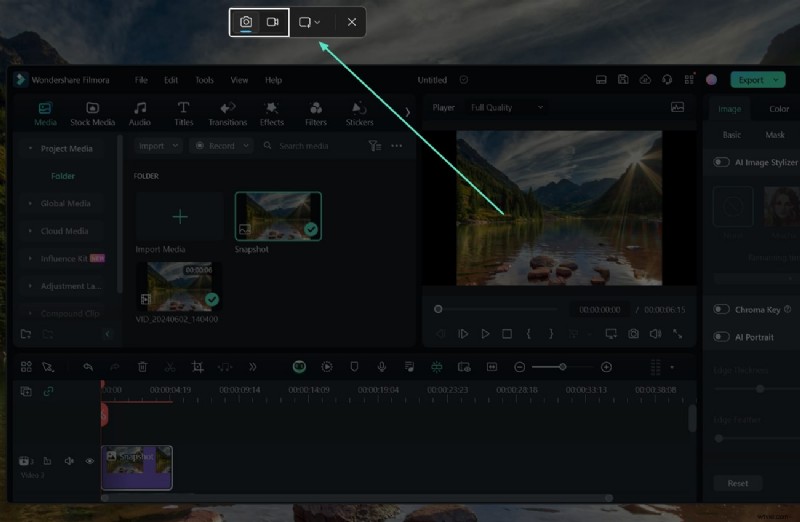
Step 2 – Take the Snapshot
Position the playhead at the desired frame. Click the Camera icon in the preview panel to capture.
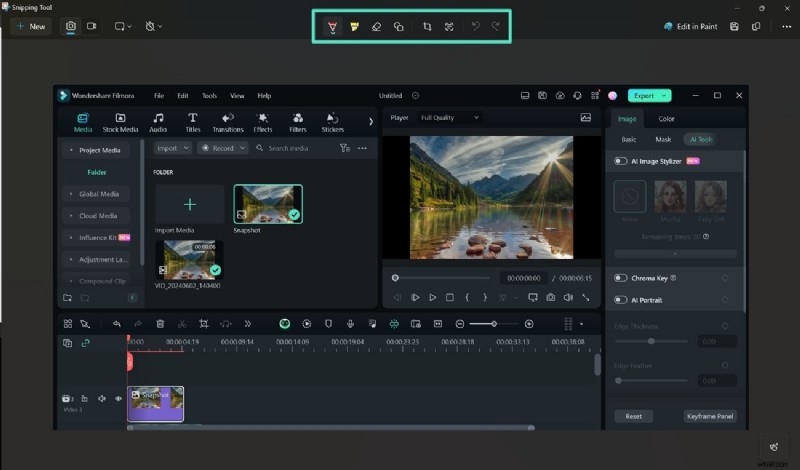
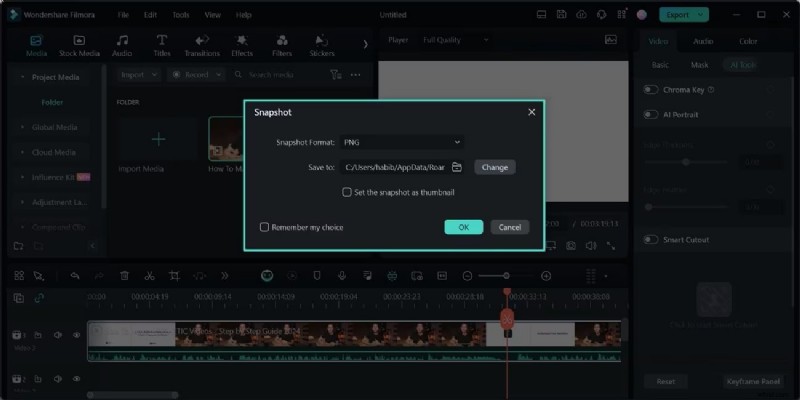
Step 3 – Export the Snapshot
Choose the format and destination in the dialog that appears. The image is saved and automatically added to Filmora’s media library.
Conclusion
HP laptops provide robust, built‑in screenshot options that cover most everyday needs. For advanced editing, cloud integration, or screen recording, tools like ShareX, PicPick, and ScreenRec offer a richer feature set. When working with video, Filmora’s snapshot tool delivers high‑quality frames that standard screenshot methods cannot match. Select the method that best aligns with your workflow and let your HP laptop help you capture every detail accurately.