Text bending is a powerful technique that adds visual flair to video titles, intros, and graphics. With After Effects’ advanced tools you can create precise curves, while Filmora’s intuitive interface lets you finish the look with polished animations and effects.
Part 1: What Is Text Bending?
Text bending—also called warping or curving—forces type to follow a custom path or shape. In graphic design and motion graphics this technique draws the viewer’s eye, making logos, titles, and social‑media overlays more dynamic.
After Effects offers a dedicated Warp effect that gives you pixel‑perfect control over the curvature, enabling you to craft any silhouette.

Part 2: Create Bend Texts in After Effects
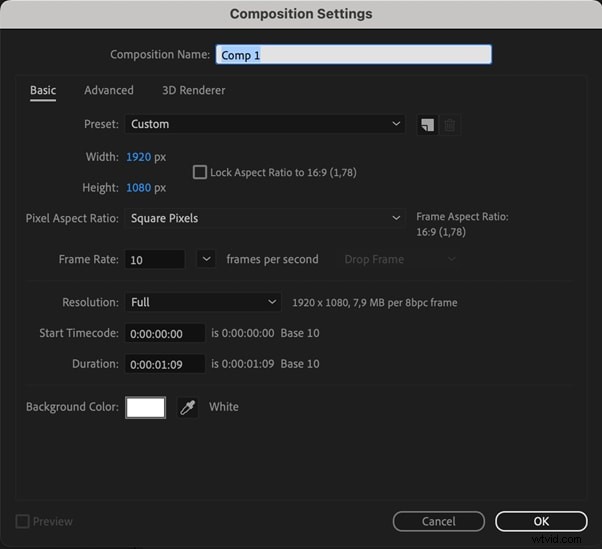
Step 1: Set Up Your Project
Launch After Effects, create a new project, and define your composition’s resolution and duration.
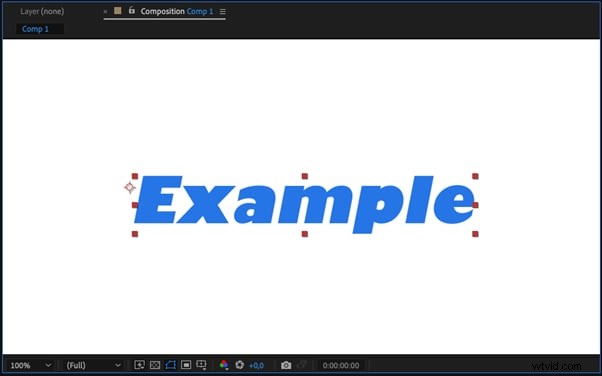
Step 2: Add and Edit Text
Use the Text tool to type your phrase. Customize font, size, and color in the Character panel.
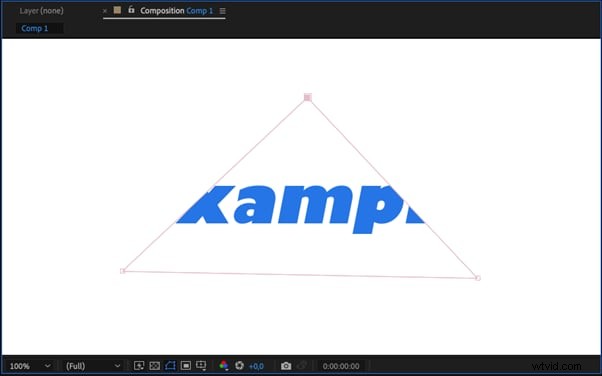
Step 3: Apply the Warp Effect
Right‑click the text layer, choose Effects > Distort > Warp. Adjust the Curve control until the text follows the desired path.
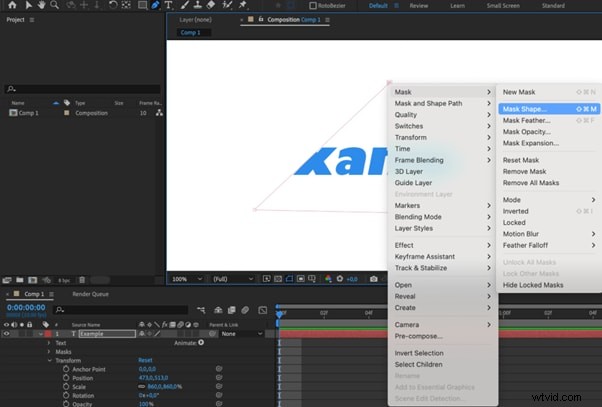
Step 4: Fine‑Tune the Bend
Refine the warp by tweaking the angles, curvature strength, and distortion limits. Experiment with multiple points to create complex shapes.
Step 5: Final Adjustments and Export
Preview the animation, make any last‑minute tweaks, and render your composition.

Part 3: Enhance Bend Texts with Filmora
Filmora provides a user‑friendly workflow for adding finishing touches to After Effects exports. Its presets and keyframe tools allow you to animate bent text without steep learning curves.
Why Use Filmora for Text Enhancements?
Filmora’s drag‑and‑drop interface, ready‑made templates, and simple animation controls make it ideal for creators who need high quality results quickly.


Key Features for Text Effects
- Keyframe Animation – Precise control over motion, opacity, and scale.
- Text Presets – Ready‑to‑use styles that save time.
- Visual Effects Library – Add depth with shadows, glows, and particle effects.
- Custom Fonts & Colors – Match your brand’s visual identity.
- Animation Templates – Quickly produce professional‑looking titles.
- Graphic & Icon Integration – Combine text with logos and icons for cohesive branding.
Steps to Create Bend Text in Filmora
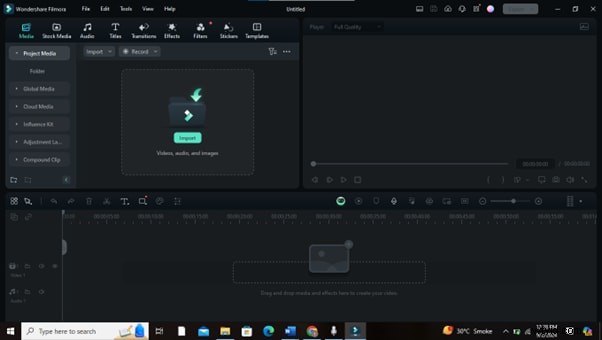
1. Start a New Project
Open Filmora and create a new project. Set your preferred resolution and frame rate.
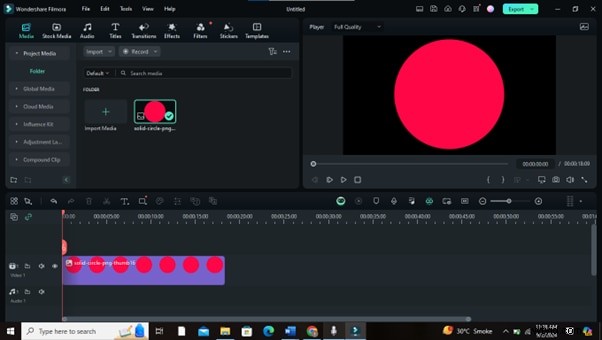
2. Import Your Media
Drag your After Effects output (video or image) into the Media Library.
3. Add a Text Layer
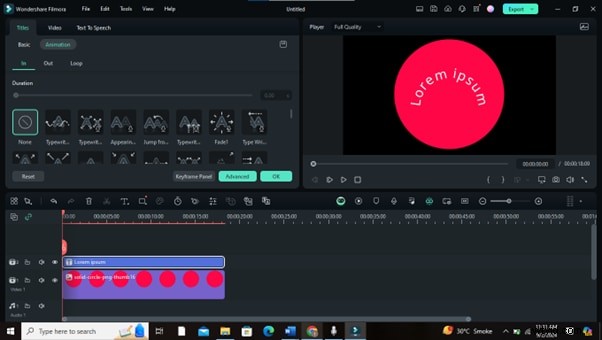
Navigate to the Titles tab, choose a preset, and drop it onto the timeline above your background.
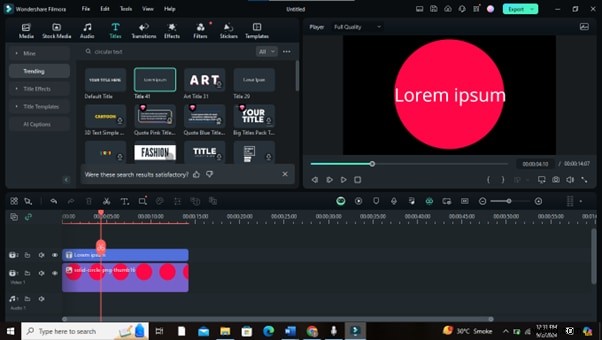
4. Customize the Text
Double‑click the title on the timeline. Enter your text, select font, size, and color.

5. Apply the Bend Effect
Open the Advanced options. Use the Warp feature under Transform to curve your text. Adjust the control points to match the shape you created in After Effects.
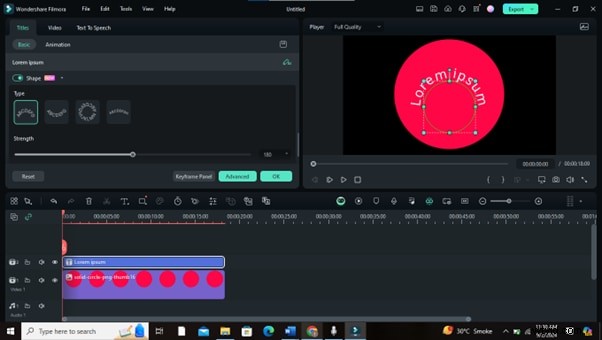
Note: Filmora does not have a dedicated bend effect, but the Warp tool replicates the same visual outcome.
6. Add Animation & Effects
Apply keyframes or preset animations to animate the bent text. Layer in additional visual effects from the library for extra flair.
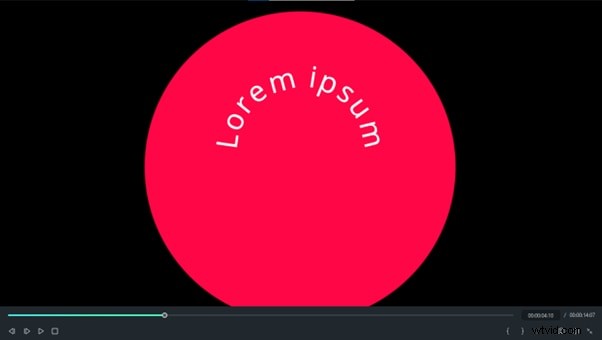
7. Preview & Refine
Play the timeline, adjust timing or curve parameters as needed.
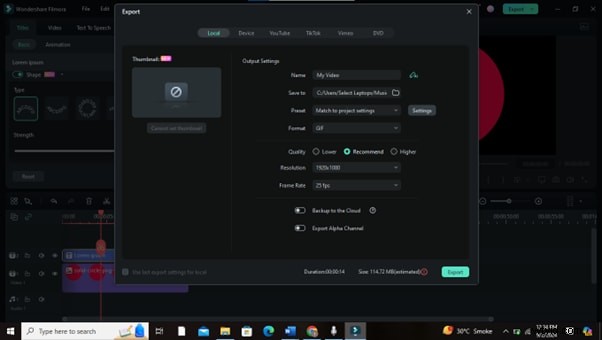
8. Export Your Video
Export in your chosen format and resolution, ready for distribution.
Part 4: Creative Applications of Bend Text
- Title Sequences – Add motion and drama to opening titles.
- Promotional Graphics – Highlight key messages with curved headlines.
- Social Media – Capture attention in feeds with dynamic text.
- Event Invitations – Impress guests with stylish, curved typography.
- Logo Design – Create memorable brand marks with curved lettering.
- Website Headers – Enhance online presence with eye‑catching titles.
- Video Thumbnails – Increase click‑through rates by making thumbnails stand out.
Part 5: After Effects vs. Filmora for Text Effects
After Effects Strengths
Precision animation, full control over keyframes, and an extensive library of custom effects. Ideal for complex projects requiring meticulous detailing.
Filmora Strengths
Fast workflow, ready‑made templates, and an approachable interface. Best for quick edits and beginners seeking professional results.
When to Use Each Tool
Choose After Effects when you need granular animation control and advanced visual effects. Opt for Filmora for rapid turnaround, straightforward projects, or when you’re just starting out.
Conclusion
Mastering text bending in After Effects and polishing the output in Filmora unlocks a wide range of creative possibilities. Whether you’re designing a captivating title sequence or crafting engaging social‑media content, the combination of these tools empowers you to deliver polished, eye‑catching videos.
Explore both platforms, experiment with different bends, and discover the style that best serves your brand’s narrative.