Preparation
What you need:
- A computer (Windows or macOS)
- Your video footage
- Filmora video editor (any recent version)
Step 1: Launch Filmora and Start a New Project
Open Filmora and create a “New Project” from the main interface. Import your media files into the Media panel and drag them onto the timeline using the familiar drag‑and‑drop method.

Step 2: Create Video Layers on the Timeline
Place the first clip on the timeline and extend its duration by dragging its right edge. Move the playhead to the spot where you want the split‑screen effect. Then, drag a second clip onto a higher track so that it sits directly above the playhead position.

Step 3: Apply a Mask to the Top Clip
Select the second clip and open its Video settings. Choose the Mask tab and pick the “Parallel Lines” preset. Adjust the line spacing in the preview window so that the split lines are evenly spaced on both sides of the video.

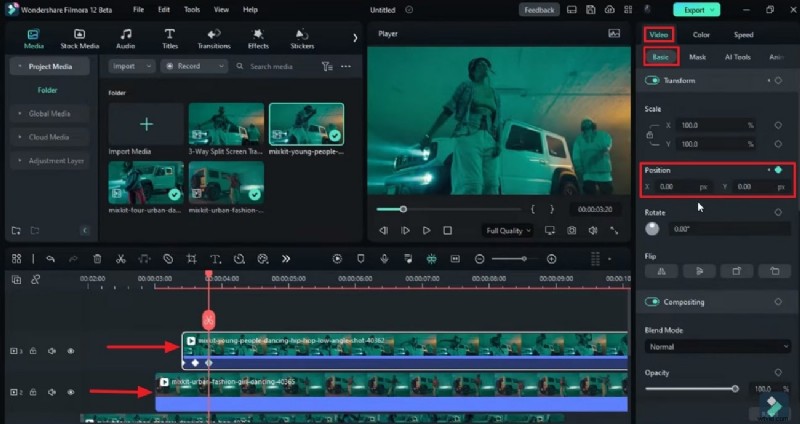
Step 4: Create the Transition with Position Keyframes
Drag another clip onto the top track. In the right‑hand panel, set the clip’s Position so that it enters and exits the screen, forming the transition. Insert keyframes at each position change to animate the movement smoothly.
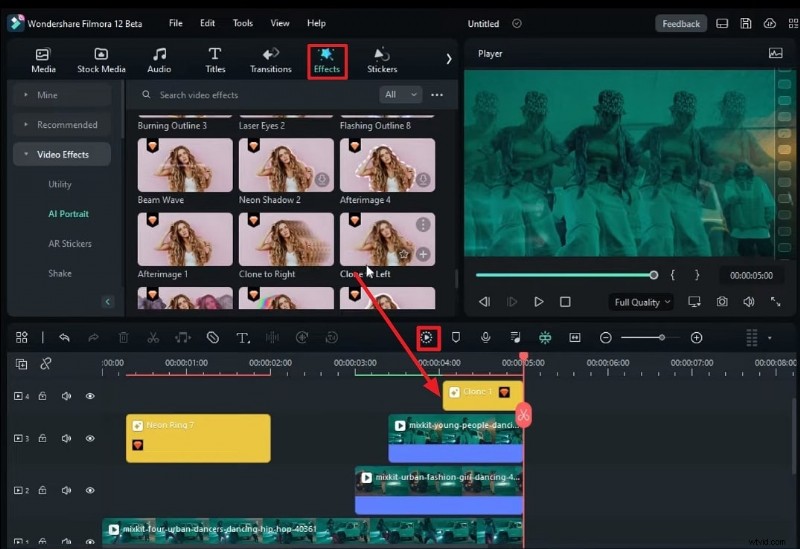
Step 5: Refine the Clips and Add Effects
Trim any excess footage from all clips. Use the Effects tab on the custom toolbar to enhance the visual appeal. Finally, click the Render Preview icon on the timeline to review the finished transition.
Summary
In a crowded digital landscape, compelling visual storytelling is essential. This guide walks you through creating polished 3‑way split‑screen transitions in Filmora—ideal for music videos, interviews, and more. For additional tips on mastering split‑screen techniques, click here.