Google Photos is the native photo‑management app on Android, continually updated with features that let users edit, share, and showcase memories creatively. In this guide, we’ll walk through how to generate a slideshow directly in Google Photos, highlight its limitations, and introduce Filmora as a more powerful alternative for crafting polished, shareable videos.
In this article
-
- Method 1: Create a Photo or Video Slideshow Using a Template
- Method 2: Create a Photo and Video Slideshow from Scratch
-
- Add Transitions to Your Slideshow
- Add Animated Titles to Your Slideshow
- Generate AI Music for Your Slideshow
Below is a concise, practical walkthrough for building a slideshow in Google Photos.
- Open the Google Photos app and tap the photo where you want the slideshow to begin.

- Scroll up to reveal the options menu.
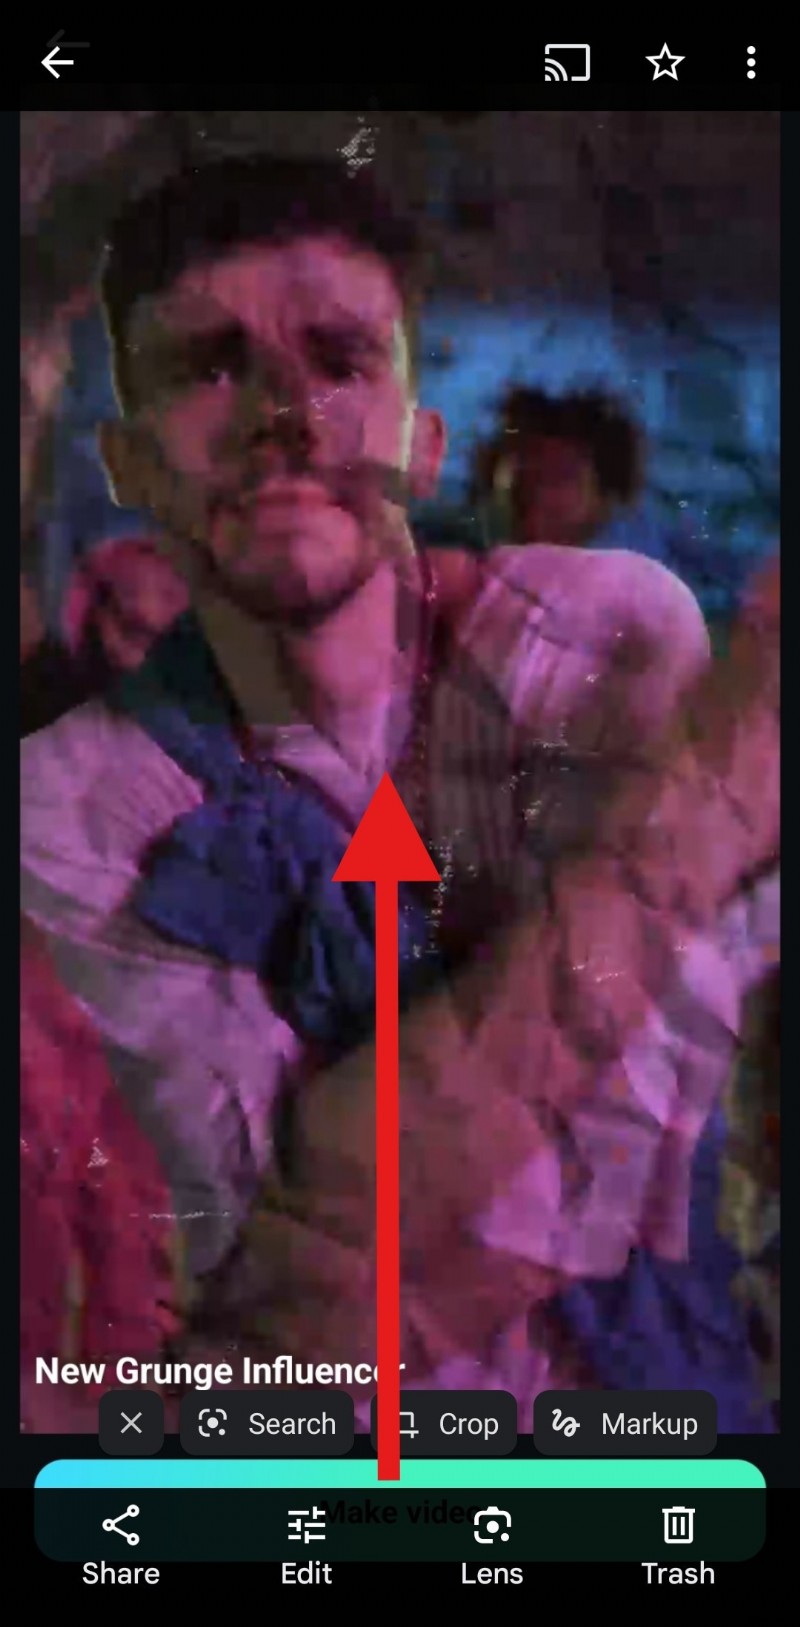
- Tap the Slideshow icon.
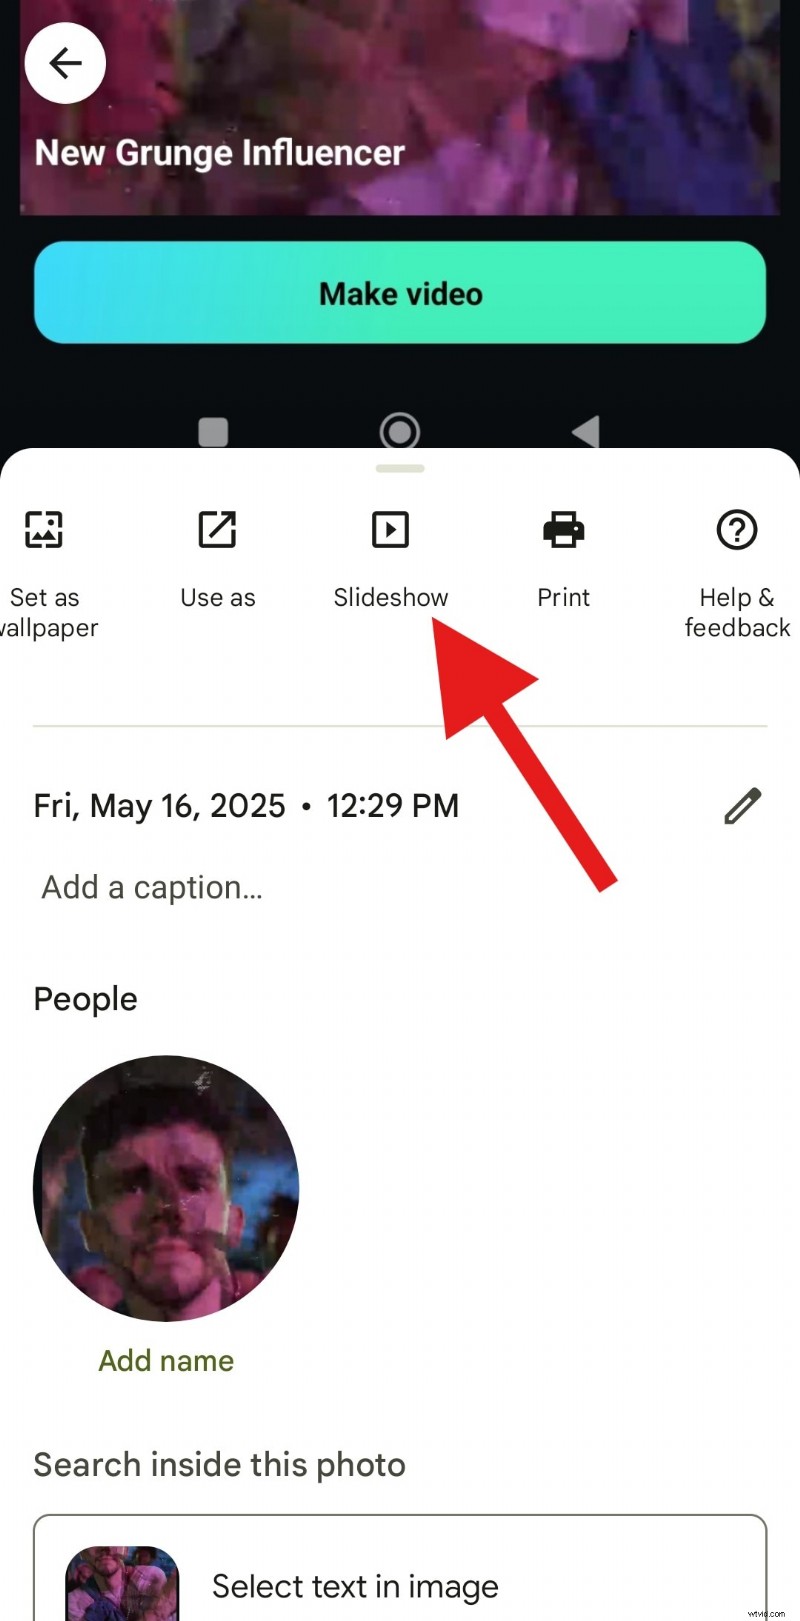
The app automatically starts a slideshow from the selected photo and continues backward through your library.
Alternatively, create an album: tap the + button, select Album, name it, and add photos. Open the first photo and start the slideshow as described.
To create a new album, tap on the + button and then tap on Album.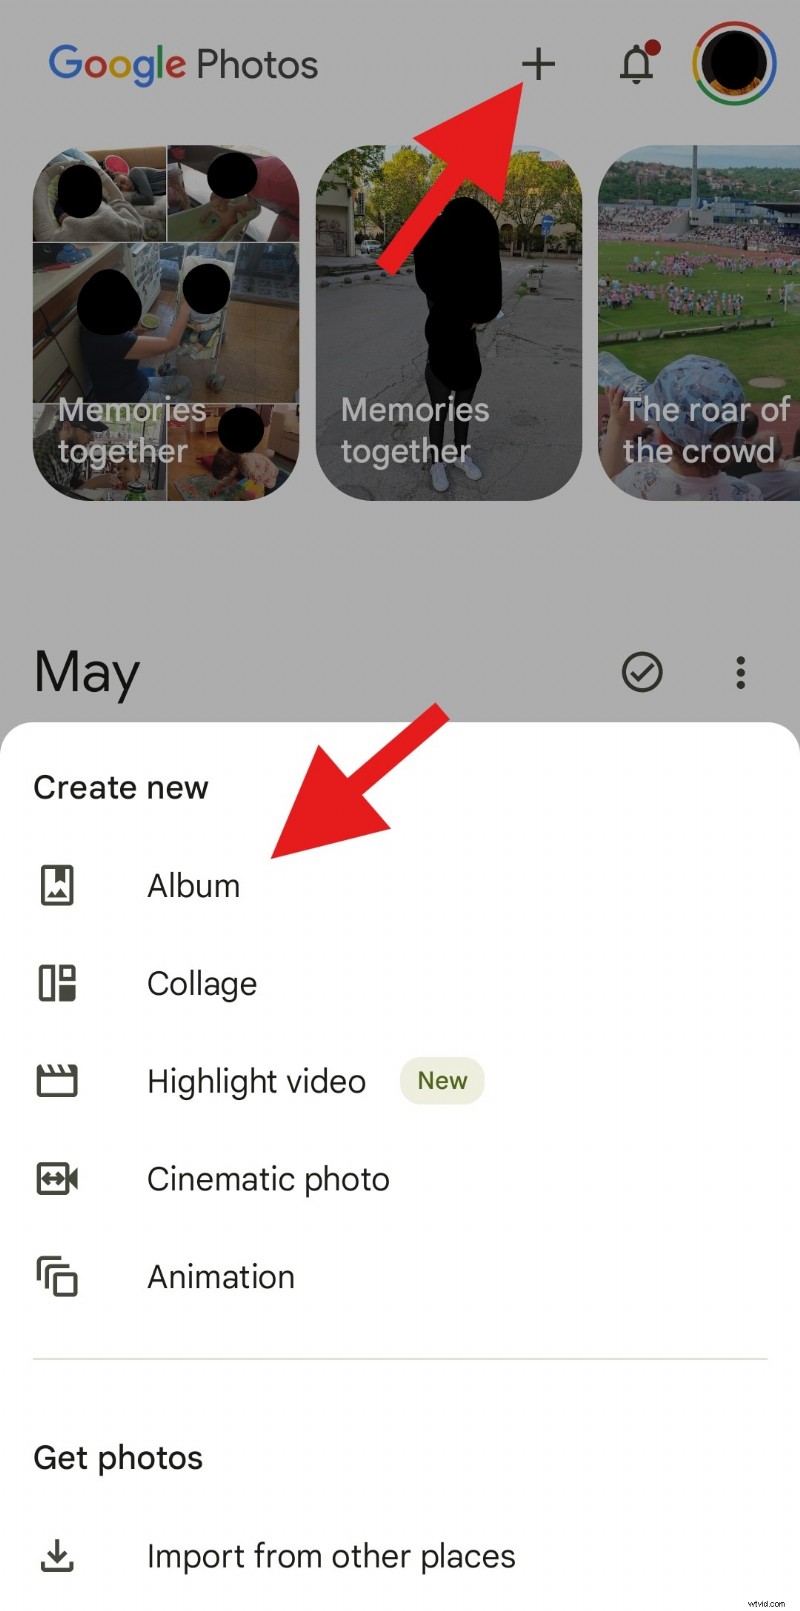
You can then add a name for your album and add photos as you please.
Limitations of Google Photos Slideshows
While Google Photos’ slideshow feature is user‑friendly, it has notable constraints:
- Each slide displays for an identical duration.
- No option to overlay text or captions.
- No background music is supported.
- Exporting the slideshow as a standalone video file isn’t possible.
For richer, exportable video slideshows, consider a dedicated video editor. Filmora offers advanced capabilities on Android, iOS, Windows, and Mac.
Why Filmora Outperforms Google Photos for Slideshows
Filmora is a cross‑platform video editor that lets you craft slideshow videos in minutes using ready‑made templates. It automatically incorporates transitions, music, and titles, giving you complete creative control.
Key features include:
- Custom slide duration control.
- Wide array of transition effects.
- AI‑generated captions and animated titles.
- AI‑powered music creation.
- Drag‑and‑drop timeline for easy arrangement.
- Export options for sharing and archiving.
How to Build a Slideshow with Filmora
There are two approaches: use a template or start from scratch. Both methods are straightforward.
Method 1: Template‑Based Slideshow
- Download and install Filmora.
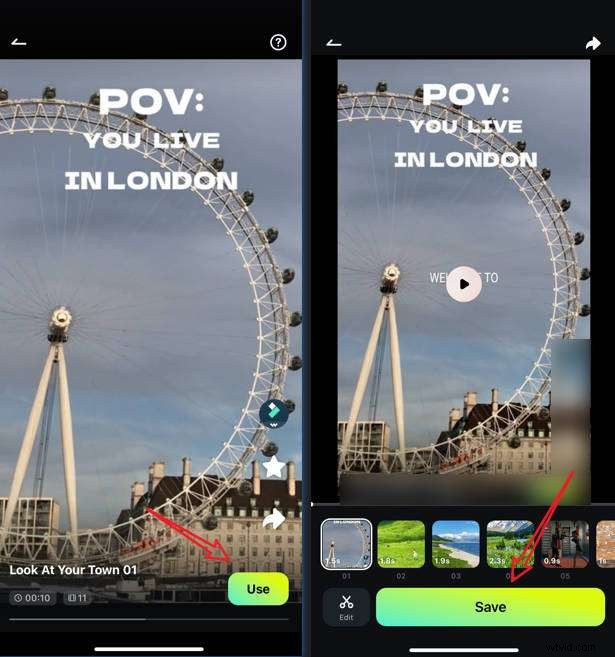
- Open the app, tap Template, browse or search for a style you like.
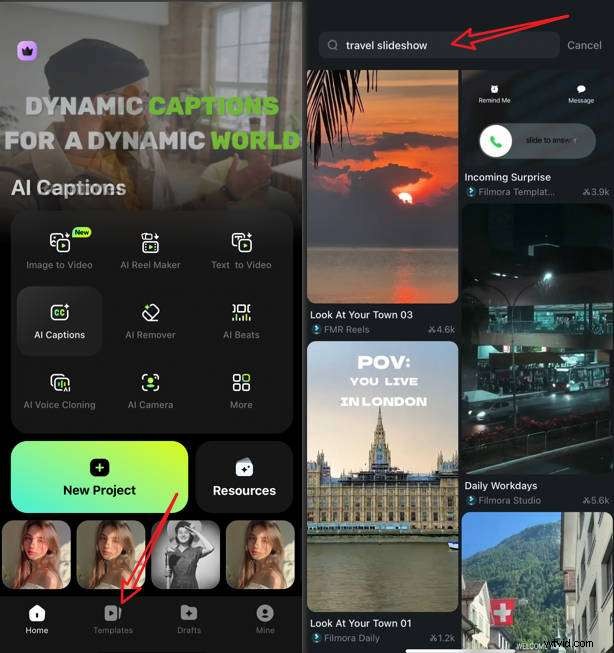
- Select a template, tap Use, then import your photos/videos. Review the result and tap Save.
Method 2: Start From Scratch
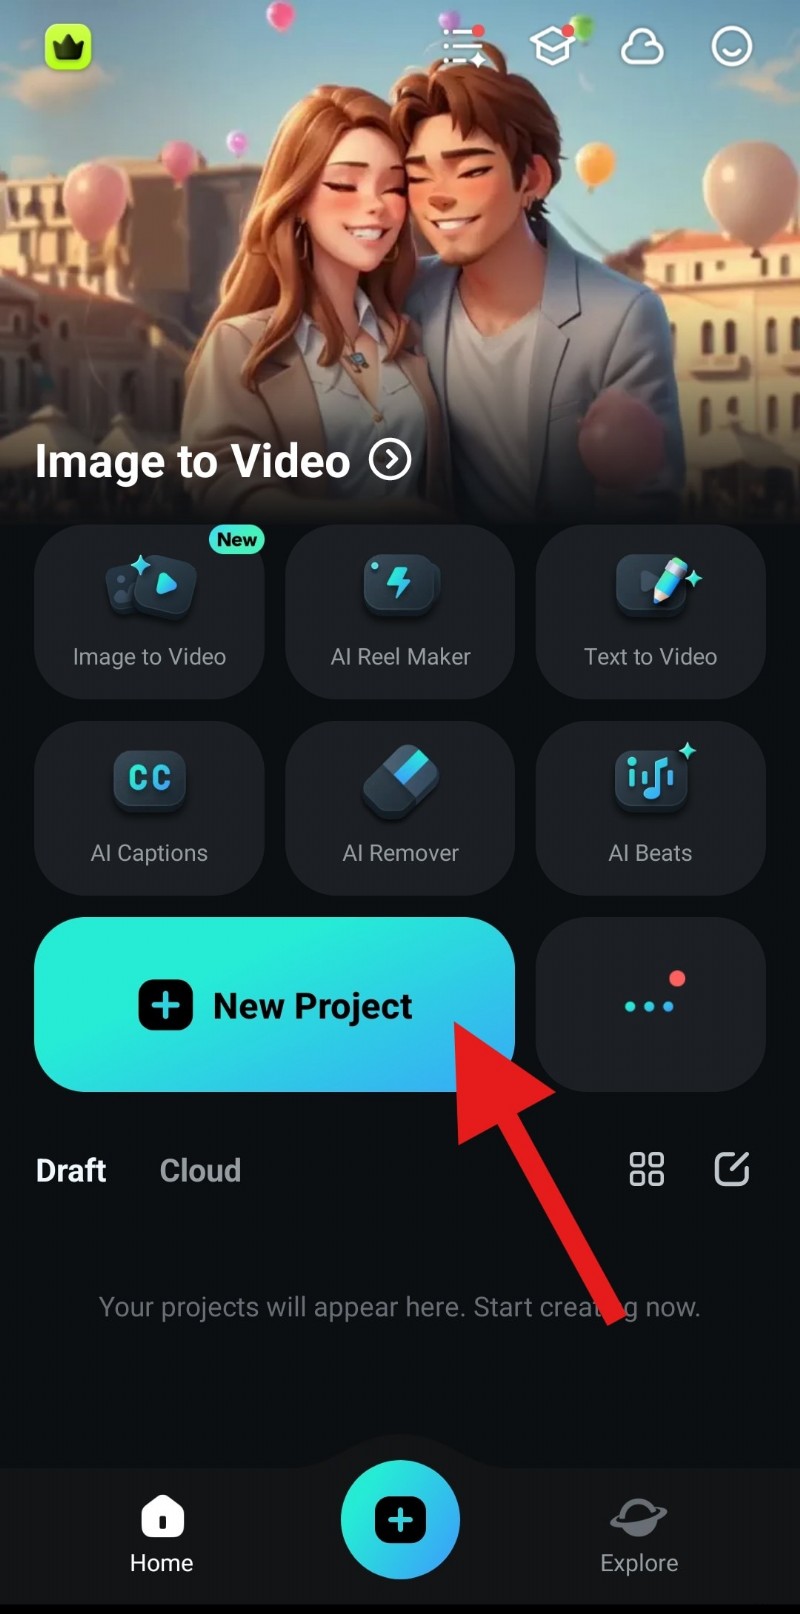
- From the home screen, tap New Project.
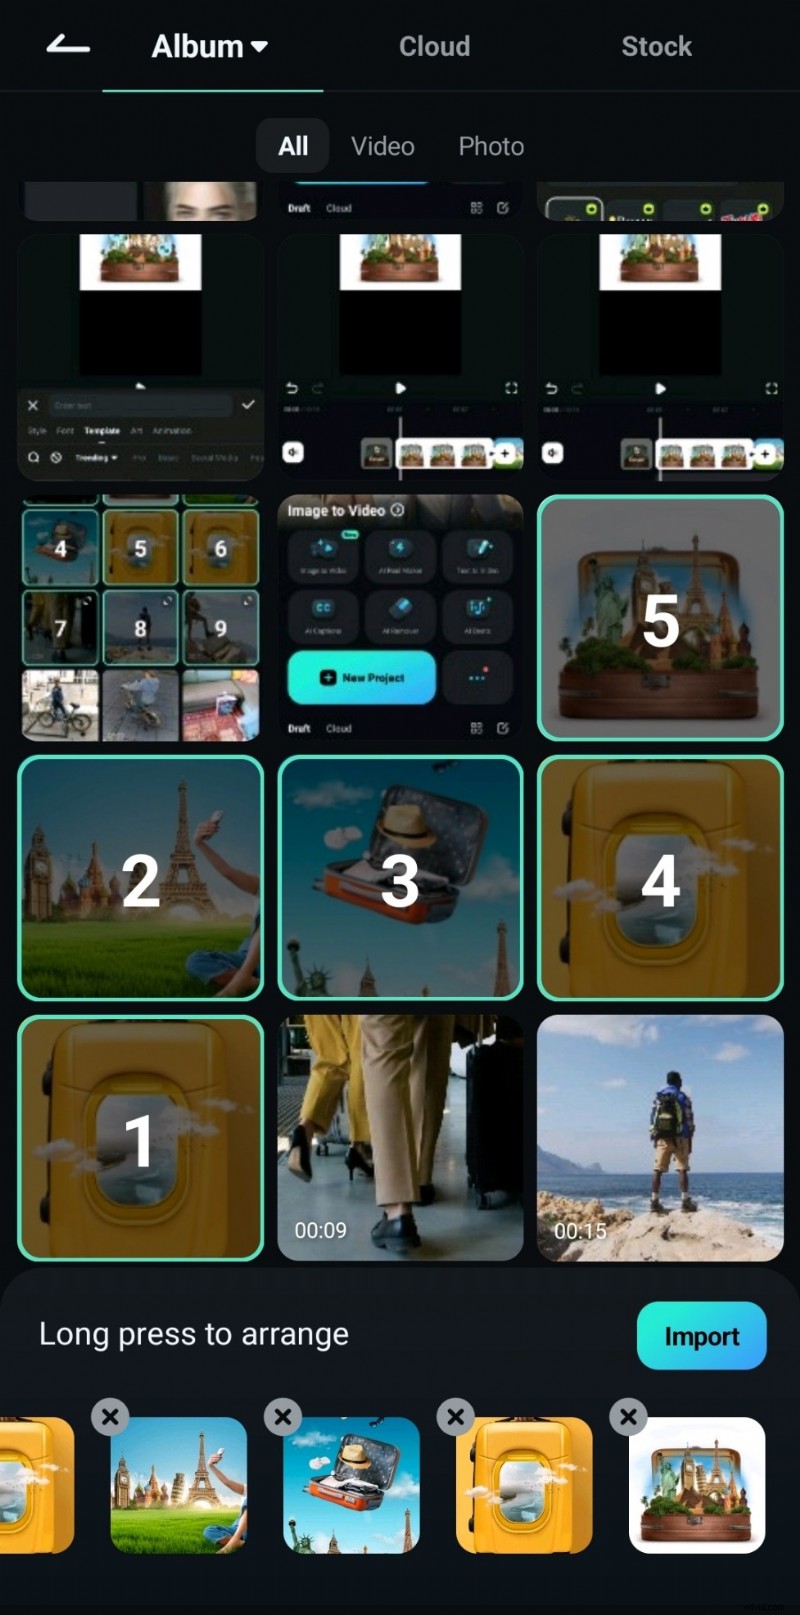
- Choose the images/videos you want, then tap Import.
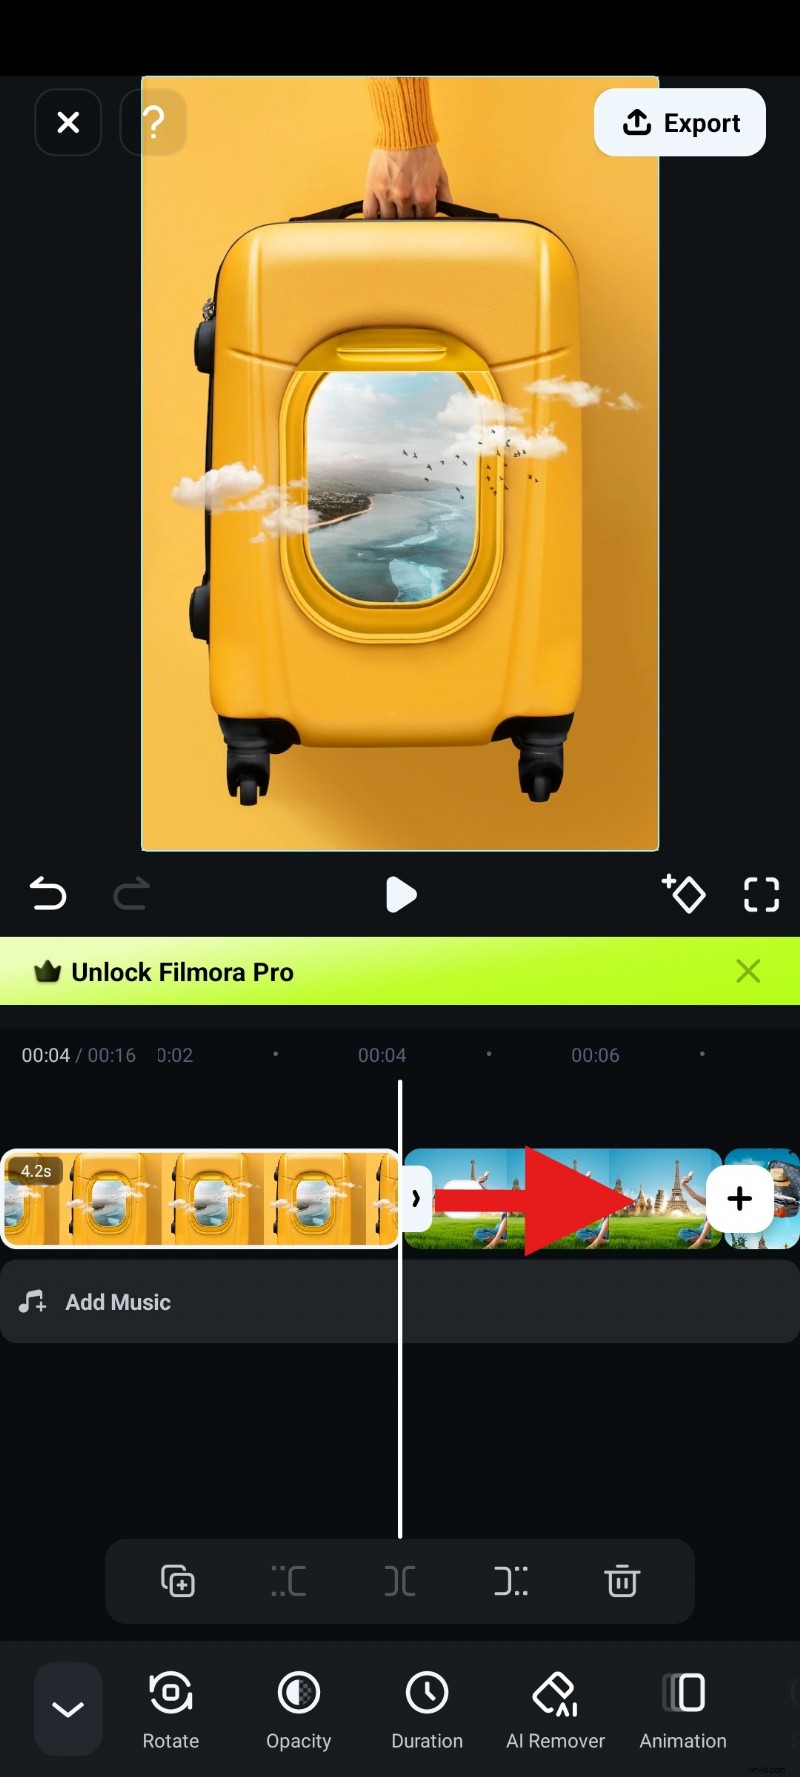
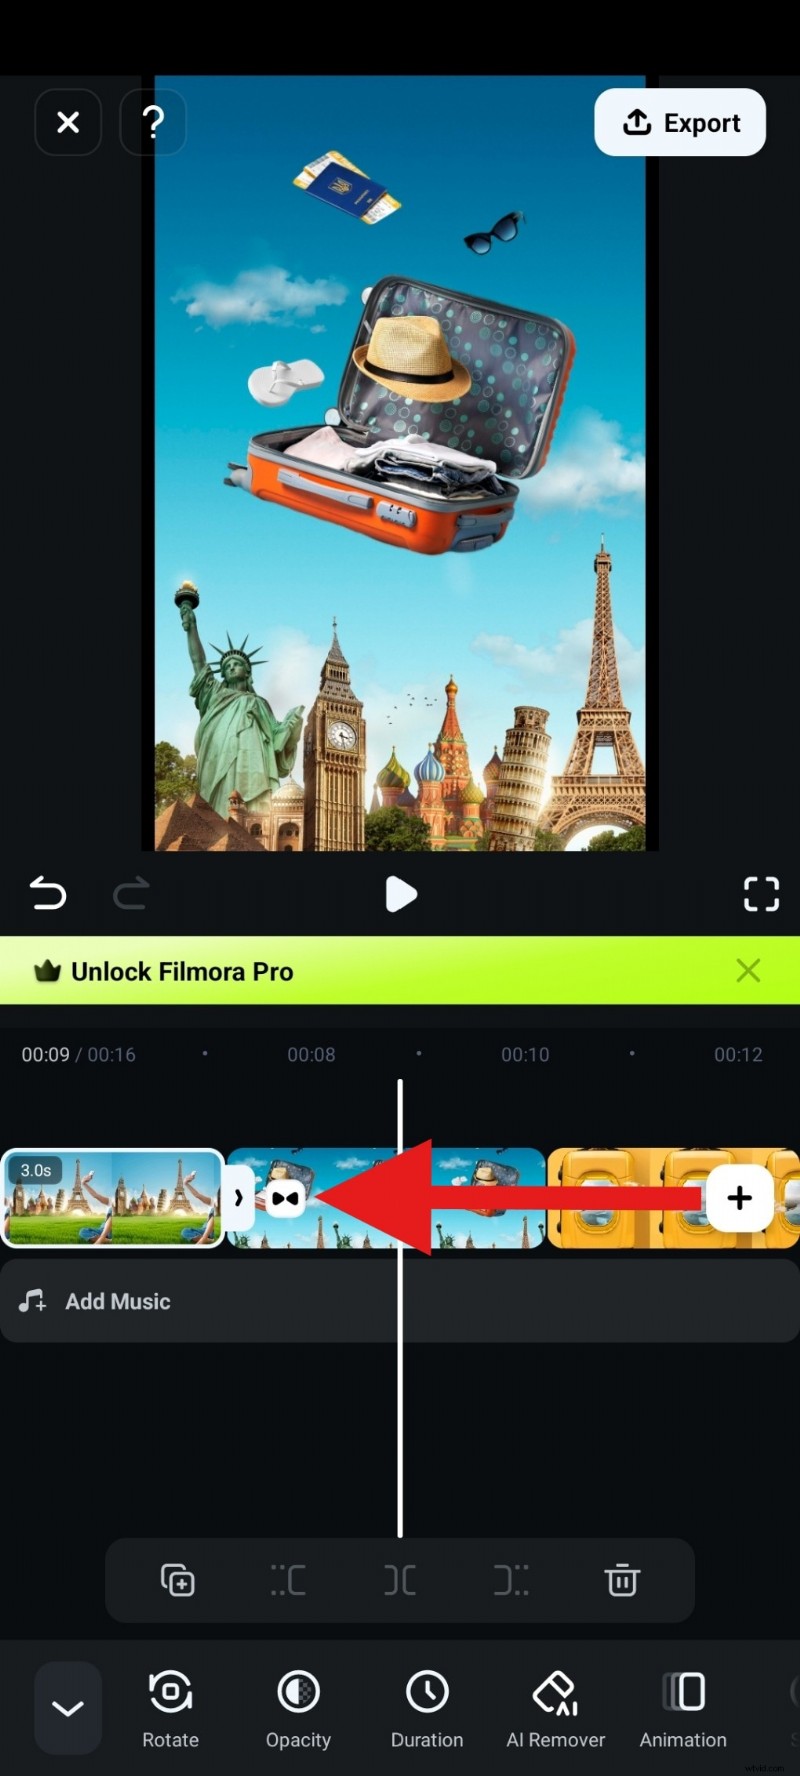
- Drag clips onto the timeline to reorder them.
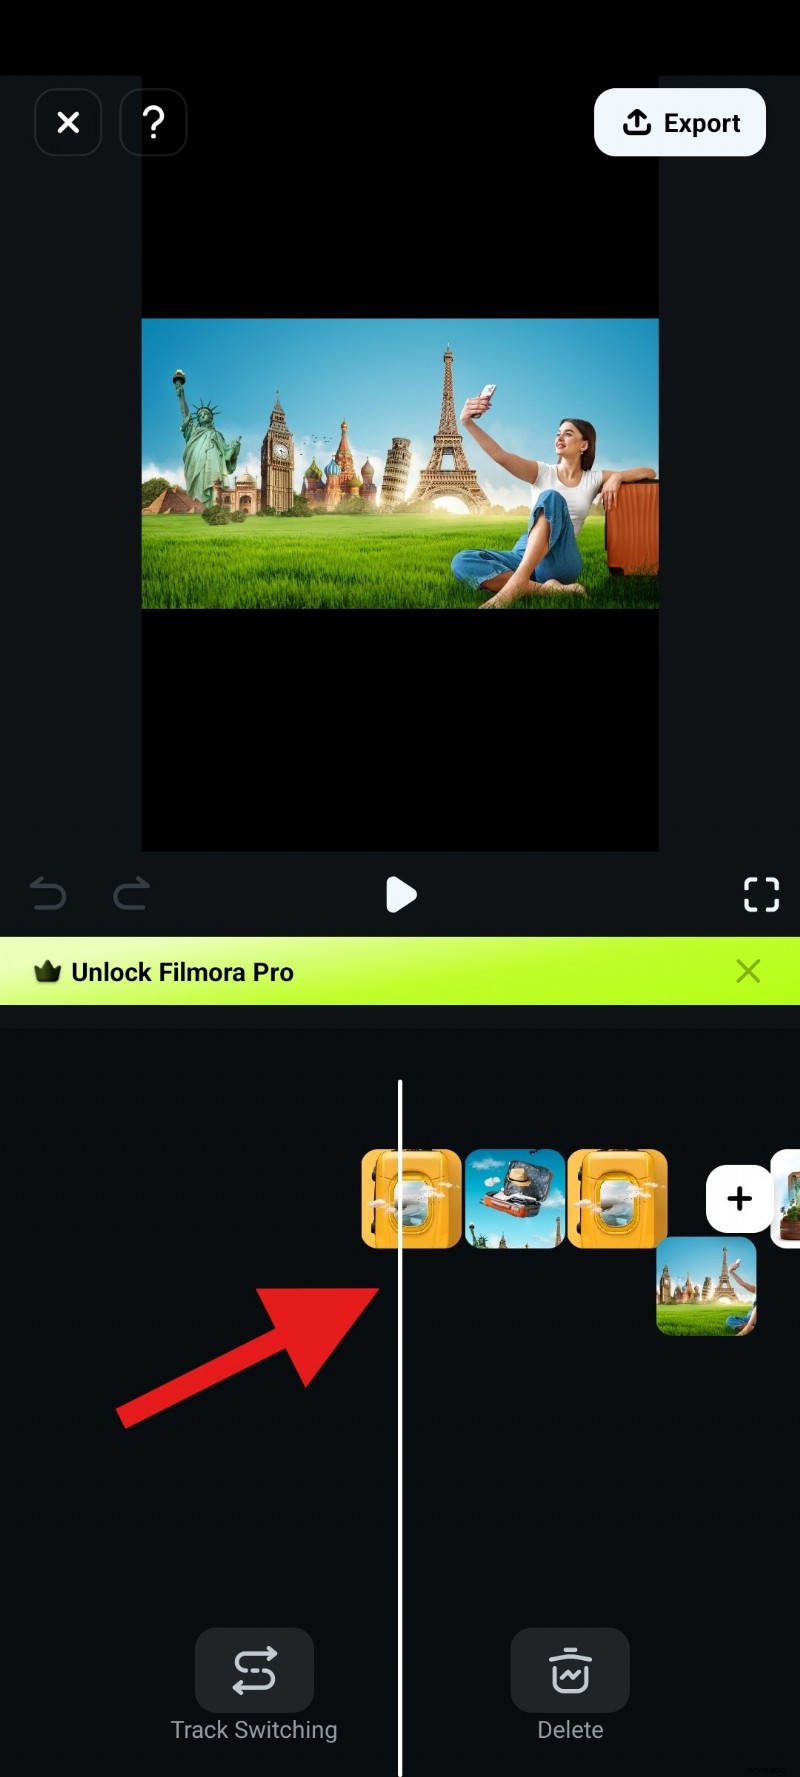
- Trim or extend each clip by dragging its handles.
Filmora also offers a suite of editing tools to refine your slideshow further.
Editing Tips for a Polished Slideshow
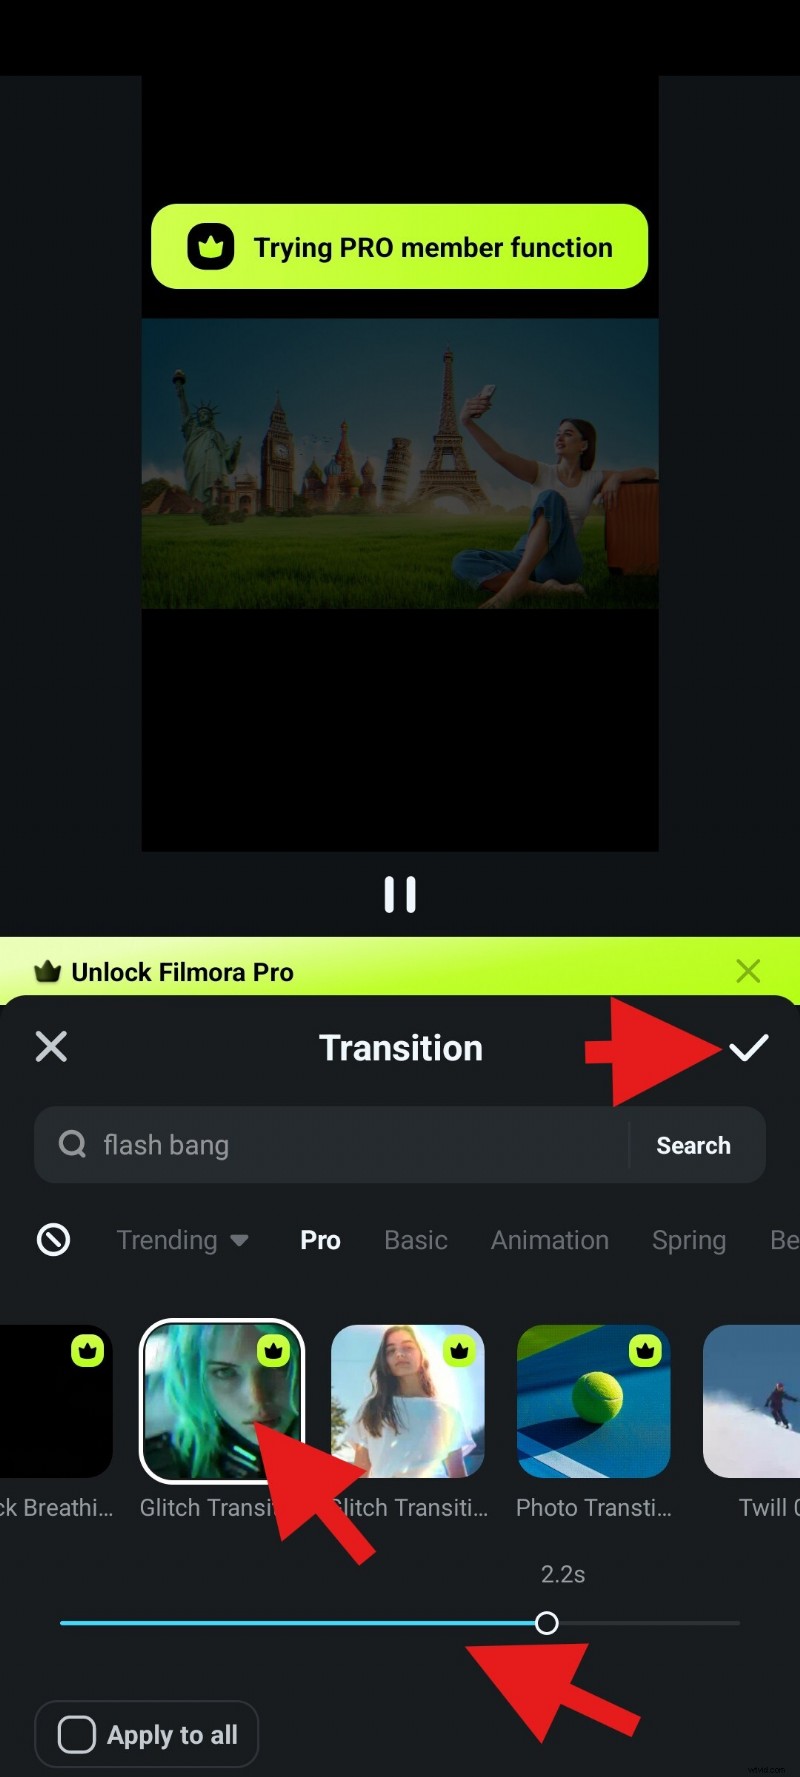
Add Transitions
Custom transitions can elevate storytelling. Filmora’s library covers any mood.
- Tap the Add Transition icon between clips.
- Select a transition and adjust its duration at the bottom.
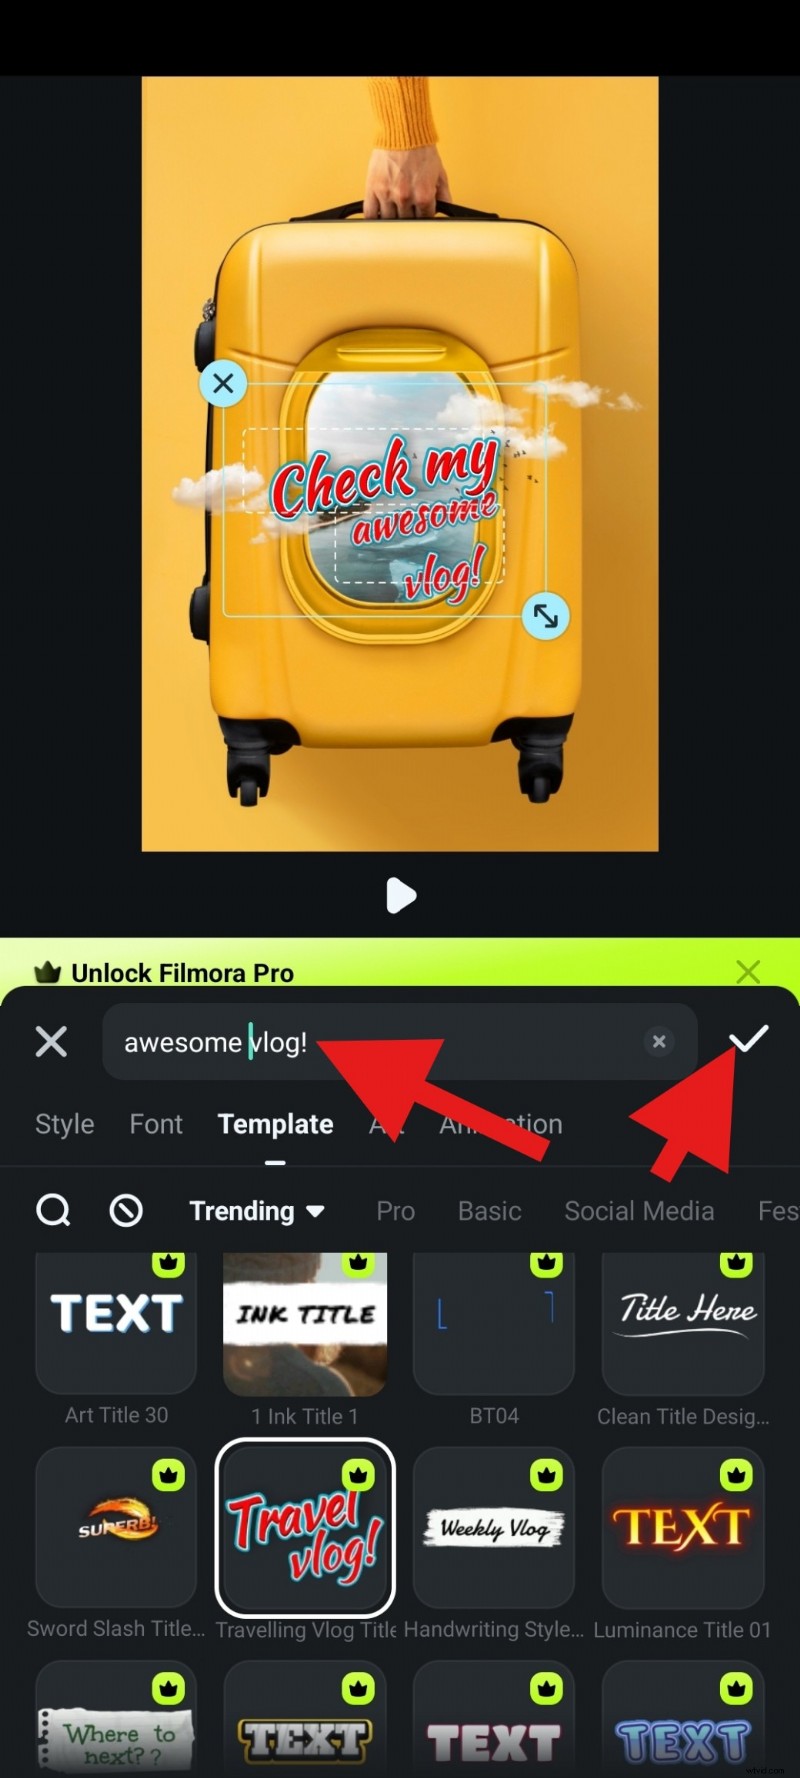
Insert Animated Titles
Text overlays are ideal for sharing messages or branding.
- Tap Text, then Add to place a new title.
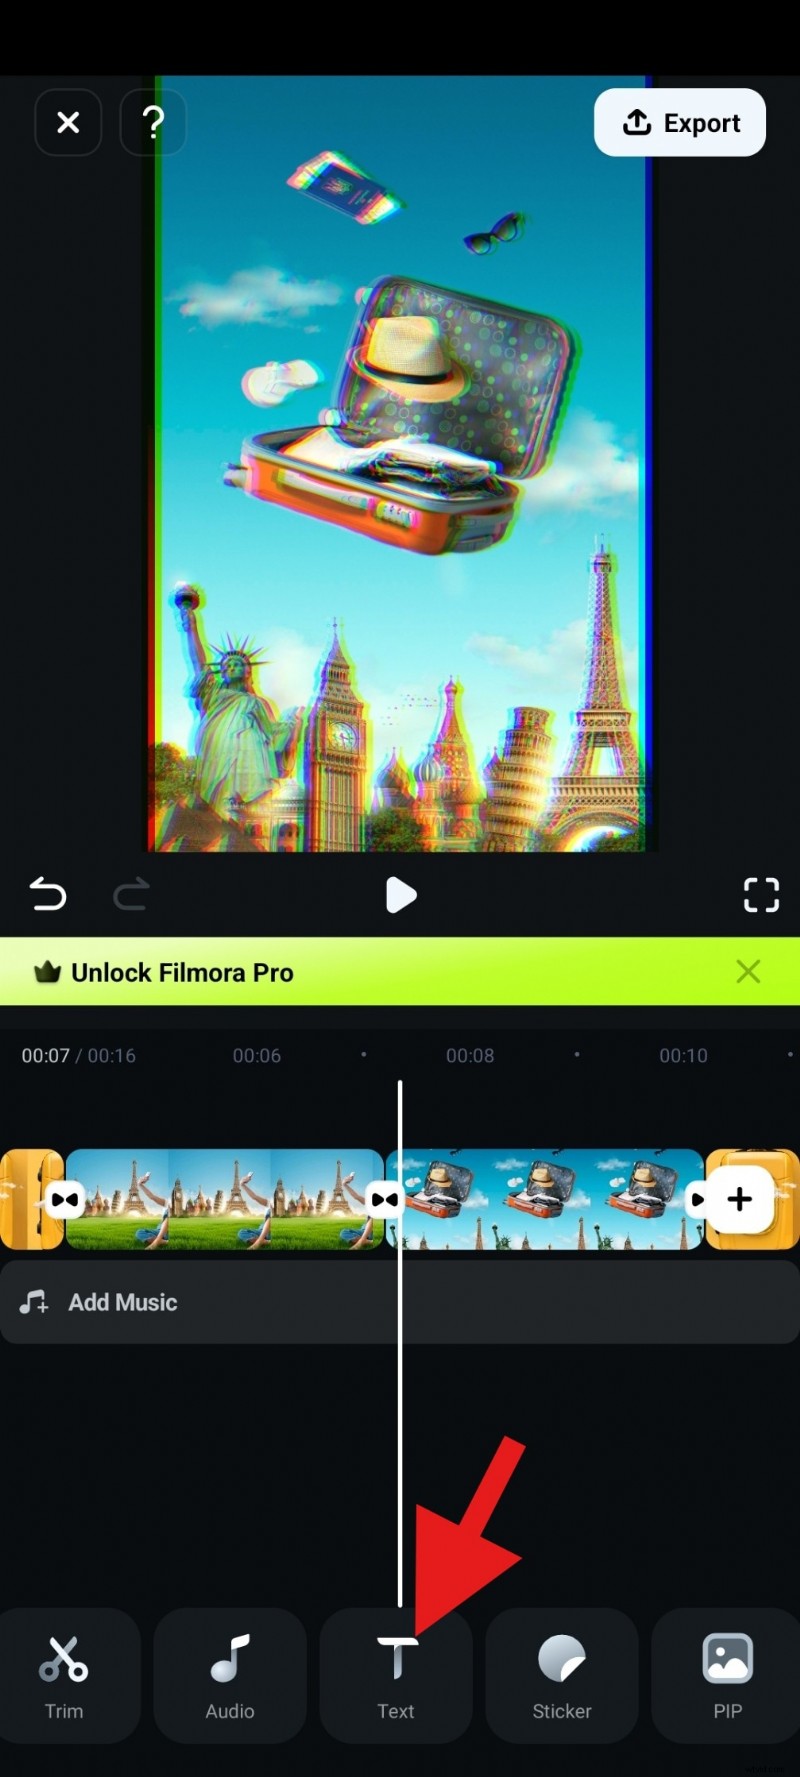
- Choose an animated template from Templates.
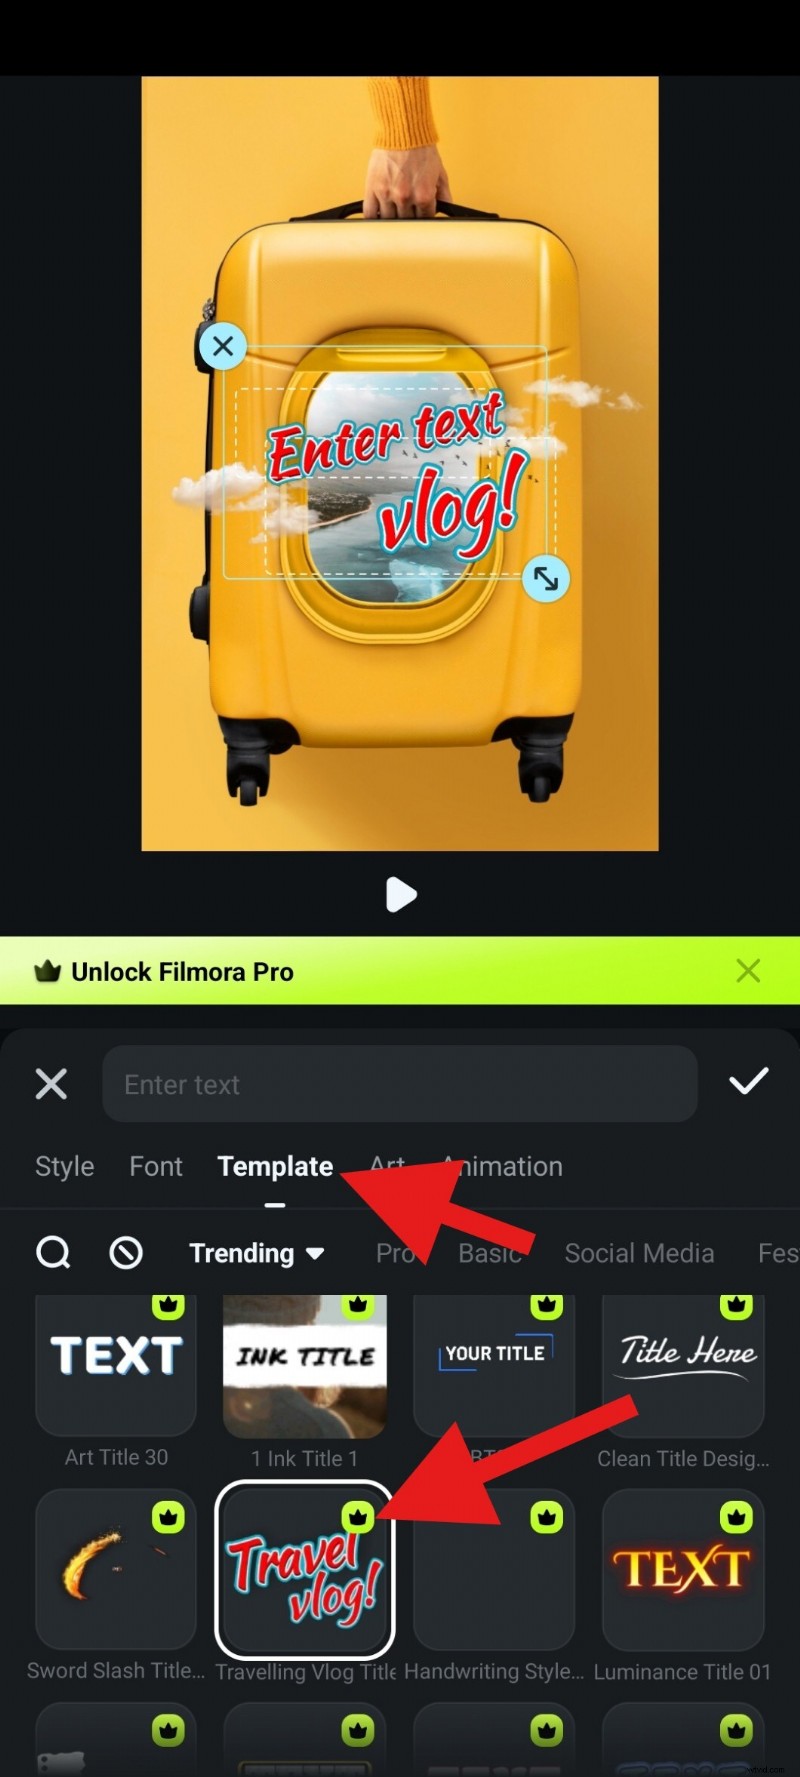
- Edit the text, then confirm changes.
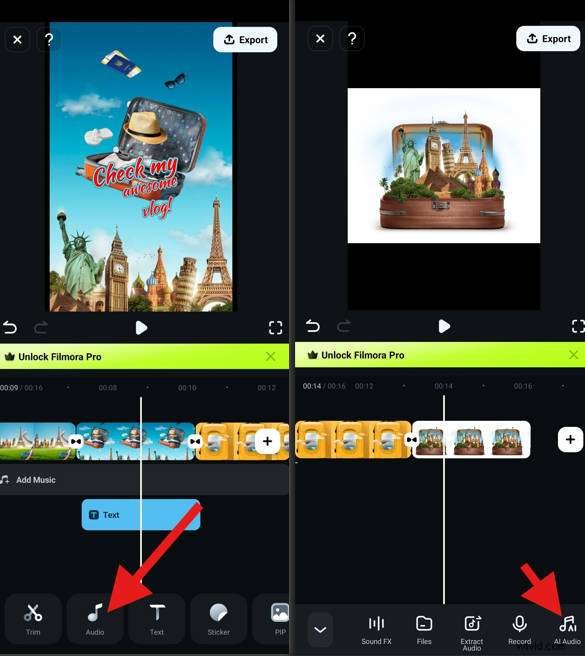
Create AI Music
Music enriches the viewing experience. Filmora’s AI Audio generates unique tracks.
- Tap Audio, select AI Audio.
- Customize settings and tap Generate.
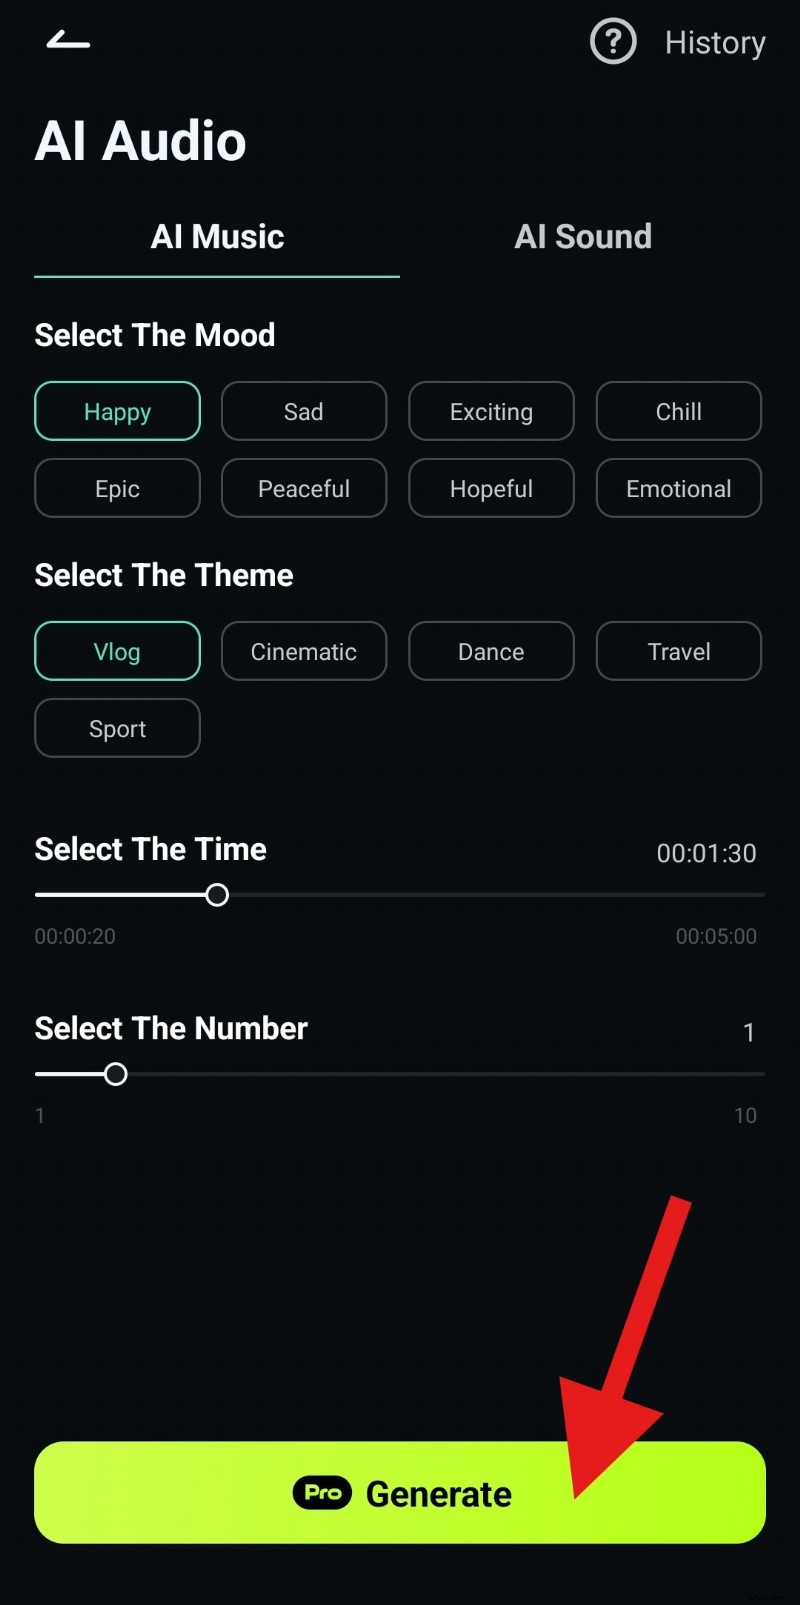
- Export the project once satisfied.
Conclusion
Google Photos offers a quick, no‑frills slideshow solution, but it lacks customization and exportability. Filmora transforms a simple photo sequence into a captivating video, giving you full creative control. Try Filmora today and follow our guide to produce a standout slideshow that truly reflects your memories.
