Stroking text in Adobe After Effects elevates your visuals, sharpening readability and adding a professional edge to titles and overlays.
Strokes outline characters, clarifying edges and improving legibility—especially when placed over busy or colorful backgrounds. They are ideal for YouTube intros, cinematic titles, and any project that demands clear, engaging text.
After Effects offers endless customization: choose color, width, and even animate strokes to bring your typography to life. This guide walks you through every step—from basic application to advanced animation techniques.
Table of Contents
- Adding and Customizing Strokes in After Effects
- Advanced Stroke Animation Techniques
- Ensuring Consistency Across Versions
- Enhancing Text with Additional Effects
- Hollow Text Creation
- Alternatives to Stroke (Drop Shadow, Glow)
- Applying Stroke Effects in Filmora
- Step-by-Step Workflow
- Combining Text Techniques for Professional Results
Part 1. How to Add Stroke to Text in After Effects
Adobe After Effects is renowned for its robust text tools. Adding a stroke is a simple yet powerful way to make text pop. Whether outlining for clarity or animating for flair, the platform provides all the tools you need.

The process is broken into clear stages, each offering customization options. You can pick colors, adjust thickness, and apply animation—making the workflow ideal for both beginners and seasoned designers.
Let’s dive into the detailed steps.
Step 1: Create Your Text Layer
- Open After Effects and start a new project.
- Use the Type Tool (T) to add a text layer to your composition.
- Enter the desired text content.

Position your text correctly and ensure it’s legible before proceeding.
Step 2: Add the Stroke Effect
- Open the Character panel (Window > Character if hidden).
- Locate the Stroke Color option beside the Fill Color.
- Click the Stroke Color box and pick your preferred color.
Stroke colors should complement the overall video theme for optimal visual impact.
Step 3: Customize the Stroke
- Adjust the stroke width in the Character panel.
- Experiment with different widths to achieve the desired emphasis.
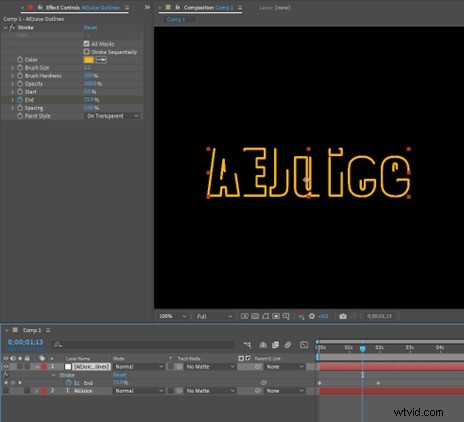
Fine-tuning thickness ensures the stroke enhances rather than overwhelms the text.
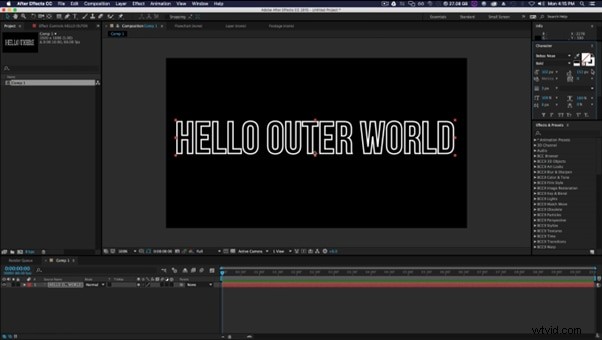
Step 4: Fine‑Tune Your Text
- To create hollow text, click the Fill Color and select “No Fill Color.”
- Adjust stroke settings for a crisp outline.
- Use Align and Transform tools to position the text accurately.
Alignment and positioning are critical for a polished final product.
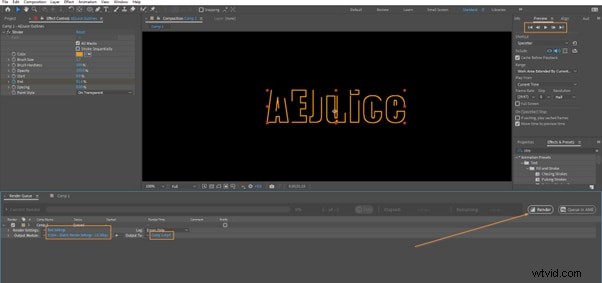
For a visual walkthrough, watch the accompanying tutorial video.
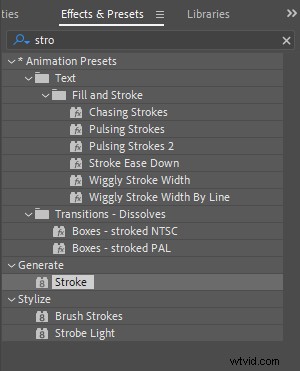
Advanced Techniques for Animating Text Strokes
Animating strokes adds dynamic motion to your titles. Here are proven methods:
- Animate Stroke Color: Apply keyframes to the “Stroke Color” property under the Animate menu to change color over time.
- Convert Text to Shapes: Right‑click the text layer and choose “Create Shapes from Text.” This opens the Shape layer, enabling more complex stroke effects.
- Add Trim Paths: Use the Trim Paths effect to animate the stroke’s start and end points, creating reveal or wipe animations.
These techniques unlock creative possibilities and give your text a professional, animated look.
Consistency Across After Effects Versions
Adobe’s core stroke functionality remains stable across releases, ensuring that the steps above work on the latest version and many older versions alike. Any significant changes are documented in the release notes, so you can stay up‑to‑date without disrupting your workflow.
Part 2. Why Add Stroke to Text in After Effects?
Strokes enhance visibility, flexibility, and creativity:
- Enhanced Visibility: Clear edges help text stand out against complex backgrounds.
- Design Flexibility: Strokes transform simple type into striking visual statements.
- Creative Potential: They can be animated, combined with other effects, or used as a minimalist style.
Additional Text Effects in After Effects
- Animation of the stroke or the text itself adds motion.
- Typewriter reveal creates a classic, engaging effect.
- Presets offer quick, polished looks.
- Hollow text (no fill) delivers a sleek, minimalist aesthetic.

Strokes elevate these effects, boosting impact and readability.
How to Create Hollow Text by Adding a Stroke in After Effects
Follow these quick steps:
- Create a text layer with the Type Tool.
- Open the Character panel and set a stroke color.
- Click the Fill Color and choose “No Fill Color.”
The result is a clean, outline‑only text ideal for minimalist designs.
Alternatives to Stroke in After Effects
While strokes are powerful, other effects can also enhance text:
- Drop Shadow adds depth and separation.
- Glow creates a soft, luminous border.
Combining these with strokes can produce even richer visuals.
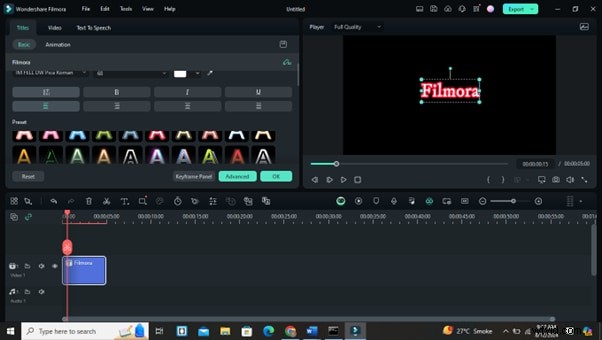
Part 3. How to Add a Stroke to Text in Filmora
Filmora, known for its user‑friendly interface, offers a straightforward path to stroke text. It’s ideal for beginners and pros alike.
Filmora’s features include curved text, auto captions, and preset effects—making it a versatile choice for dynamic text overlays.
Step‑by‑step workflow:
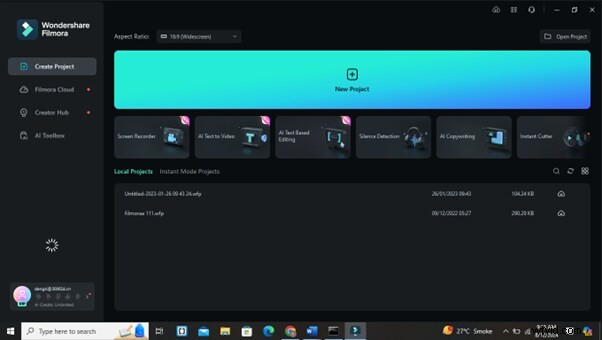
Step 1: Open Filmora
Start a new project and import your video clips.
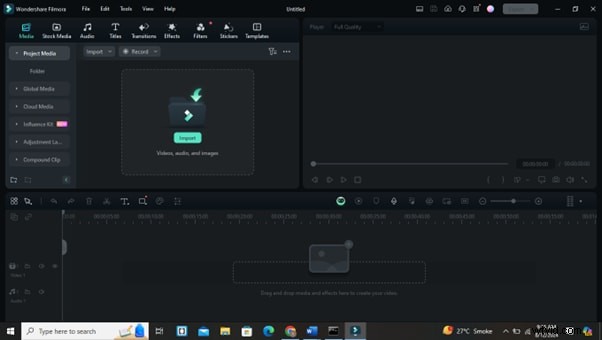
Step 2: Add Text
Use the Title menu to drag a text box onto the timeline.
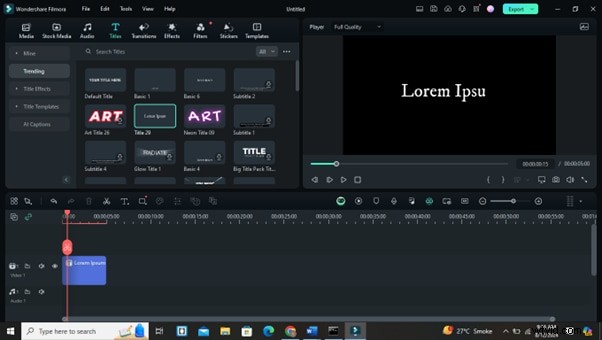
Step 3: Customize Text
Select the text box and navigate to text properties to add a stroke.
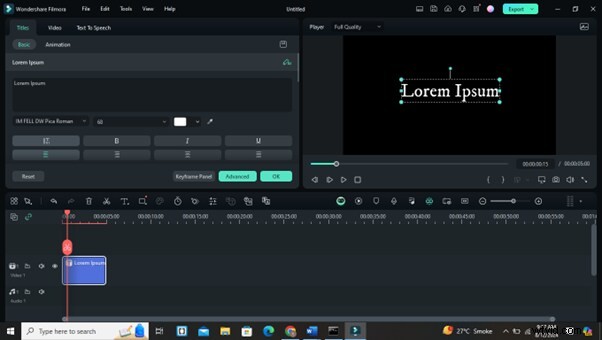
Step 4: Adjust the Stroke
Choose your stroke color, width, and style to match your video’s theme.
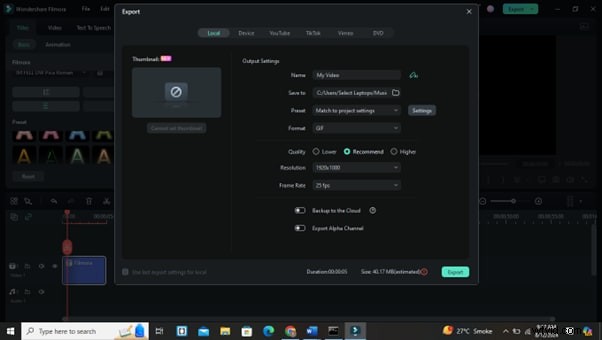
Step 5: Preview and Export
Review your changes and export the finished video.
Combining Text Techniques for Professional Results
Integrate strokes with shadows, color grading, and transitions to create polished visuals. Filmora’s AI text editor can automatically transcribe audio, streamlining caption creation.
- AI Text-Based Editing: Transcribe audio to editable text quickly.
- Customizable Text Options: Fine‑tune fonts, colors, and shadows.
- Text Animations: Choose from dynamic presets.
- Exportable Text: Repurpose subtitles for blogs or social media.
These combined techniques elevate the overall quality of your videos, making them more engaging and professional.
Conclusion
Mastering stroke effects in After Effects—and supplementing with Filmora when appropriate—enhances readability, adds visual flair, and boosts your creative toolkit. Experiment with different widths, colors, and animations; the more you practice, the more natural this skill will become. Keep refining, and enjoy creating impactful visuals.

