Video editing suites are ripe with controls. The number of tools at your disposal is astounding. What’s even more astounding is the fact that you need to keep track of all these tools and access the majority of them through a single interface, the keyboard.
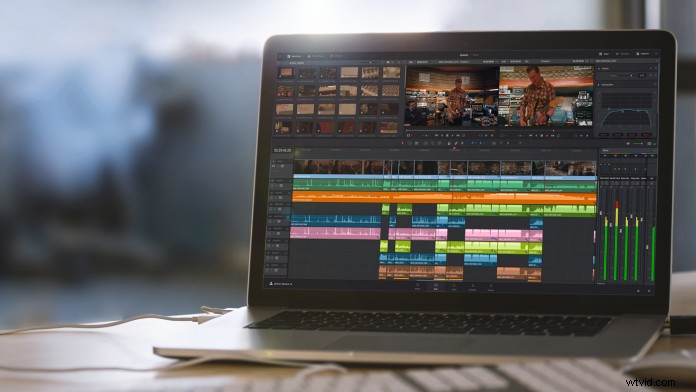
Now in version 14, DaVinci Resolve has taken big strides in recent years and is now a full blown video editing post-production suite. It’s no longer confined to being solely a color grading application, although it’s incredibly powerful for that job. DaVinci Resolve 14 can take a project from start to finish. For that reason, along with the power of Resolve, video editors should be familiar with the basic keyboard shortcuts that’ll keep them in the flow of the edit.
1. Normal Edit Mode
Windows/Mac: “A”
First things first, Davinci Resolve has a lot of tools and it’s easy to get lost in the application, even while looking at the timeline. The normal edit mode in DaVinci Resolve 14 is where you can move and trim clips in the timeline. It’s the heavy lifting zone and foundation of any edit. Think of it as activating the selection tool in Premiere Pro CC or Final Cut Pro X.
2. Blade
Windows/Mac: “B”
There’s a reason an edit bay is known as the cutting room. The blade tool is an editor’s primary mechanism for cutting video. To save on the user’s cognitive load, they can select the blade by hitting “B.”
3. Split Clip
Windows: “Ctrl \ ” Mac: “Cmd / ”
Another popular, and efficient, way to make a cut is to split the clip at the playhead. This way, your hand never has to leave the keyboard to grab a mouse. One keystroke and the clip is split.
4. Join Clip
Windows: “Alt \” Mac: “Cmd \”
Of course, the reverse of splitting a clip– joining a clip–is just as important. Editors and producers are known to change their minds from time to time. You execute this keystroke while the edit of the split clip is selected.
5. Ripple Delete
Windows: “Ctrl Backspace” Mac: “Cmd Delete”
Deleting a clip from the timeline is easy; select it and hit “backspace” on Windows and “delete” on a Mac. However, if you delete a clip in the middle of an edit, simply deleting the clip will create several other steps of tedious work to join the rest of the clips together. A ripple delete is a time saver used by efficient editors as it removes the clip and joins the edit together from the head to the tail of the deleted clip.
6. Toggle Disable/Enable Clip
Windows/Mac: “D”
Eliminating or deleting a clip isn’t always the answer, especially if you’re in the process of deciding whether or not a clip should reside at a particular point in an edit. That’s when it’s useful to disable a clip. You can toggle between disabling and enabling a clip by selecting it and typing “D.”
7. Slip Edit/Slide Edit
Windows/Mac: “T” and drag
Slipping and sliding a clip in the timeline is one of the most powerful methods for refining an edit. DaVinci Resolve makes this super easy. All you have to do is hold down “T” while dragging the clip forward or backward. What differentiates between a slip edit and a slide edit is where the user grabs the clip. When the user click drags the top half of the clip while holding down “T”, the user will perform a slip edit. A slide edit is performed in a similar way, by dragging the bottom half of the clip.
8. Zoom
Windows: “Ctrl + or -” Mac: “Cmd + or -”
Navigating the timeline is essential to any edit. Sometimes you’ll need to get in close to your cuts, down to the frame level, and other times you’ll need to pull out and get the big picture of the entire edit. Similar to other programs Ctrl/Cmd + zooms in and Ctrl/Cmd – will zoom the timeline out. You can also hold down the Alt/Opt key while scrolling with the mouse wheel to zoom in and out as well. As an added bonus, Ctrl/Cmd Z will toggle between a zoomed out view of the entire timeline and the user’s zoomed in view on the playhead.
9. Full Screen Viewer
Windows/Mac: “Shift F”
Editors are used to seeing every pane, panel, and window of their workspace. Unfortunately, producers and clients can be thrown off by the excess visual resonance. Simply enough, “Shift F” toggles on and off the Full Screen Viewer and allows you to fill the screen with the playback.
10. The Most Important Shortcut of All
Windows: “Ctrl S” Mac: “Cmd S”
There’s one keyboard shortcut that reigns supreme above all others and that is “Save.” Yes, it’s common knowledge; this is a universal shortcut, but it’s too important not to mention. The overwhelming nightmare of most video editors is lost work and the best way to avoid it is by frequently saving the edit. Fortunately, DaVinci Resolve 14 takes into account the average editor’s muscle memory and keeps this one the same.
Keyboard shortcuts are your bread and butter as a video editor. They’re the means to greater productivity and a direct path to a finished project. When new tools come out, or a platform expands, it’s always wise to freshen up and learn some new strokes.
Chris “Ace” Gates is a four time Emmy A?ward-winning writer and producer.