In this second installment of our FCPX Essentials series, learn how to edit footage inside of FCPX and add eye-catching effects and transitions.
With this FCPX Essentials series, we’re looking at some of the basic, most essential features of FCPX. Whether you’re a brand new editor or a seasoned vet switching to the program, these videos will give you a foundational understanding of the program. We’ll look at its unique design and layout. We’ll discover how to import, edit, cut, and deliver a project all within FCPX.
Just keep in mind, this is not a master class. Rather, it’s an entry-level introduction meant to help you lay the groundwork for your next steps with the program.
Now, for part two of our three part series (here’s the first part), we’re going to start editing our footage, making our first round of cuts in the editing program. We’ll learn how to trim around our footage, make edit decisions, and bring edits into a project. We’ll also look at how two pieces of footage interact with each other.
FCPX Essentials: Editing

Step 1: Select the Clip to Edit
We’ll begin by selecting the clip we wish to edit. To do so, we can simply hover over the clip with our mouse and double-click the clip to highlight and select it. The skimming feature within FCPX also allows you to scrub through your footage to get a quick look at what’s in your shot. Once selected, you can press the space bar to play back your footage.

Step 2: Make the Cut
Once you’ve started utilizing your space bar to playback your footage, tap it again to pause playback. If you stopped in the wrong area, you can use the arrow keys to navigate frame by frame to find the perfect section.
Once you find the perfect section of your clip to utilize, press I on your keyboard to select the In point of your edit. Once pressed, hit your space bar again to resume playback and to make your way to your second cutting point in your footage, your endpoint.
Once you find the endpoint of your clip, press O to make the Outpoint of your edit. With both in and outpoint selections made, you’re ready to drop the footage into your project.
Step 3: Putting Your Edited Clip in the Project
You made your edits and now you’re ready to move it into a project. Luckily, this is super simple to do. To do so, simply click the edited clip, then drag it down to the timeline for your project. Boom. You just edited your first clip in FCPX. You can follow all of these steps to now edit your other two clips.
Step 4: Adding Transitions
We’ve now edited three clips in our FCPX timeline. By adding transitions (or effects) to the clips, we can really elevate our edit. Today, we’re going to utilize three editing tricks to really amplify our footage: a speed ramp, strobe effect, and a classic cross dissolve.
The Ways to Amplify Your Footage
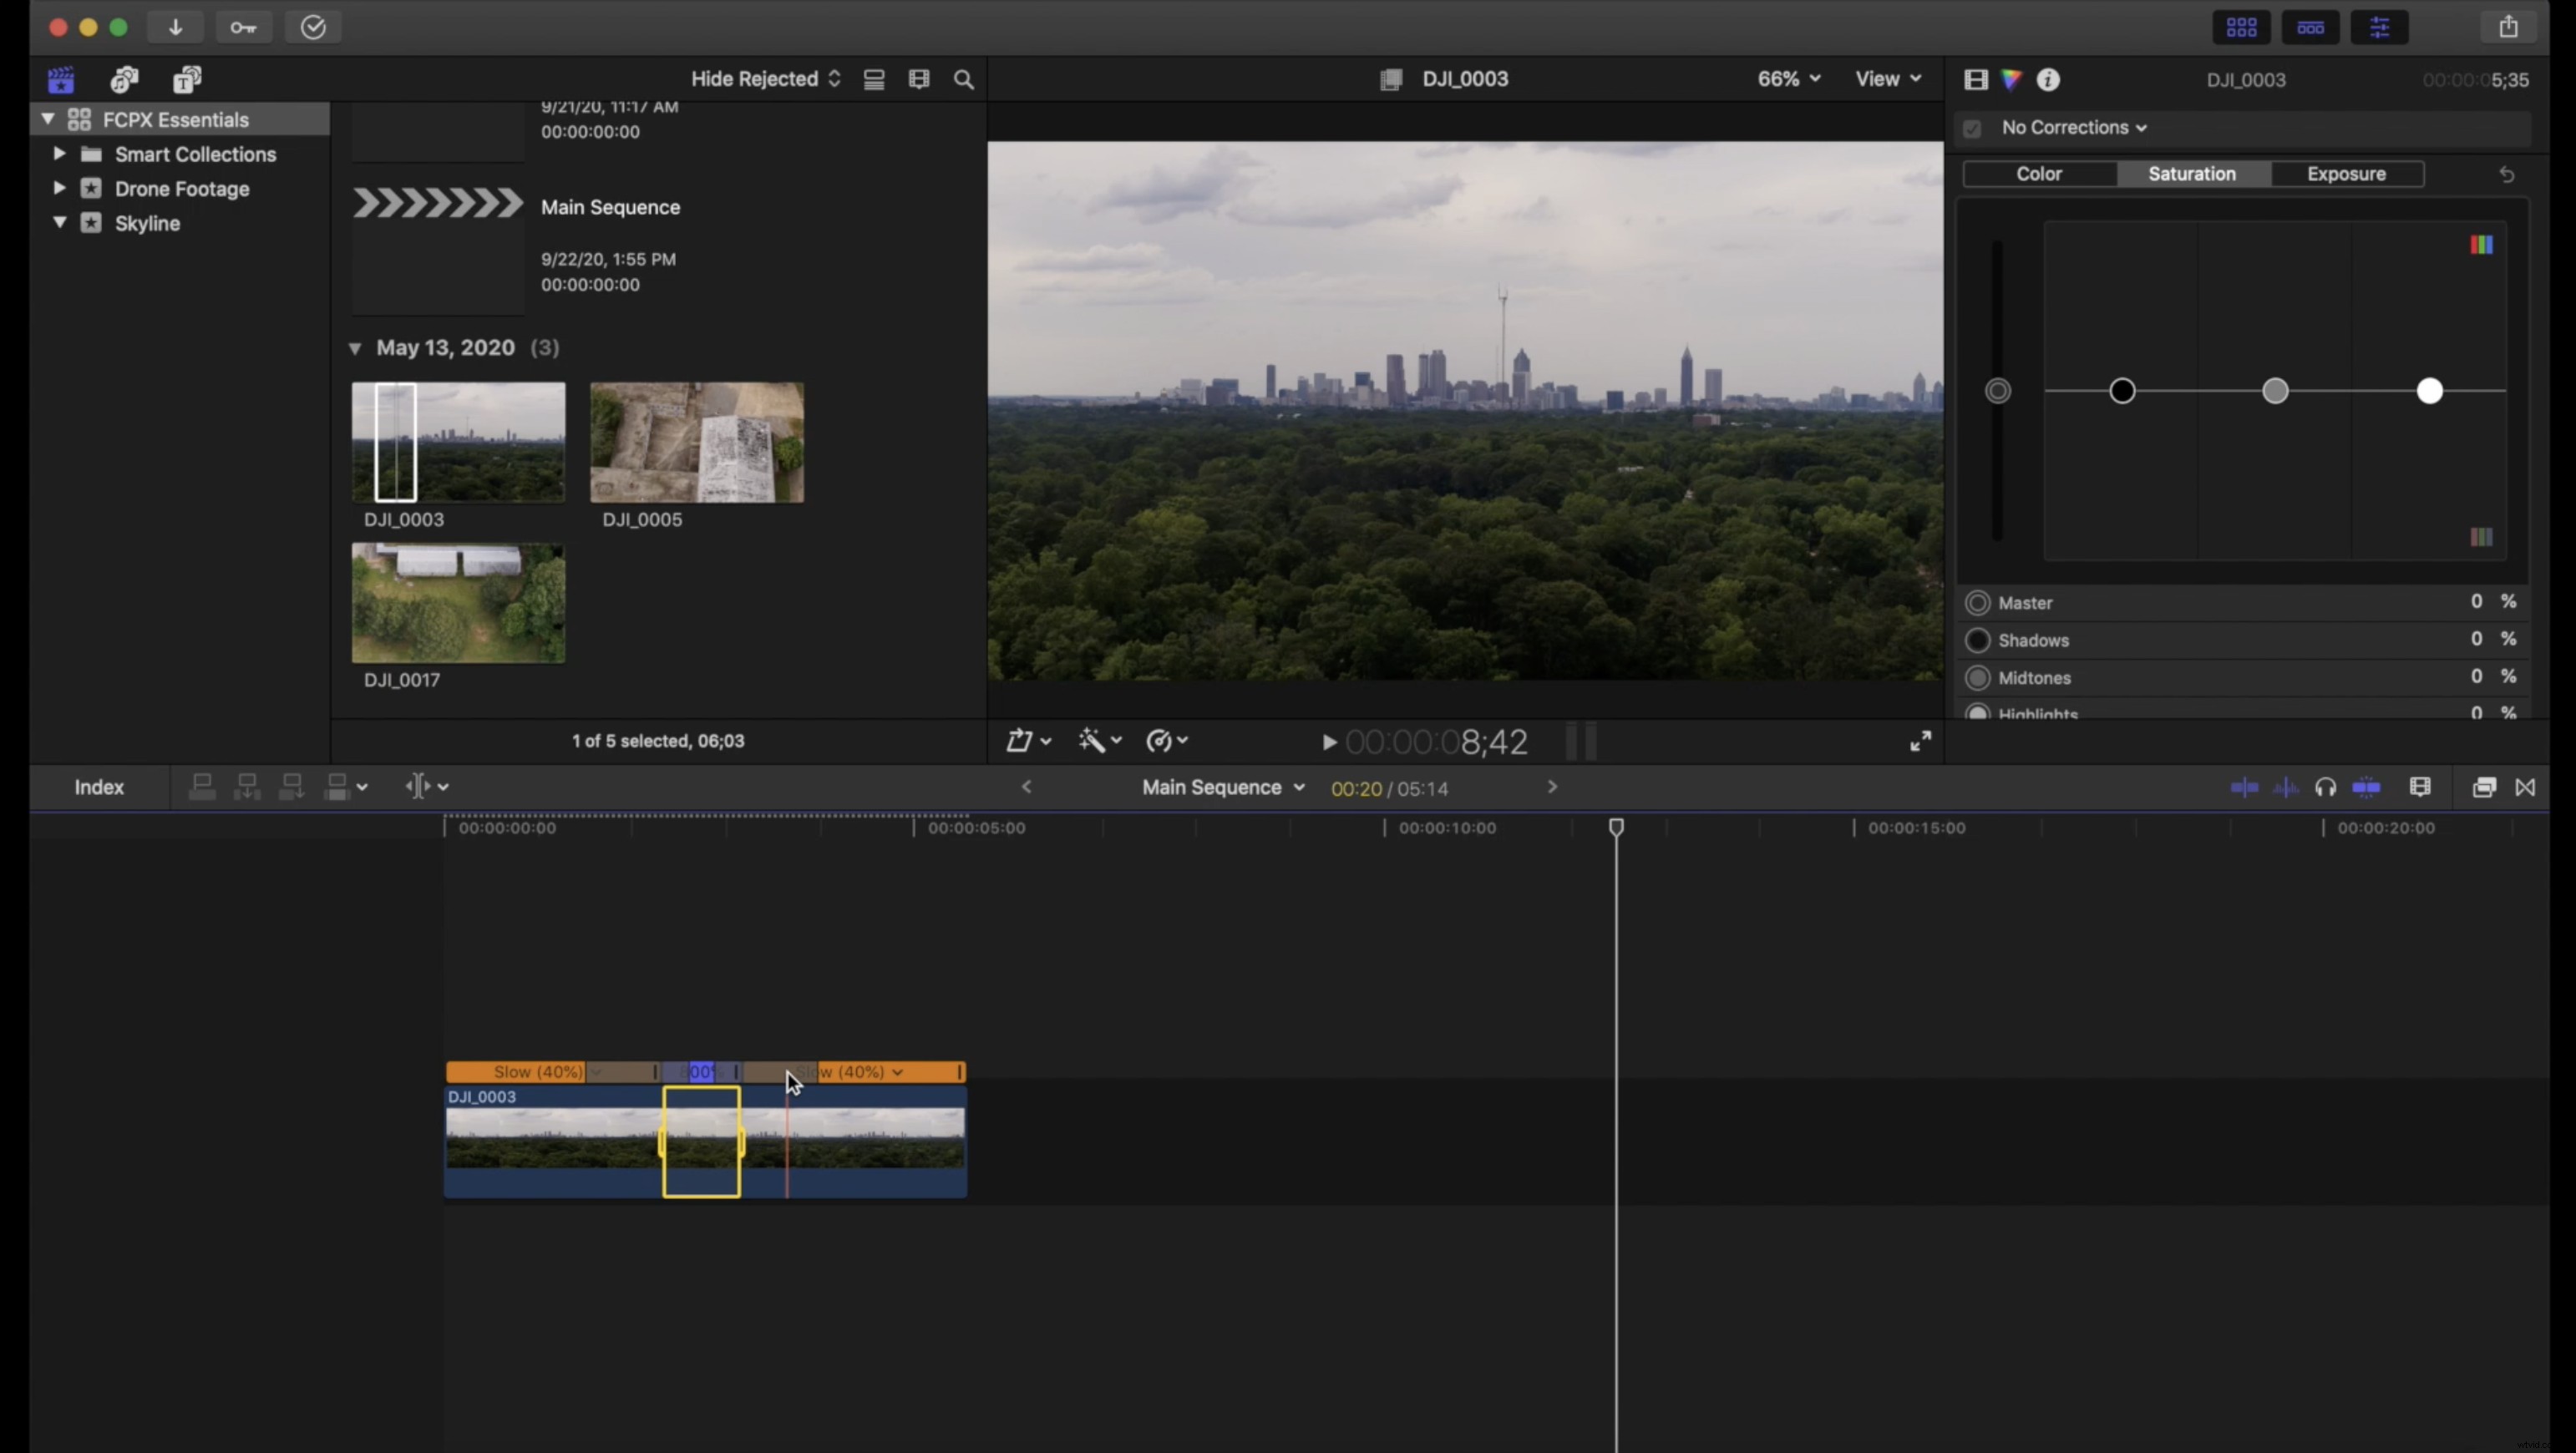
1. Speed Ramp
Speed ramps are a perfect (and easy to pull off) way to add a little character to your transitions.
- With the blade tool, cut off about 1.5-2 seconds on each of the clips.
- Select each clip and speed up to 8x.
2. Strobe Effect
The Strobe effect isn’t just a great editing trick, it also teaches you about the blade tool and how to enable and disable your clips.
- Select the two clips you want to transition between.
- Using your blade tool, trim back the last three or four frames of each individual clip.
- You should have about six to eight individual cut-out clips. Now, select every other clip and simply press V to disable the clip.
- With every other clip disabled, you now have your Strobe effect.
3. Cross Dissolve
Sometimes something simple is all you need. When that simple moment calls, a cross dissolve is an excellent choice. Here’s how to do it.
- In your transitions panel, search for cross dissolve.
- Once it pops up, simply drag the effect between the two clips.
And there you have it. We just edited our first three clips within FCPX. We learned how to set our in and out points, how to drag our footage to the timeline, and how to nail some nifty edit tricks. For our final lesson in our FCPX Essentials series, we’ll learn how to drop in a music track, how to color correct our footage, and how to export a high-quality final product. See you next time.