Get ready for some fun stuff. Today we’ve got a full-length sample video from our Secrets of Creative Editing course that will teach you how professional Hollywood editors arrange their timelines for the most optimal workflow. Also included is a complete transcription along with screenshots in case you’d like to reference anything more closely.
Alright, lets get started!
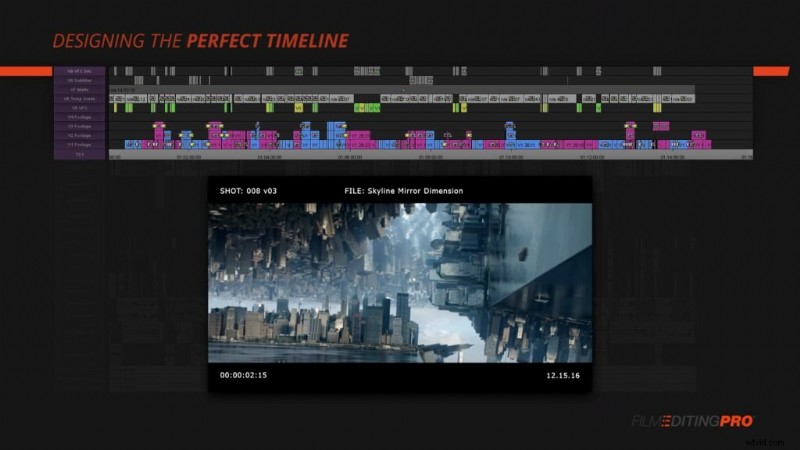
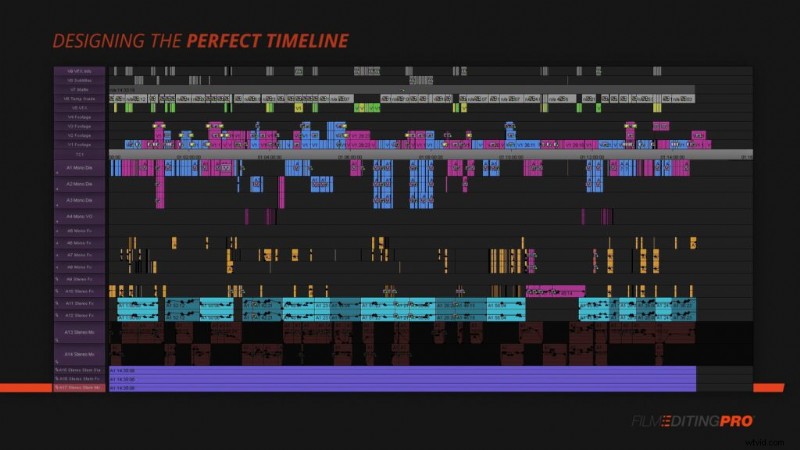
Ok, so let’s talk about your editing timeline.
This arrangement of colored blocks is your canvas. It won’t show the artistry of the edited piece itself, but it does reveal other things about your work like duration, complexity and thoughtful organization.
Is there such a thing as The Perfect Timeline? We would argue that there is – so read on to find out some of the key characteristics and elements of what we consider to be the optimal layout…
Layers V1 – V4
Let’s begin with V1 and work our way up. Here we have video layers 1, 2, 3 and 4. These are the workhorse layers where most of the picture editing will be happening.
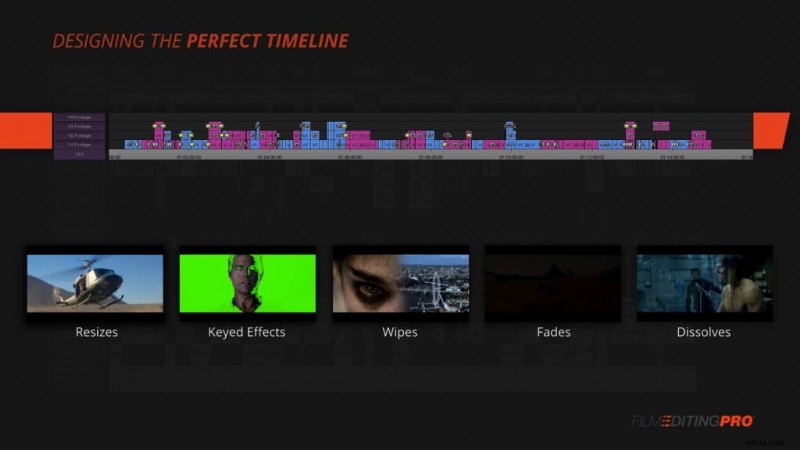
This is where you’ll be adding all your footage to craft the scene. You’ll also be using these layers for adding simple effects from your editing software. That might include picture resizes, keyed effects, wipes, fades, dissolves and on and on.
Layer V5
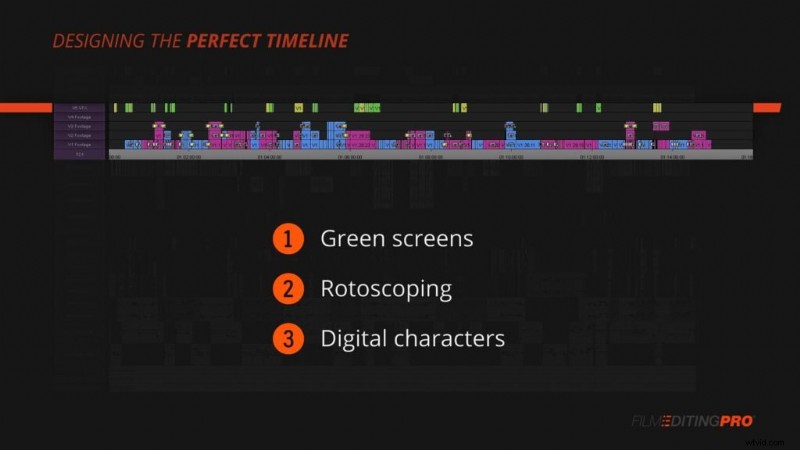
Moving up, we’ve got V5. If your project contains any more complex, externally-created graphics or visual effects, they’ll go here.
That includes things like green screens, rotoscoping, digital characters and more. Generally, if you’ve got another team member or company responsible for supplying these pre-made visuals, assign them all to this track.
Layer V6
On V6 we’ve got our temporary color correction and grading. You’ll use this track to apply adjustments to all the video tracks beneath it.
You might want to add a large correction or grade across a large group of shots or you might need to apply an exposure fix to just a handful of shots. This track is where you’ll do all that.

Layer V7
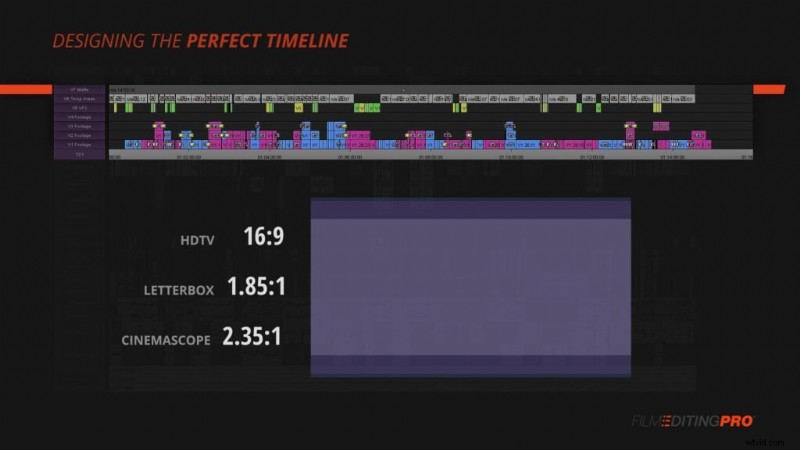
V7 is where we’ll add our matte. Whether you’re working 1.85, 16:9, 2:35 or any number of other aspect ratios, it’s a good idea to add a true black matte across the footage.
This is going to give a more consistent viewing experience for you and your client, director, test audience, what have you.
Layer V8
Now, above V7 is where we’ve got visuals that we might want to turn on and off for various reasons. By placing this content above our matte layer, we can simply monitor below it if we don’t wish to view or export what’s on these tracks.
So what is on these tracks?
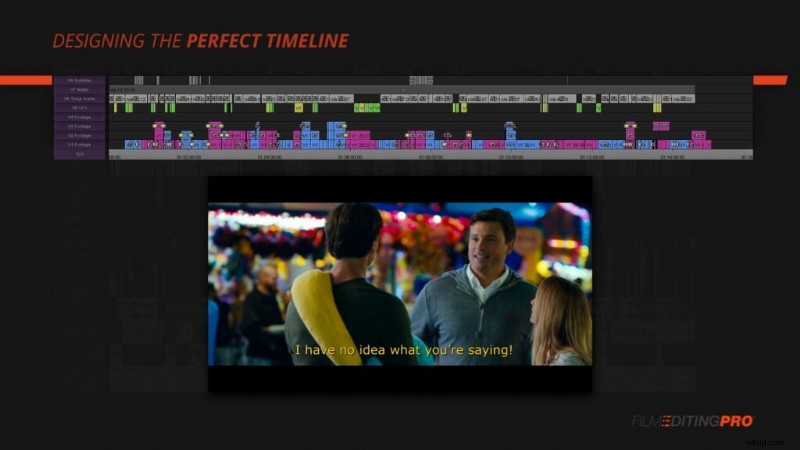
On V8, we’ve got subtitles. This is where you’ll typically add text from your editing software to caption any sections of footage either spoken in a language foreign to your audience or that might be difficult to understand in an interview or documentary format.
Layer V9
And finally, on V9, we’ve got a layer of titles with information about our various visual effects. That includes shot numbers, version numbers and any other information you and your team use for tracking.
The higher we go up through our layers of video tracks, the less likely you’ll need to use them. On complex projects with larger teams and high-end vfx, you’ll use them all. On simpler projects being cut from final, color-corrected footage, you might only use V1-4. Whichever scenario you find yourself in, these 9 video layers will cover all your bases.
Alright, now let’s take a look at our audio tracks. So first, a word about the track order here. The tracks are arranged from top to bottom in the order you’ll be cutting them. You’ll be cutting dialogue first as you structure out your scene. Then you’ll build out some of your sound effects and ambiance and finally you’ll add any music, temp or otherwise, if the scene requires it.
Layers A1 – A3
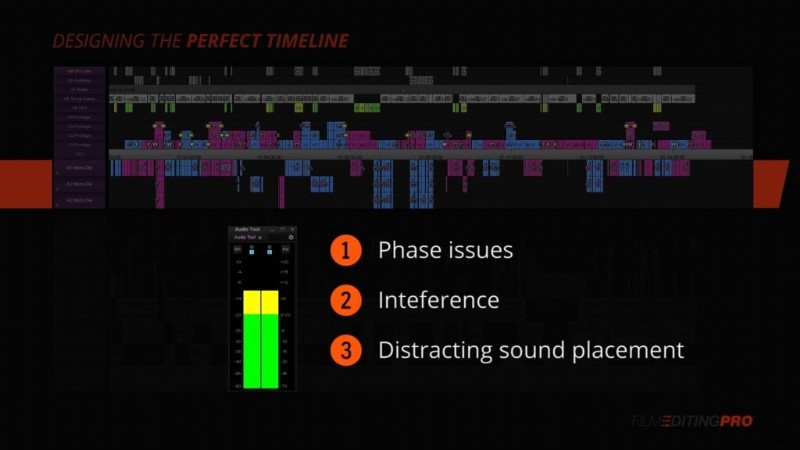
Alright, so starting with A1 through A3, we’ve got 3 tracks of mono dialogue. Why mono you ask? Or maybe you don’t, but I’m gonna tell you anyway.
Dialogue is almost always recorded mono to eliminate any potential problems that might arise from a stereo recording. Dialogue recorded in stereo is asking for trouble, as you’ll be open to problems related to phase issues, interference and incredibly distracting sound placement of the voice, as it could possibly waver left and right depending on the exact microphone location on the set.
Dialogue and other simple effects like foley will typically be sent to the center channel.
If you need to simulate any subtle effects that are typically afforded by stereo audio, you can add these later in the mix. Most commonly that will include a bit of reverb to help simulate an environment and realistically place a voice in the correct 3-dimensional space.
Layers A4 – A8
On audio track 4, you can use the real estate in audio track 4 for additional dialogue or narration (if your project has it).
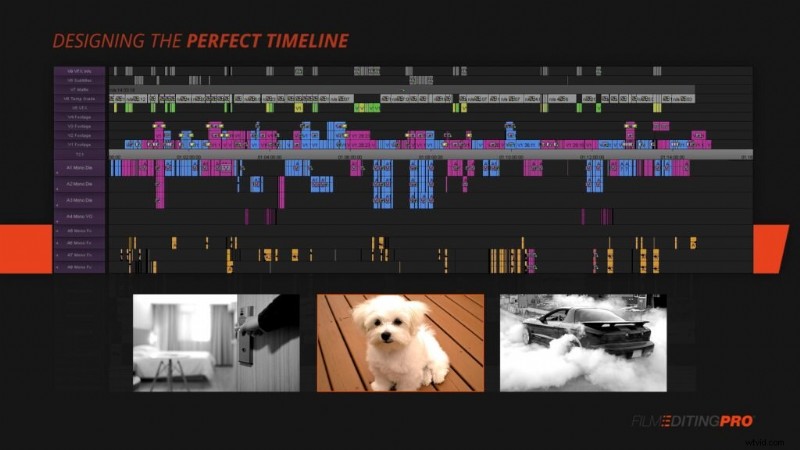
Ok, moving down to audio tracks A5 – A8. On these tracks, you’ll add your mono sound effects. Use these tracks for simple effects that don’t benefit from a stereo recording. That includes mostly foley and other simple effects like a door slamming shut, a dog barking, a tire screech…you get the point.
Layers A9 – A12
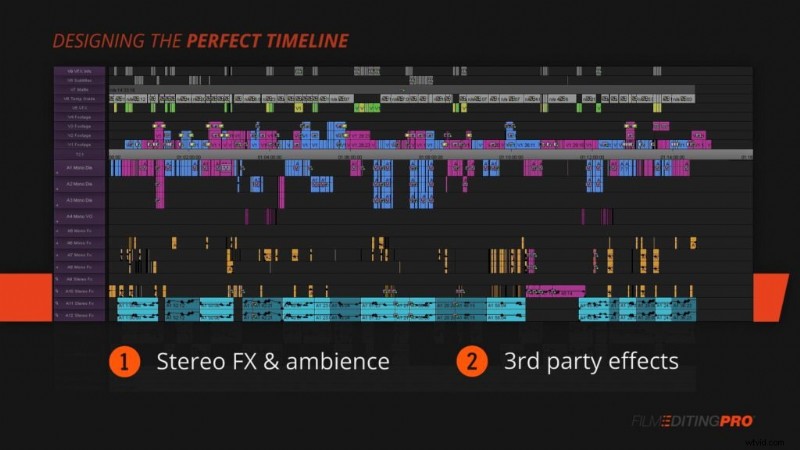
Below these mono effects, you’ve got 4 more effects tracks on A9 – A12. So what’s the difference between these and the previous 4? These tracks should be reserved for your stereo sound effects and ambiance coming in with the production audio. Also, use these to add your own third party stereo sound effects like room tone and ambiance or sound design you’re adding to the cut.
Remember, if your software can take both stereo and mono audio on the same type of track, these tracks can be either. You’ll basically just have 8 effects tracks in a row.
But, if you’re using something like Avid and you need your track type to match the mono or stereo sound being added to it, make sure these are either added as 4 stereo tracks or 4 mono pairs. Whichever matches the format of your production audio.
Layers A13- A17
Alright, now that we have a home for all our effects, it’s time for music. You’ll want to reserve tracks A13 and A14 for stereo music. If your scene doesn’t have music, these will just remain blank.
And finally, the last 3 tracks at the bottom of our timeline are A15 – A17. These are also stereo tracks and their job is to hold the stems you receive from the sound department.
As your cut progresses, you’ll likely be collaborating with a dialogue editor, a sound designer and either a music editor or a composer. As you receive new and shiny cleaned up versions of these elements of your mix, you add each stem here at the bottom. One for dialogue, one for effects and one for music.
For example, once you receive your cleaned up dialogue stem, you’ll add it on A15 and then you’ll mute tracks A1-A4, containing your rough dialogue edit. The same with your sound effects on A16 – you’ll mute A5-A12. And of course your music stem will live on A17 and you’ll mute your rough music edits on A13 and A14.
So, now that you’ve seen our version of The Perfect Timeline, what’s yours? Let us know in the comment section below!
If you liked this tutorial, you’ll love the entire course. Learn more about Secrets of Creative Editing.