iMovie is a fairly simple video editing tool, and the fact that it comes pre-installed on every Mac device is a significant bonus. Its clean layout and similarity across all of Apple's products make it an easy tool to apply in practice. Hence, regardless of whether it is to just to create movies for your family or maybe something more professional, the software can help you do it if you know your way around it.
L Cuts and J Cuts are video editing sequences that will help increase the quality of any production with the smooth blending of content. And in this guide, we will explain how you can apply these in iMovie.
But at the same time, if you were looking for a more powerful video editing tool, Wondershare Filmora is an alternative worth considering. Hence, we have also included steps on how to create L Cut and J Cut sequences in it. The software is to an extent more user friendly and is also available on both popular platforms — macOS and Windows.
This guide was created with the latest version of iMovie and Wondershare Filmora
How to create an L Cut in iMovie
Before we delve deeper into the details of how to make this sequence, an L Cut is formed when the audio component on the first clip blends in with the audio component of the second clip on the Timeline. Due to this, the video is able to achieve a smooth interlink.
Tip: This type of a cut is best used when you have a few b-roll sequences to stitch into main footage.
Once you have iMovie up and running, follow the steps listed below.
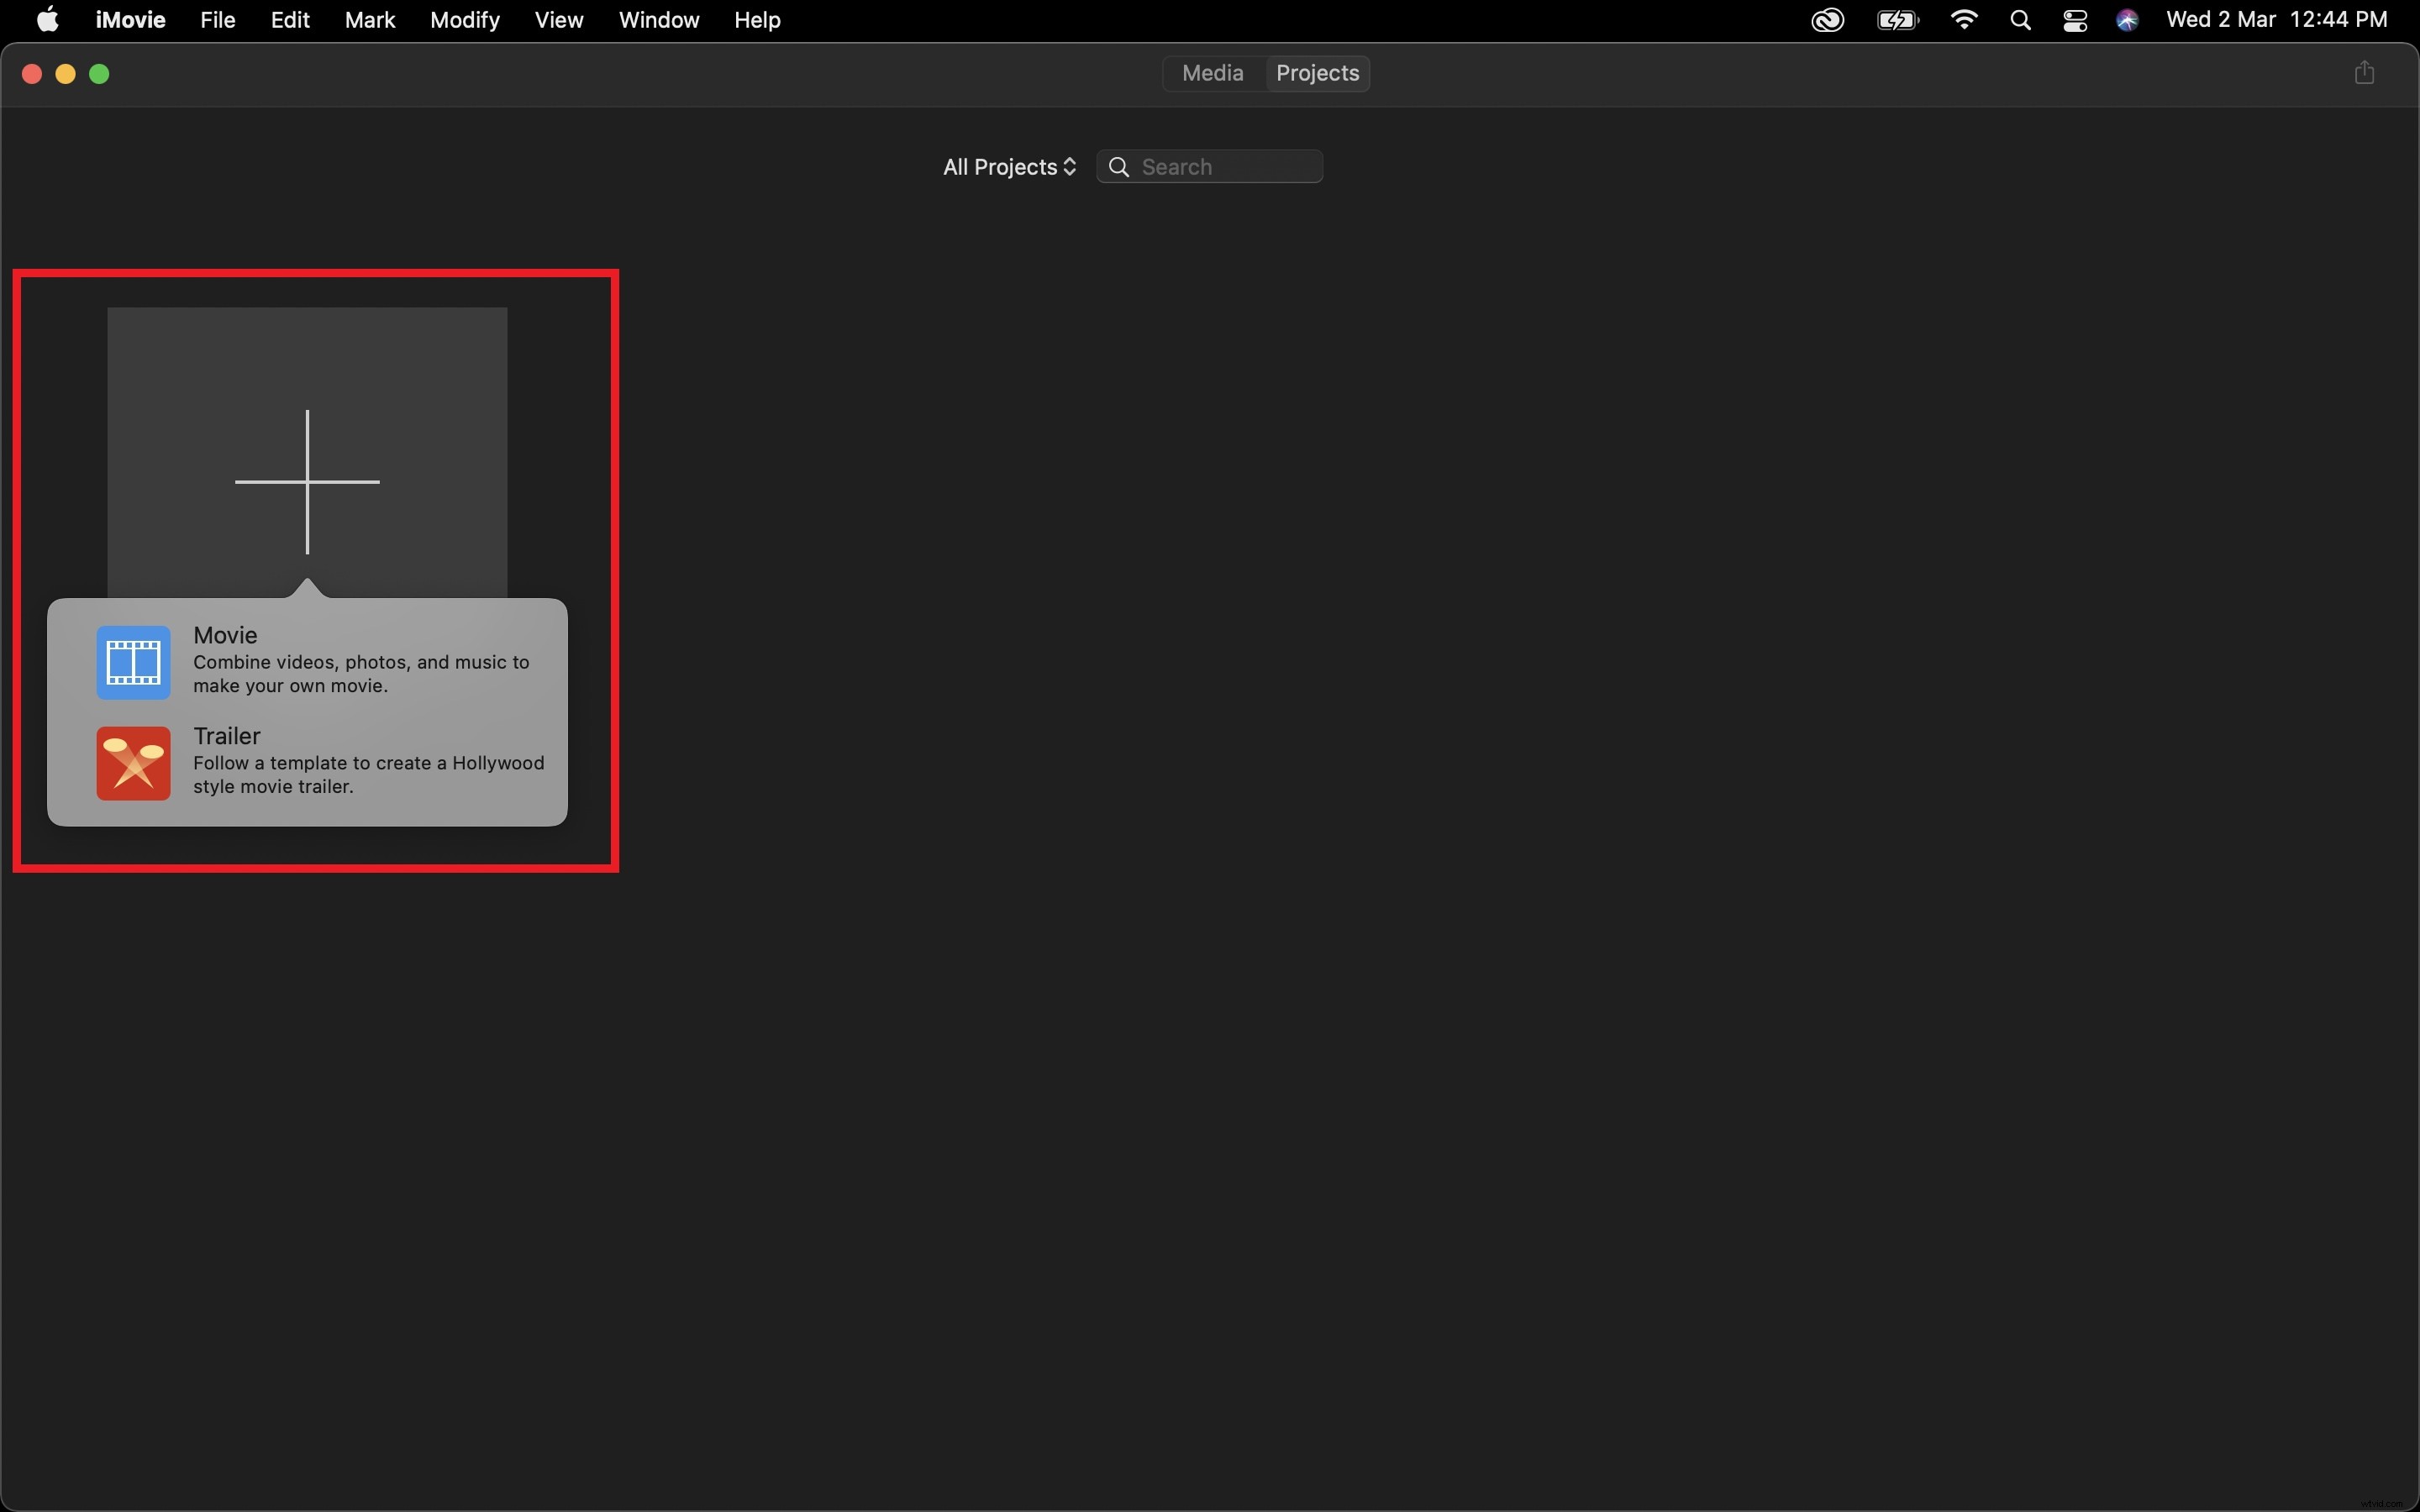
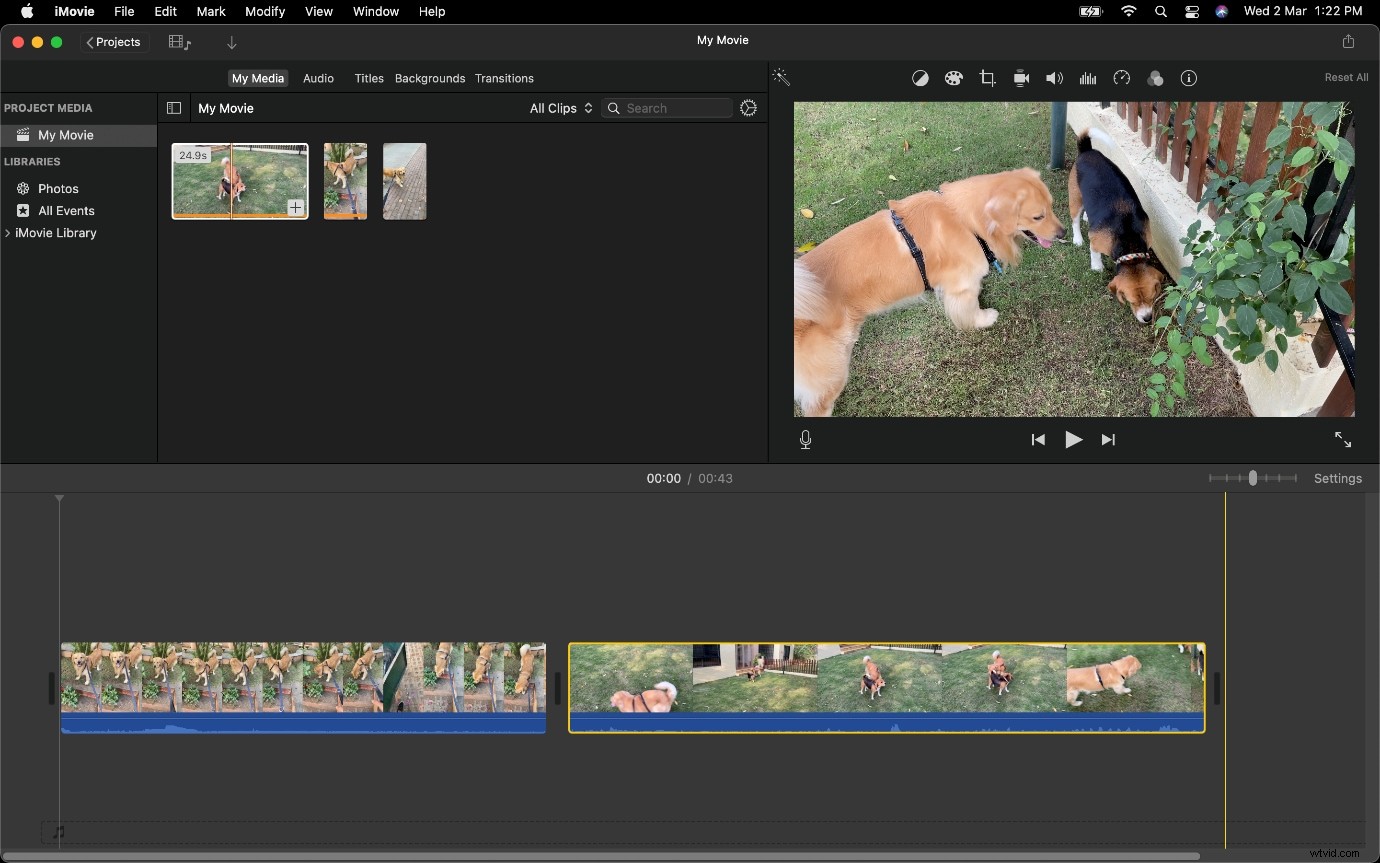
Step 1: Choose the Movie option to create a new long format project.
Step 2: Import the clips you wished to make a sequence from onto the Timeline.
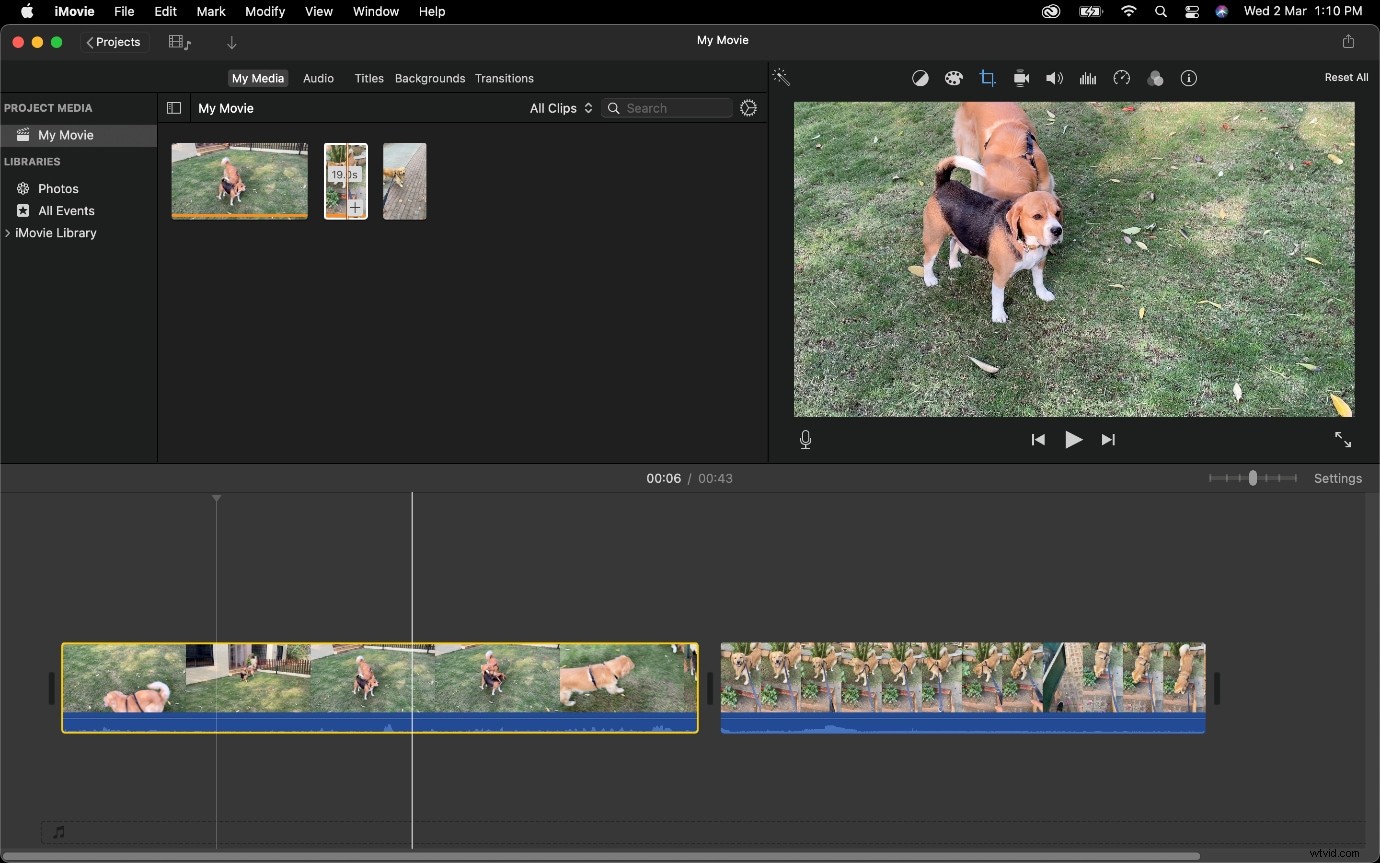
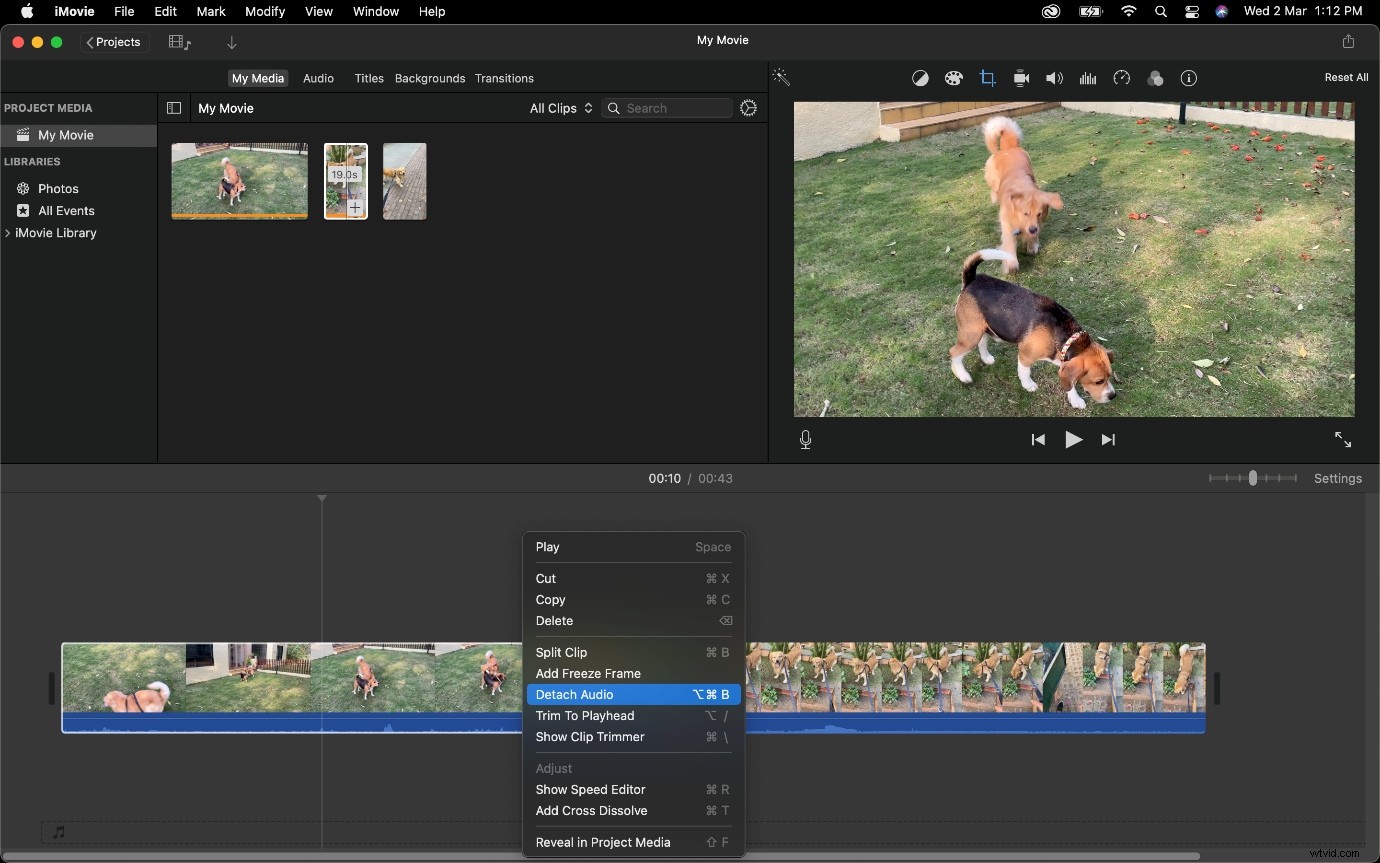
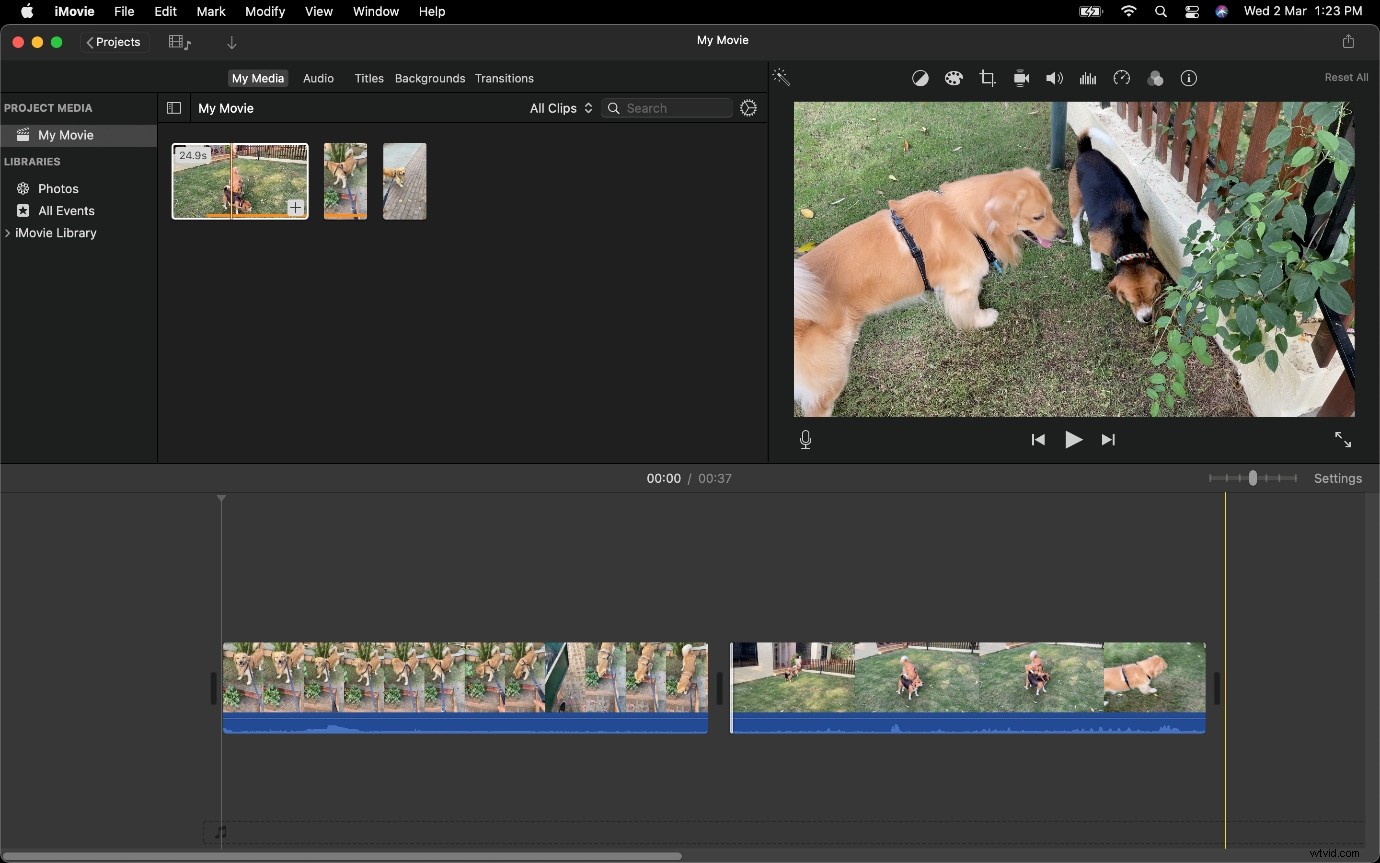
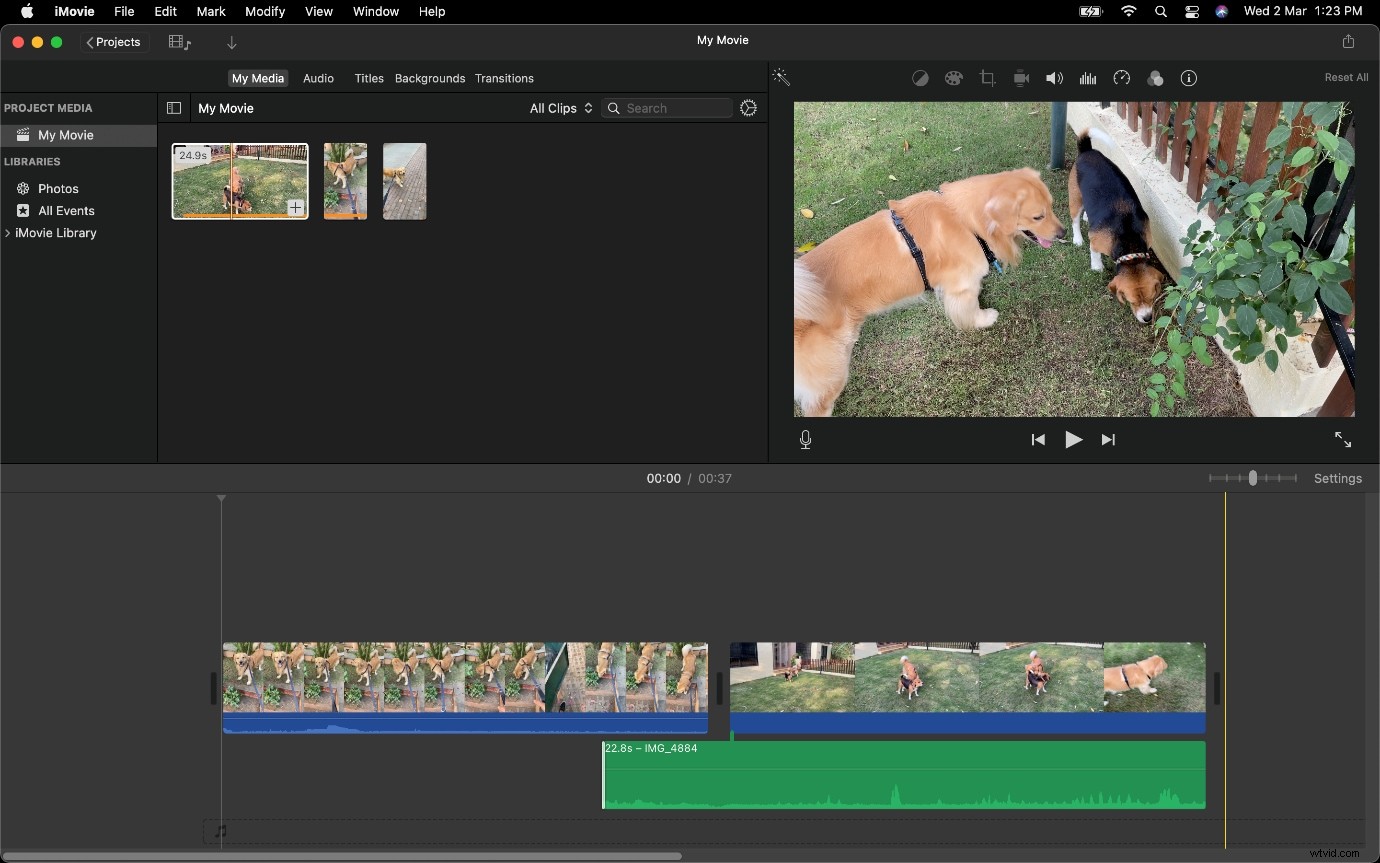
Step 3: Reduce the length of Clip 1 and then Detach Audio from it.
To Detach Audio, use a right-click on your mouse (or two-finger tap on a trackpad) to bring up the context menu and select Detach Audio.
Note:
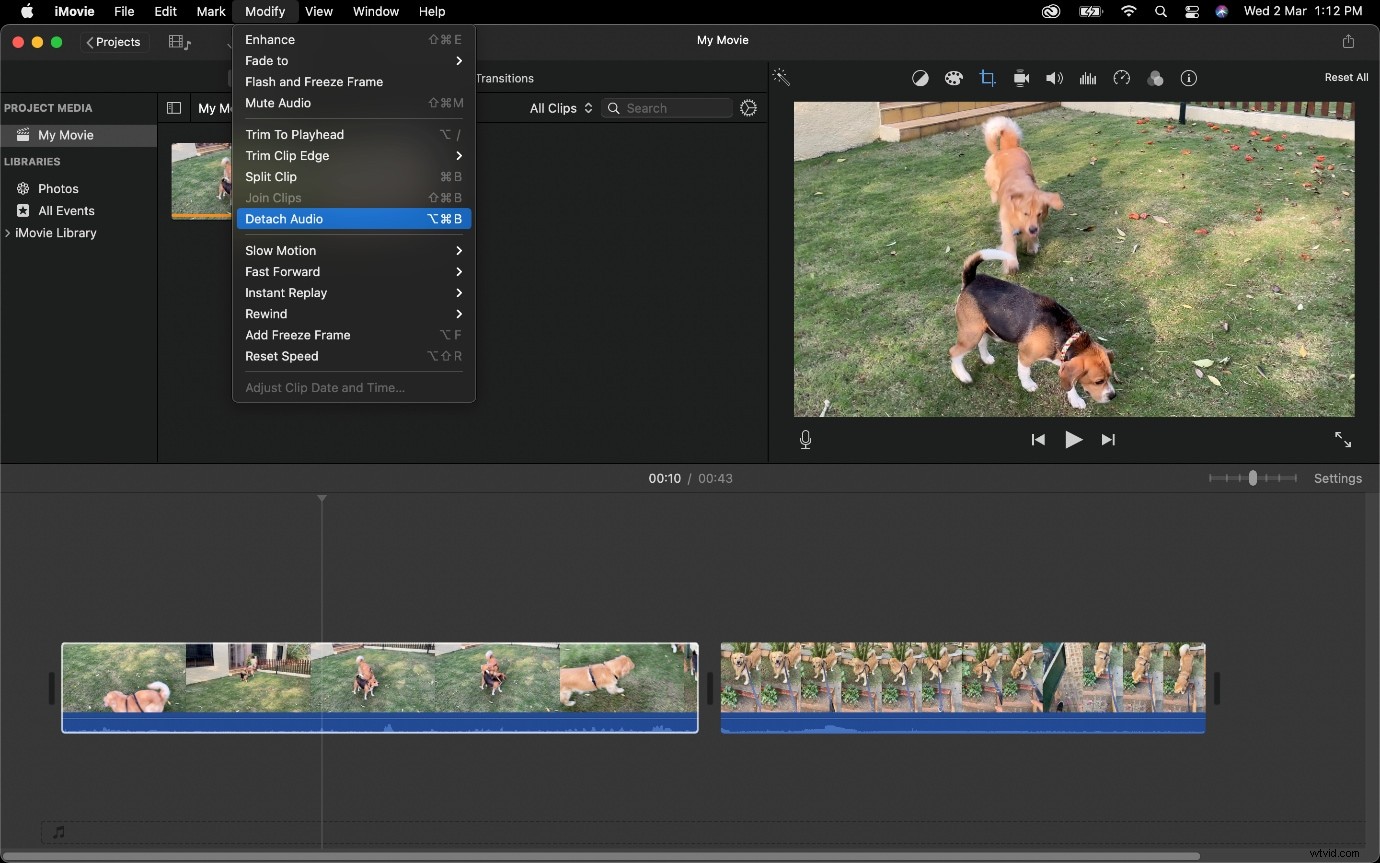
You can also use the keyboard shortcut for this which is
Option + Command + B. Select the clip and press those keys. Alternatively, you can also click on Modify at the top of the screen and choose Detach Audio.
Step 4: Now go to the end of the audio track for Clip 1 and extend it under Clip 2 (whose Audio is still attached).
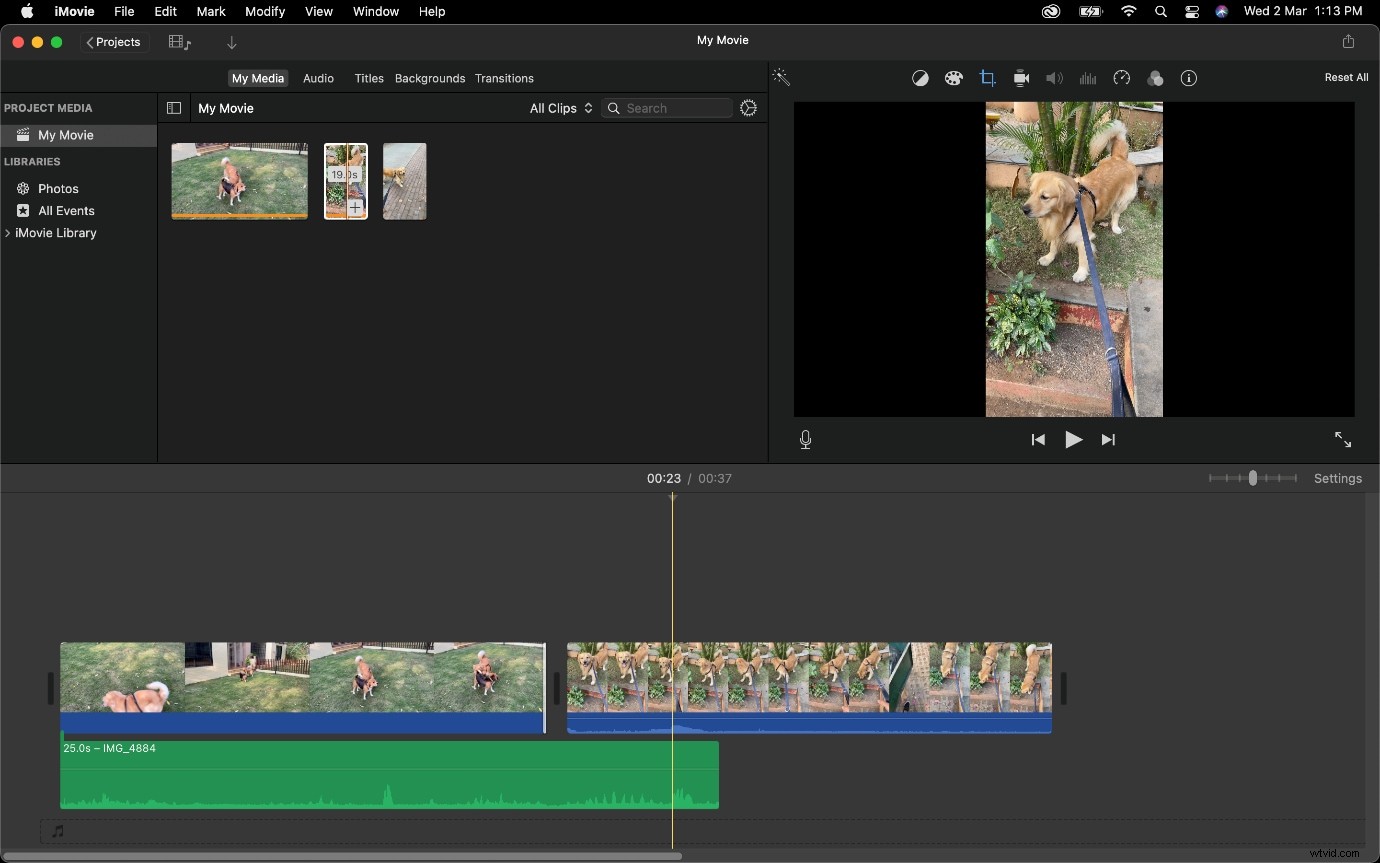
Important Tip: Click on the Dot (marked in Yellow) and drag it to the left, this will ensure the audio fades out and doesn't end in a jarring manner.

How to create a J Cut in iMovie
Speaking of a J Cut, this sequence runs in the direction opposite to an L Cut. Instead of the audio from Clip 1 being used in Clip 2, the audio from Clip 2 plays alongside footage from Clip 1.
If you need an example of where you may use a J Cut, image a scene where an airplane is landing at an airport and this is then followed by a clip of people moving around. You can make the audio from the second clip slowly rise while the footage of the airplane is still visible. This creates a build up that will allow viewers to gauge what is going to come next and increase immersive-ness into displayed content.
Follow the steps listed below to learn how to make a J Cut in iMovie
Step 1: Choose Movie to create a new project.
Step 2: Import any of the clips you wish to use in your sequence onto the Timeline.
Step 3: Now reduce the amount of video from Clip 2, from its beginning; this creates a buffer, allowing you to drag audio under Clip 1.
Step 4: Detach audio from Clip 2 and drag it under Clip 1.
Basically, you will now be able to pull the audio portion whose video will not be visible due to the presence of Clip 1 above it.
We will now move on to how to create an L Cut or J Cut in Wondershare Filmora.
If you don’t have Wondershare Filmora downloaded make sure to website the software marker’s website to get it.
Best Alternative to create an L Cut in Wondershare Filmora
Filmora Video Editor is one of the most used video editing applications. It has one of the best user interfaces and rendering speed. You can easily create an L Cut in Wondershare Filmora.
It offers a lot of pre-built elements to start with your video editing. The transition of a video can be done easily as it provides a lot of transition methods. You can add many audio files to a single video file. You can add a lot of effects available in Filmora. You can export your video to your desired file with whatever resolution you want.
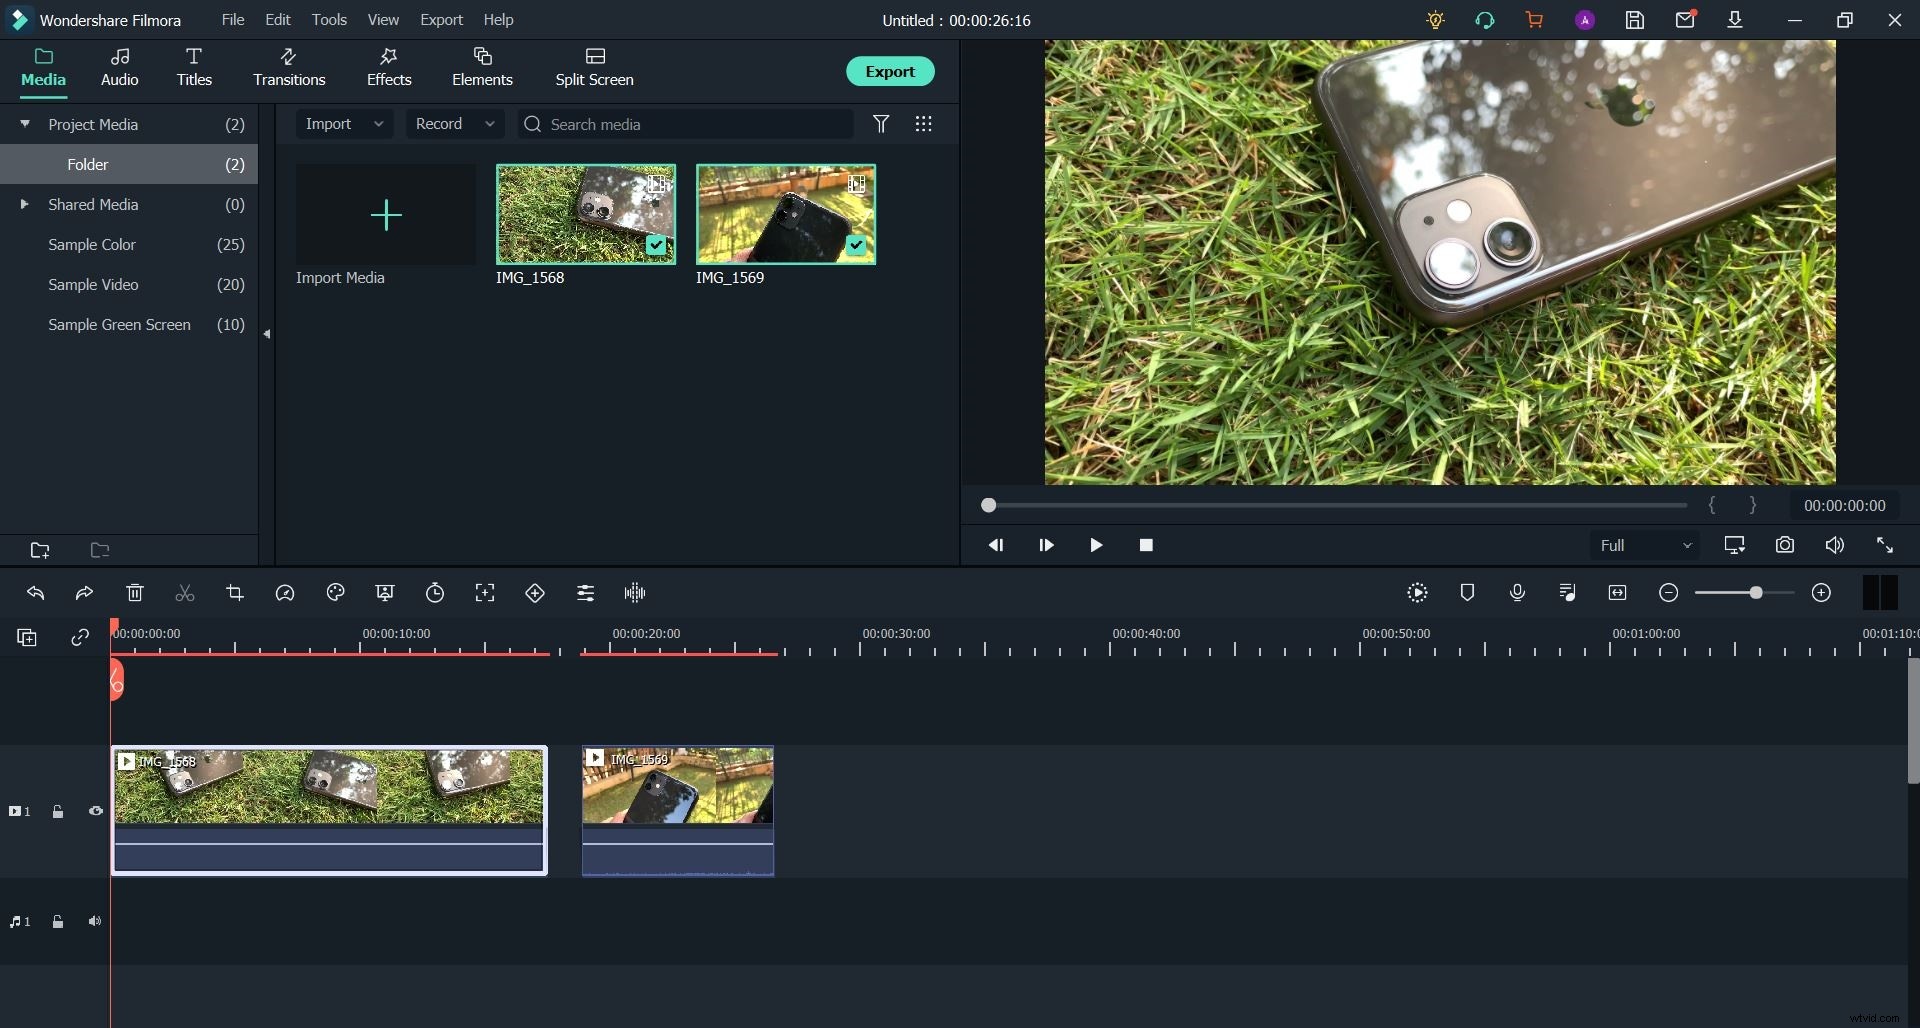
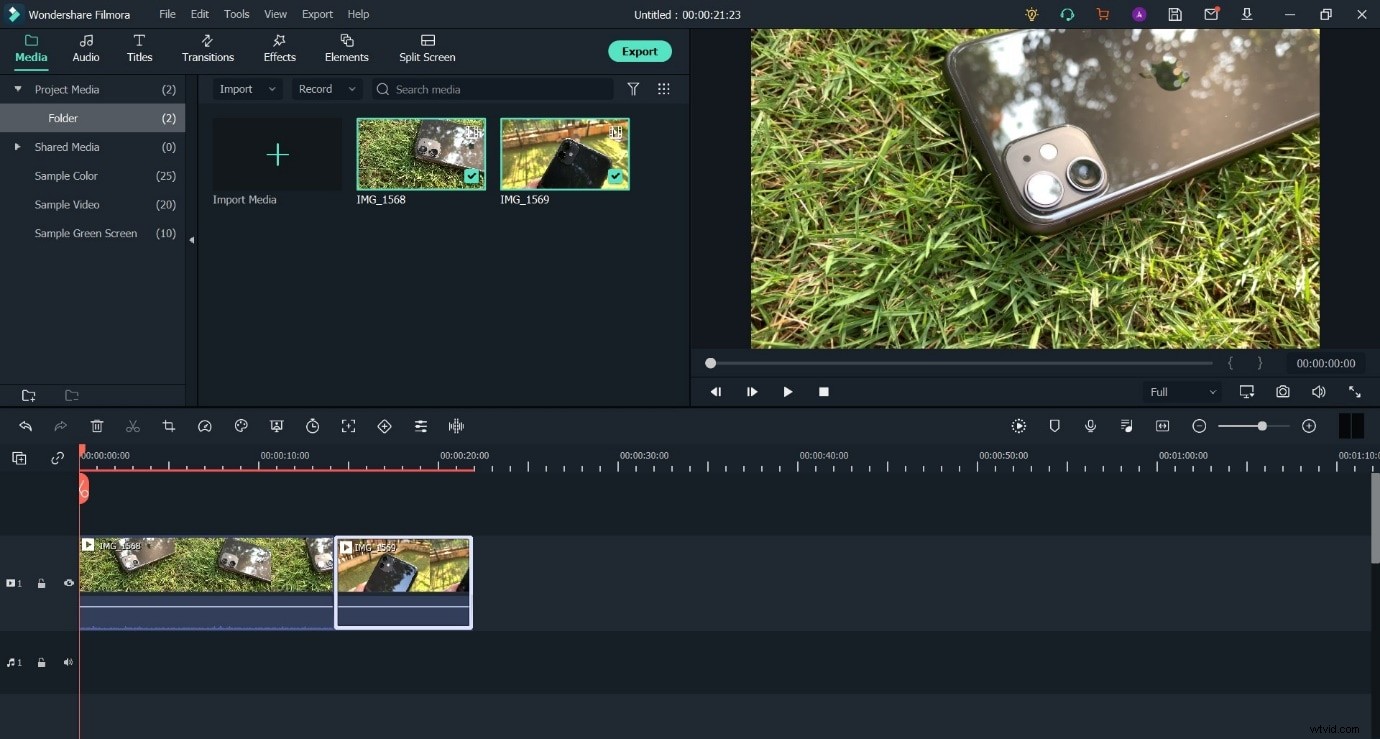
Step 1: Create a new project in Filmora and import your video clips into it.

Step 2: Place both clips onto the Timeline.
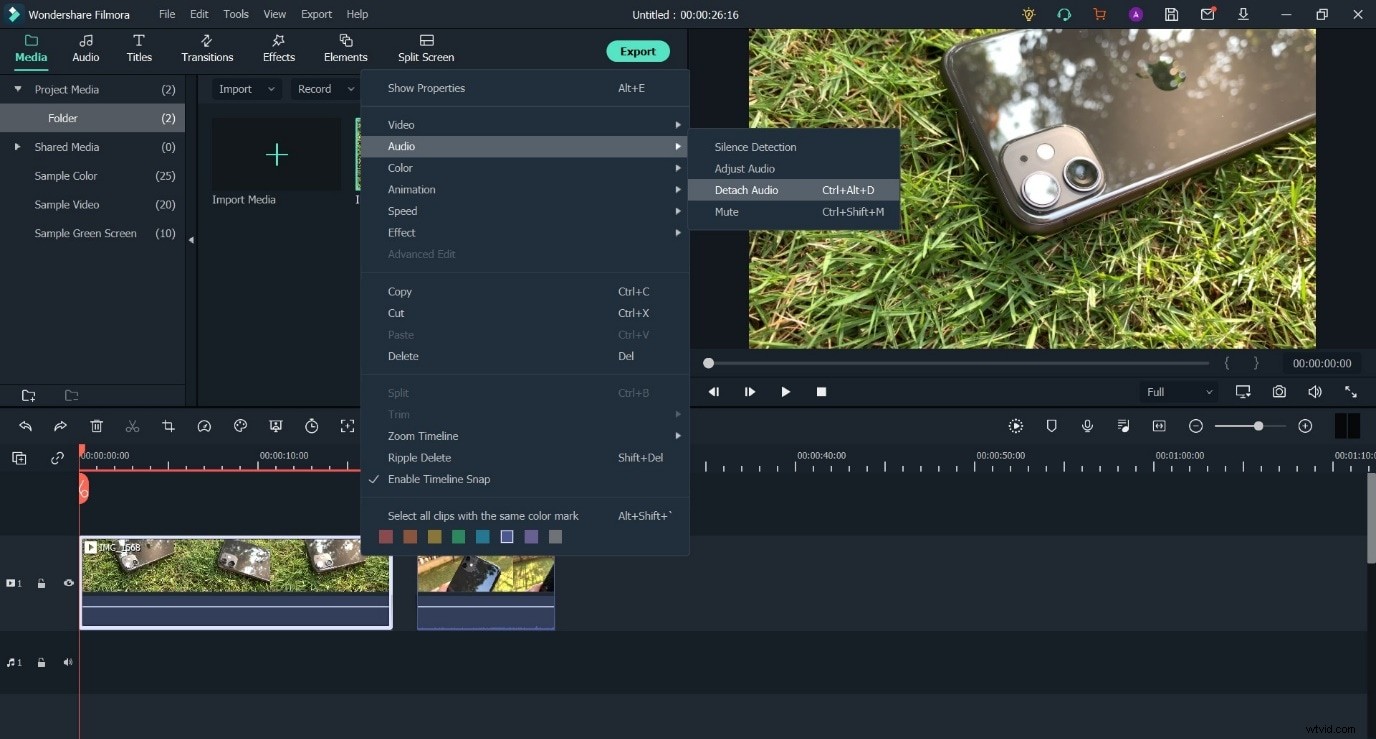
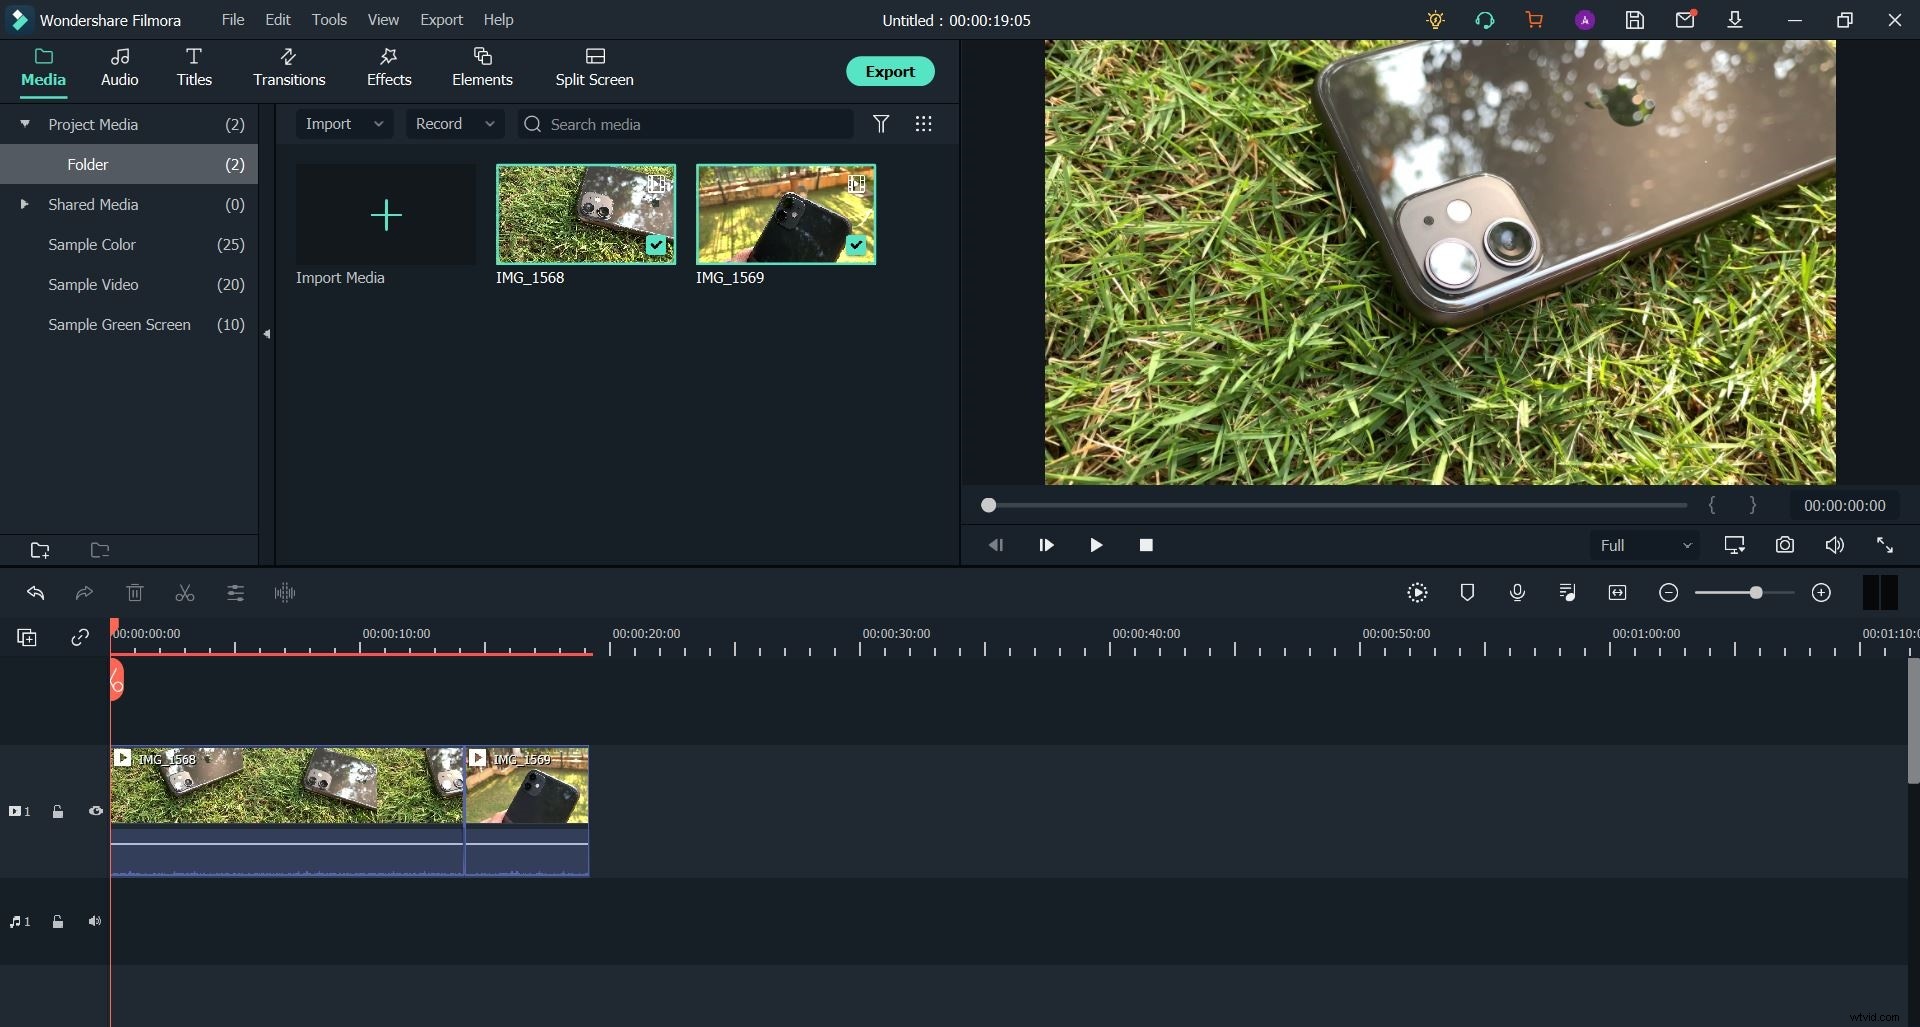
Step 3: Detach audio from the first clip.
Do this via a right-click. Following it up by going up to the Audio option and then choosing Detach Audio.
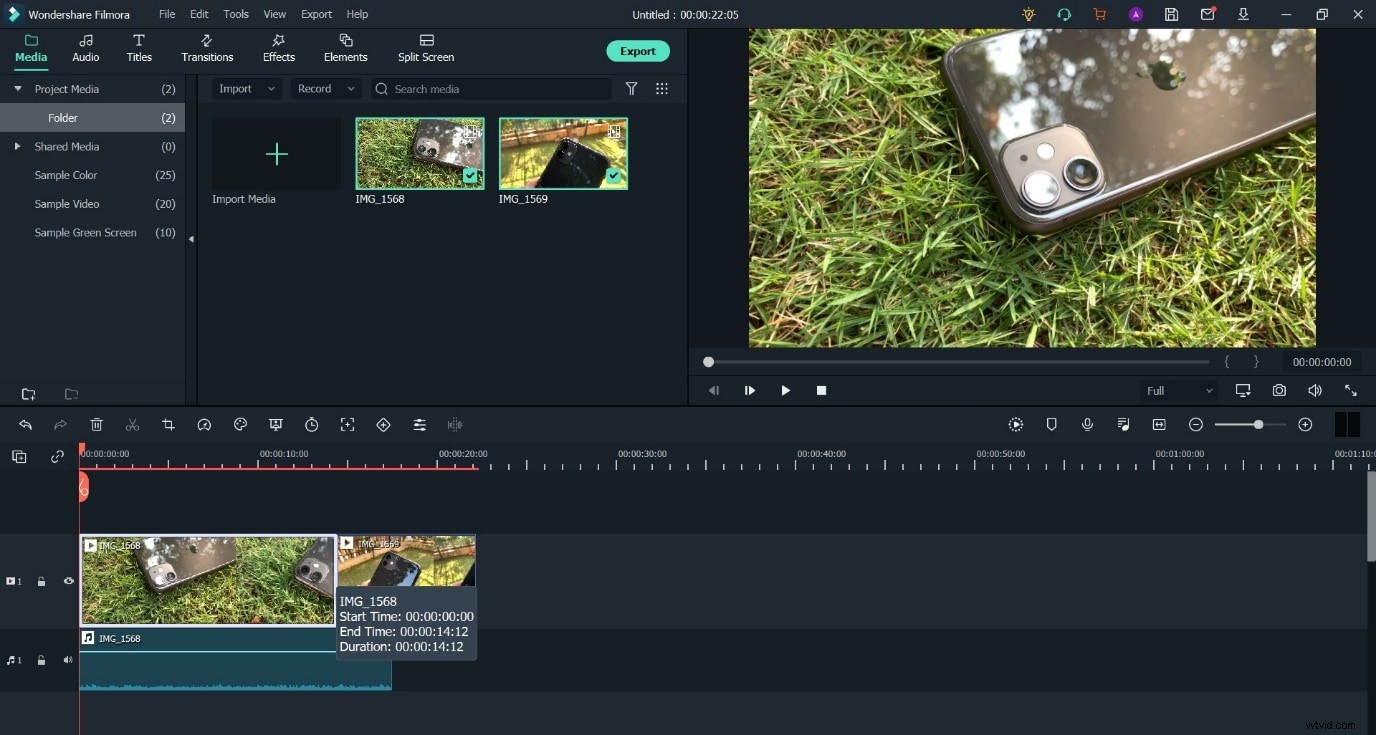
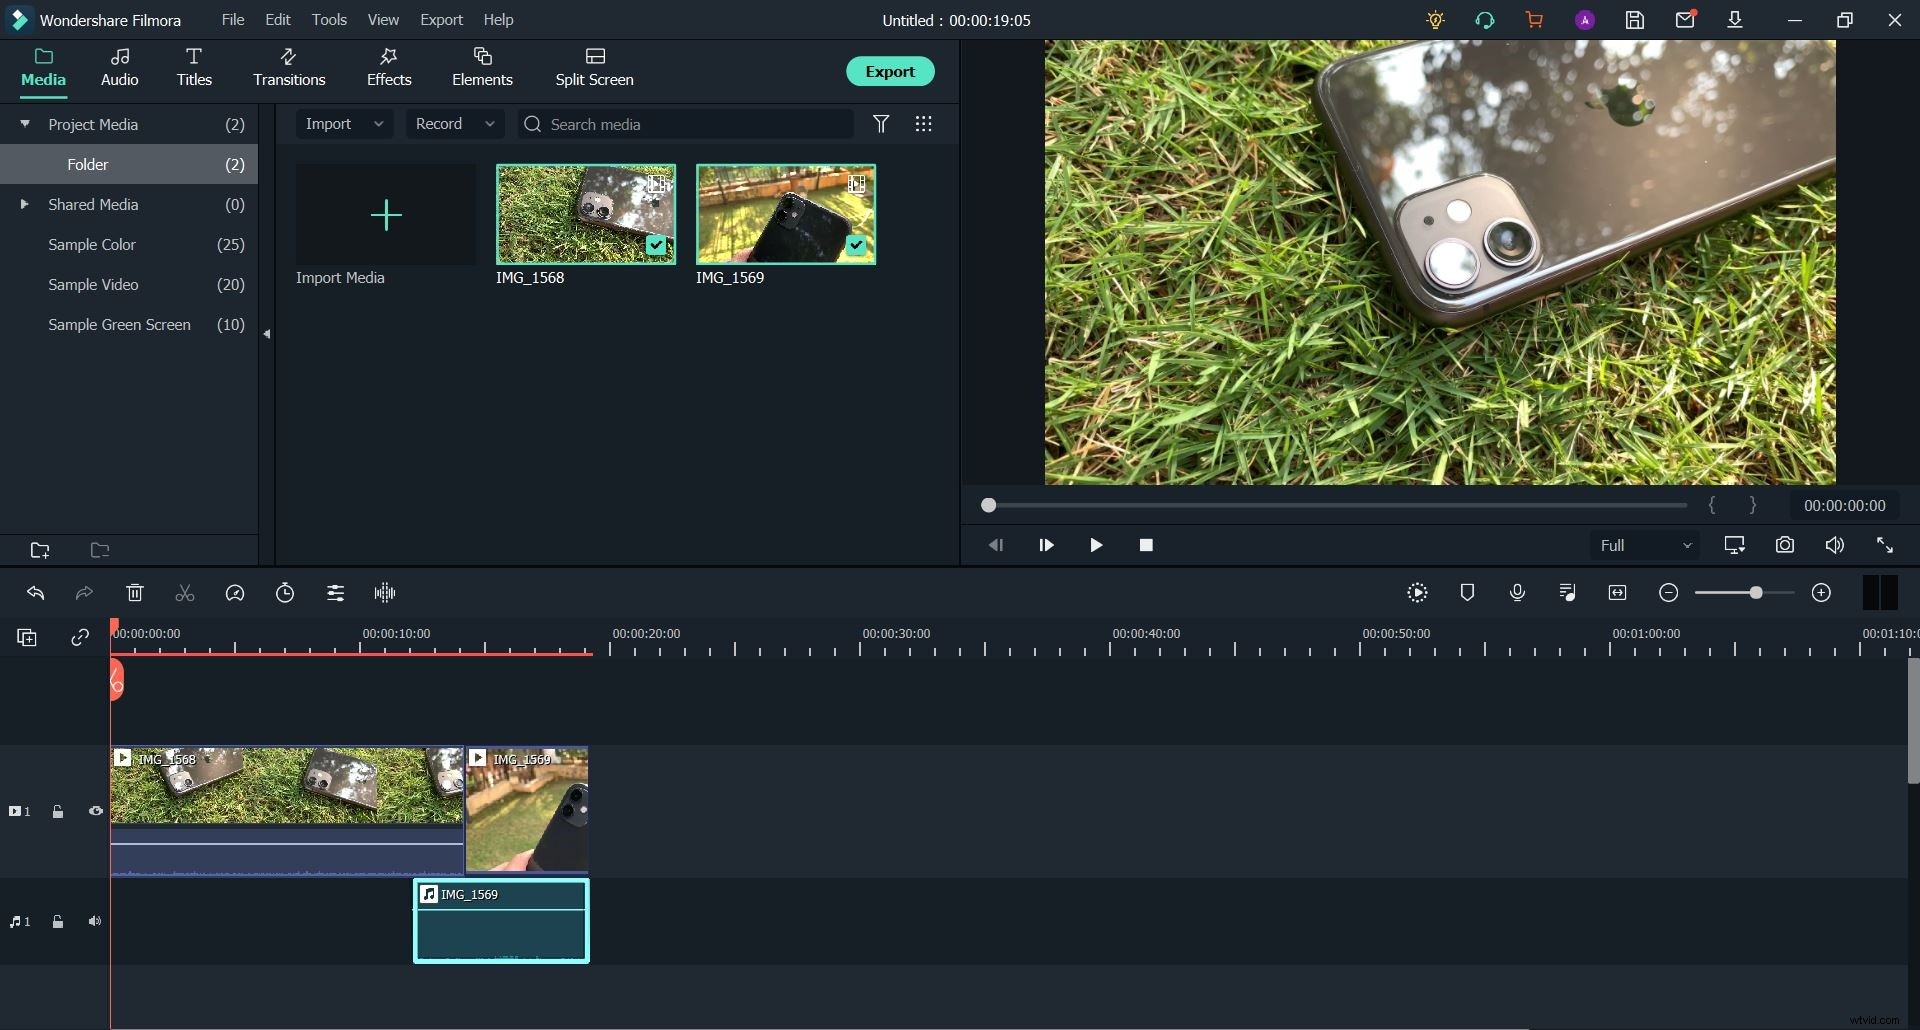
Step 4: Reduce the gap between Clip 1 and Clip 2. Next, reduce the length of Clip 1, allowing the audio of it to go under Clip 2.
How to create a J Cut in Wondershare Filmora
Step 1: Open a new project in Filmora and get your video clips into the Media Library.
Step 2: Drag and drop the clips onto the Timeline.
Step 3: Reduce the length of Clip 2 from its beginning and then move on to Step 4.
Step 4: Detach audio from the second clip.
You can do this with a right-click, as has been detailed in the steps explained earlier in the article.
Now drag the audio component to the left, moving it under Clip 2 and forming the required overlap.
The Bottom Line
So now that we’re at the end of this article. Creating L and J Cut sequences in both iMovie and Wondershare Filmora are highly similar processes and are equally easy to implement. So, if you have a Mac and believe that iMovie and its feature set are enough for your needs, you’re good to go. But in case you need more ability from your software we do recommend trying out Wondershare Filmora due to its similarity with more professional video editing tools. Its availability across multiple platforms is also a huge bonus.