
Drone videography offers a unique perspective that transforms ordinary footage into compelling storytelling. From television to social media, drone footage has become integral to modern media. Today’s drones—ranging from compact, affordable models to high‑end systems—provide creators of all skill levels with unprecedented power and versatility. While standard drone shots are already engaging, a well‑executed hyperlapse can elevate your work to a new cinematic level.
What is a Drone Hyperlapse Video?
A drone hyperlapse is a moving timelapse captured during flight along a pre‑planned path. Modern platforms such as the DJI Mavic 3 and Mini 3 Pro feature built‑in hyperlapse modes that simplify the workflow, letting creators produce striking aerial sequences with minimal effort.
In this guide, we’ll walk you through setting up your drone for hyperlapse captures, covering camera settings, optimal weather, and accessories that will help you craft standout footage.
Features To Consider When Planning Your First Drone Hyperlapse
Location
Choosing a visually engaging location is the cornerstone of a memorable hyperlapse. Seek landmarks, panoramic vistas, or bustling scenes that will add motion and interest. The more dynamic activity you can capture, the more captivating the final video will be.
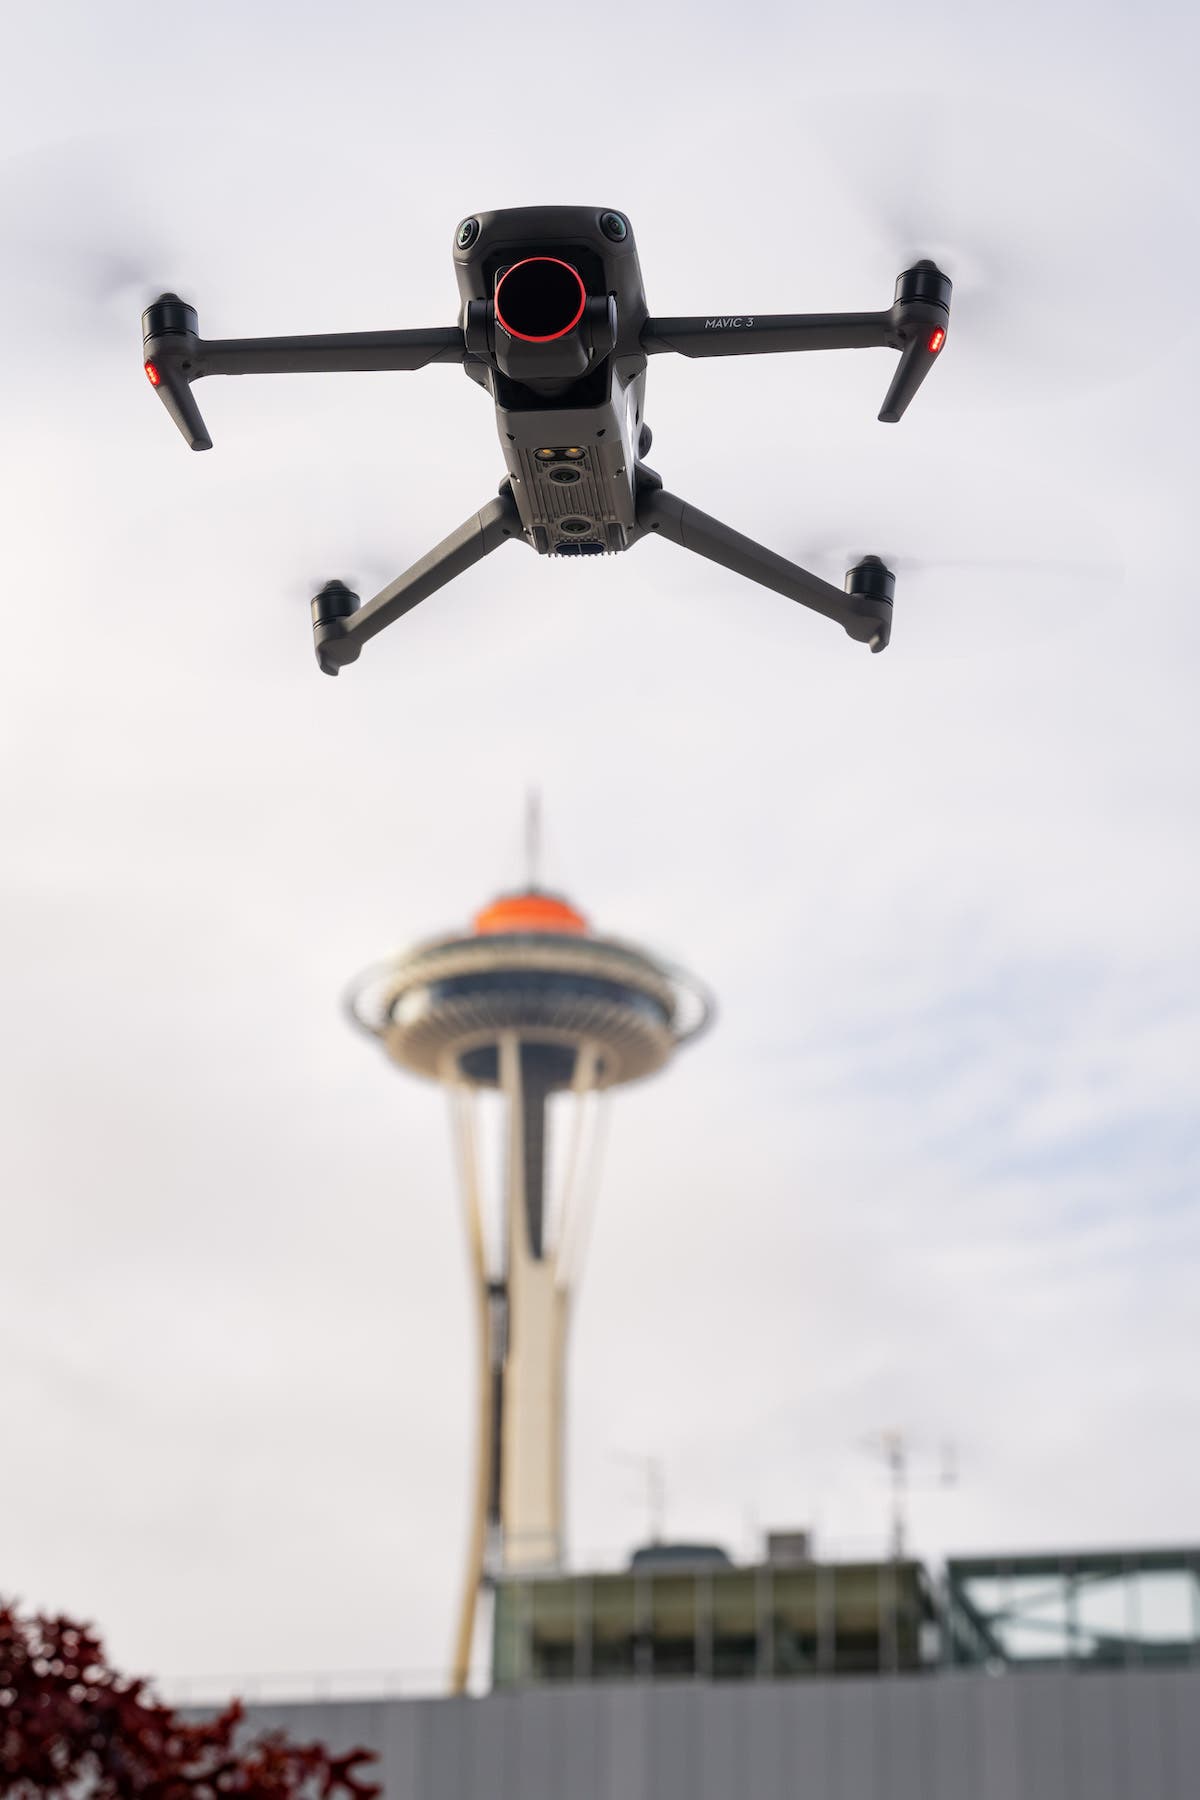 Photo by Reza Malayeri
Chasing Light
Lighting profoundly affects image quality and mood. Plan shoots around sunrise, golden hour, sunset, or blue hour to capture warm, saturated tones. Daytime shoots benefit from balanced exposure, reducing noise and simplifying post‑production. Nighttime hyperlapses offer dramatic light‑trail effects—just ensure your drone is equipped with the required visibility lights (visible from three statute miles, strobing 40‑100 CPM).
Wind & Weather
Wind can both add visual interest and introduce instability. While cloud movement can enhance a hyperlapse, strong gusts may cause shakiness or drift, complicating stitching. Aim for clear skies with light to moderate wind to balance dynamic weather with smooth flight. Nightlight‑trail shoots are especially sensitive to wind, as slower shutter speeds demand steadiness.
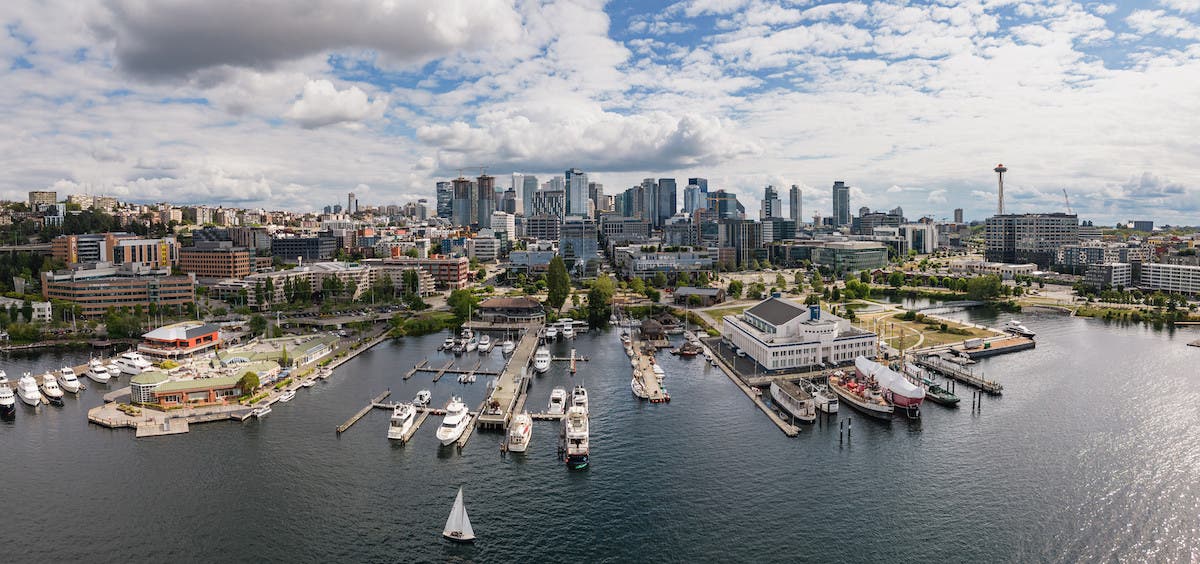 Photo by Reza Malayeri
Movement and Composition
Effective motion cues—such as subtle waypoint changes, foreground depth, or consistent flight direction—help the viewer follow the narrative. Avoid rapid, disorienting shifts; instead, design gentle ascents, lateral moves, or descents that maintain a clear visual thread. The goal is a smooth, cinematic flow that keeps viewers engaged.
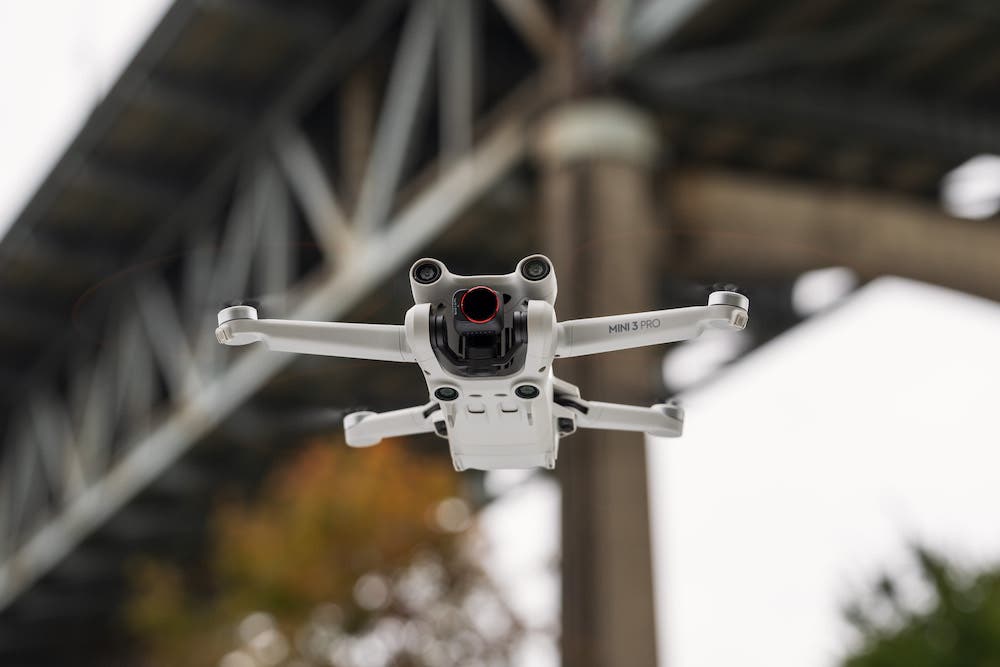 Photo by Reza Malayeri
Drone Hyperlapse Flight Path Options
Drones like the DJI Mini 3 Pro and Mavic 3 provide four primary hyperlapse modes—Course‑Lock, Circle (Point of Interest), Waypoints, and Freeform—each offering distinct creative possibilities.
Course‑Lock
Course‑Lock locks the drone’s heading for the entire hyperlapse, ensuring a precise, straight‑line trajectory.
Circle (Point of Interest)
Circle mode lets you define a box around a focal point, then set speed and direction to orbit the subject—ideal for landmark centric shots.
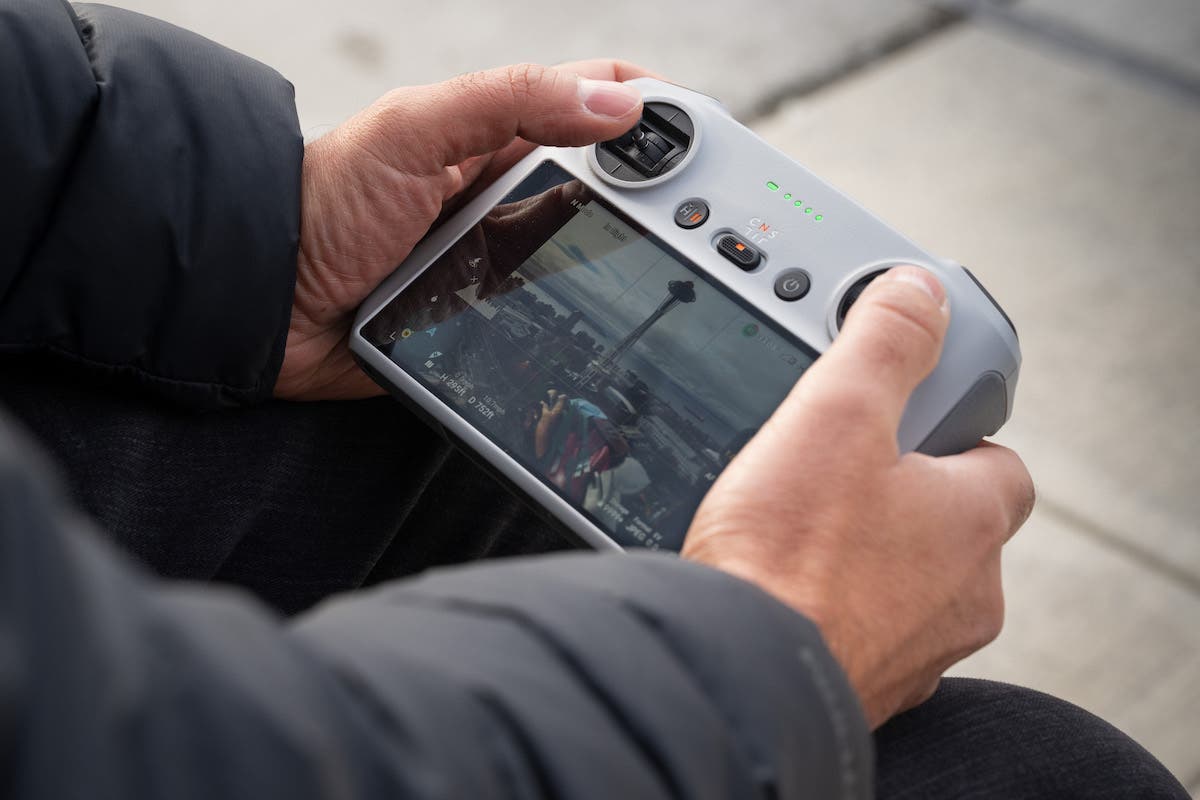 Photo by Reza Malayeri
Waypoints
Waypoints grant full control over position, altitude, and camera orientation. The drone automatically flies between these preset points, offering the highest level of customization.
Freeform
Freeform allows unrestricted movement, producing unique, spontaneous footage—but it demands careful planning to avoid chaotic results.
After selecting a mode, choose your image interval and desired final duration. DJI drones can produce up to 30‑second hyperlapses. The Fly app calculates required frame count and total capture time, helping you verify storage and battery capacity before you launch.
 Photo by Reza Malayeri
Camera Settings & ND Filters
Drone hyperlapses are essentially airborne timelapses, so core timelapse principles apply. For daytime shoots, a 1/30 s shutter, 4‑second interval, and the lowest ISO produce clean, sharp frames. ND filters extend exposure time, reduce glare, and create cinematic motion blur. I routinely use neutral‑density and polarizing filters to manage exposure, control reflections, and enrich sky saturation.
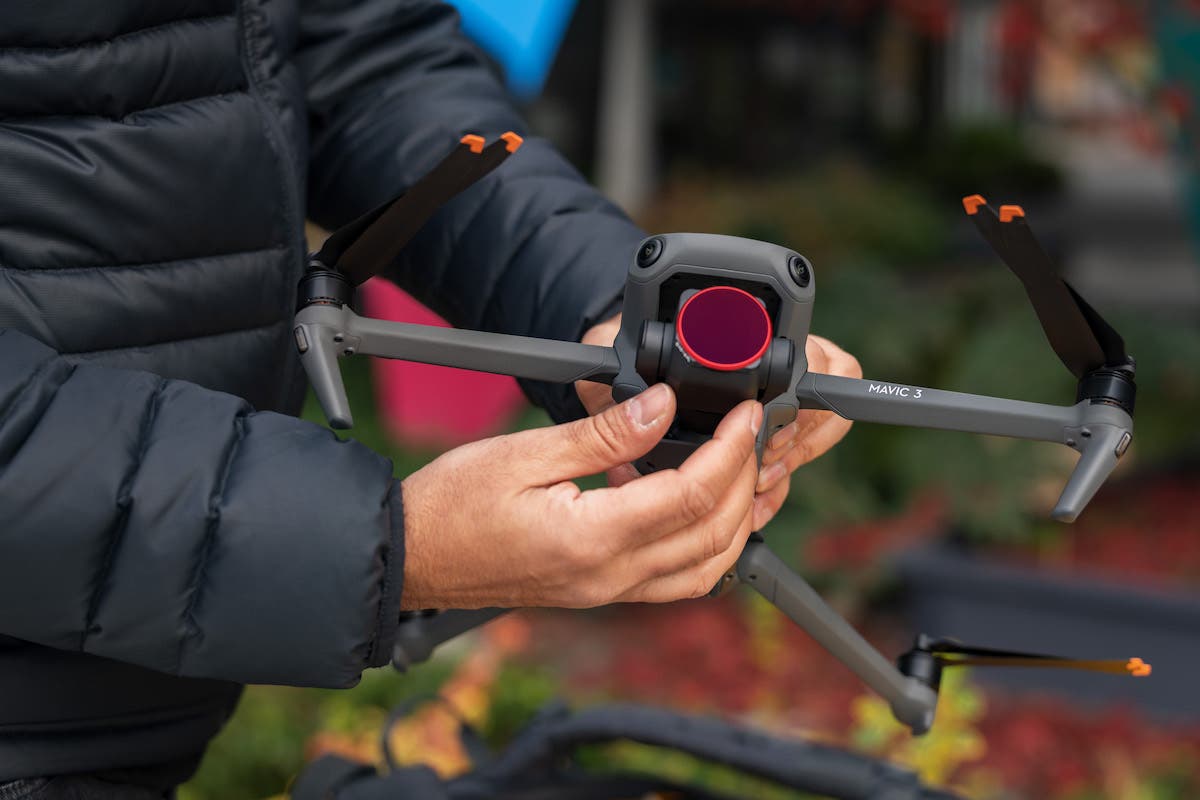 Photo by Reza Malayeri
For nighttime captures, balance longer exposures (1/4 s to 1/30 s) with wind stability to capture sharp light trails. Adjust settings based on real‑time wind and lighting conditions.
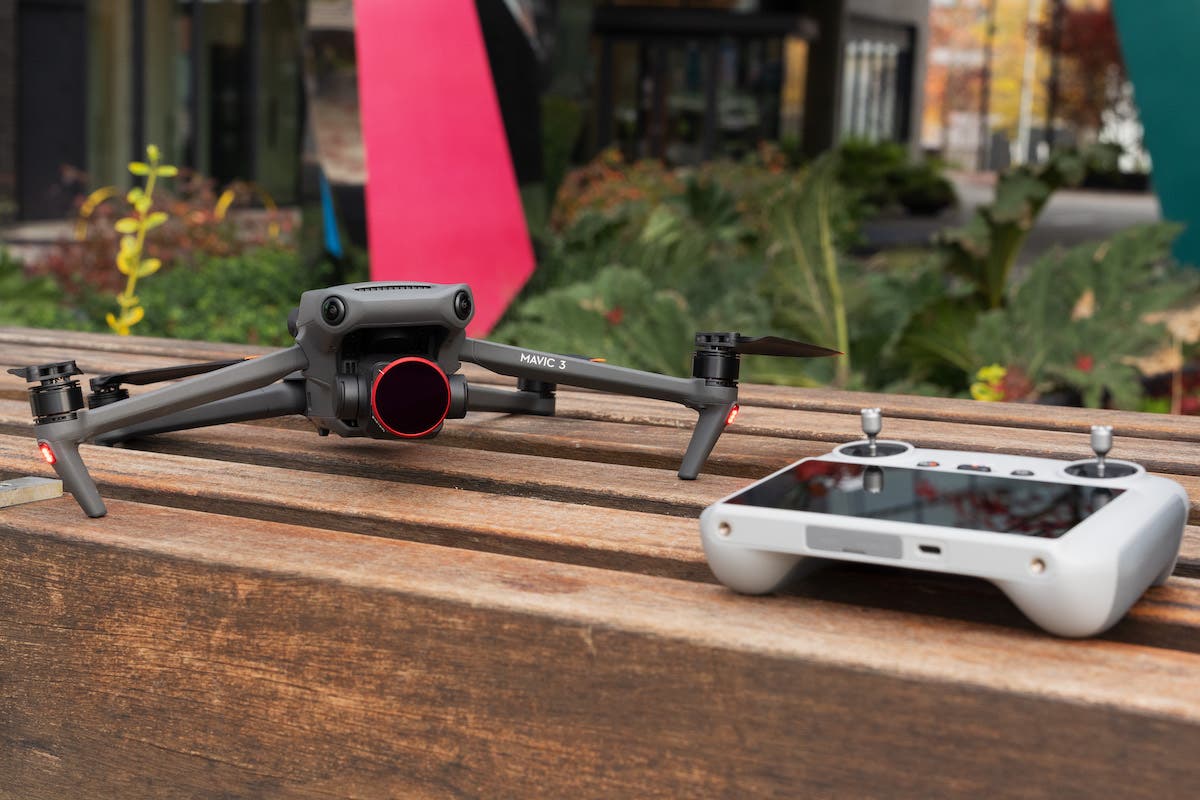 Photo by Reza Malayeri
Final Thoughts
Mastering drone hyperlapses expands your creative arsenal and sets your work apart in a crowded visual landscape. Experiment with different modes, lighting, and locations to refine your technique. The more you practice, the more you’ll discover new ways to tell stories from the sky.
Ready to elevate your aerial footage? Explore the DJI Mavic 3 for cutting‑edge performance.

Reza Malayeri
Reza Malayeri is a professional photographer, cinematographer, and educator based in Seattle, WA. He specializes in wedding and portrait photography, cinematography, and holds an FAA Part 107 Remote Drone Pilot license. Reza’s mission is to produce inspiring educational content that empowers creators to master advanced techniques in an engaging, accessible manner.