
Drone cinematography can transform ordinary footage into breathtaking, cinematic sequences. Whether you’re capturing sweeping landscapes, bustling cityscapes, or intimate moments, the right aerial moves add depth, motion, and narrative flair. Below is a comprehensive guide to the most effective drone shots—and when to use them—to help you create professional, engaging videos.
Zooming Moves
Unlike a traditional lens zoom, a zooming move is achieved by physically flying the drone toward or away from the subject. Because the drone can follow any trajectory, you can loop around obstacles, descend, and then stabilize on the target. This versatility makes zooming moves suitable for almost any theme, especially at the start or end of a scene to establish context or provide a dramatic close‑up.
When shooting close‑ups, position the drone at an optimal angle and use the camera’s optical zoom sparingly to avoid loss of image quality. If your sensor can’t handle significant digital zoom, fly closer instead.
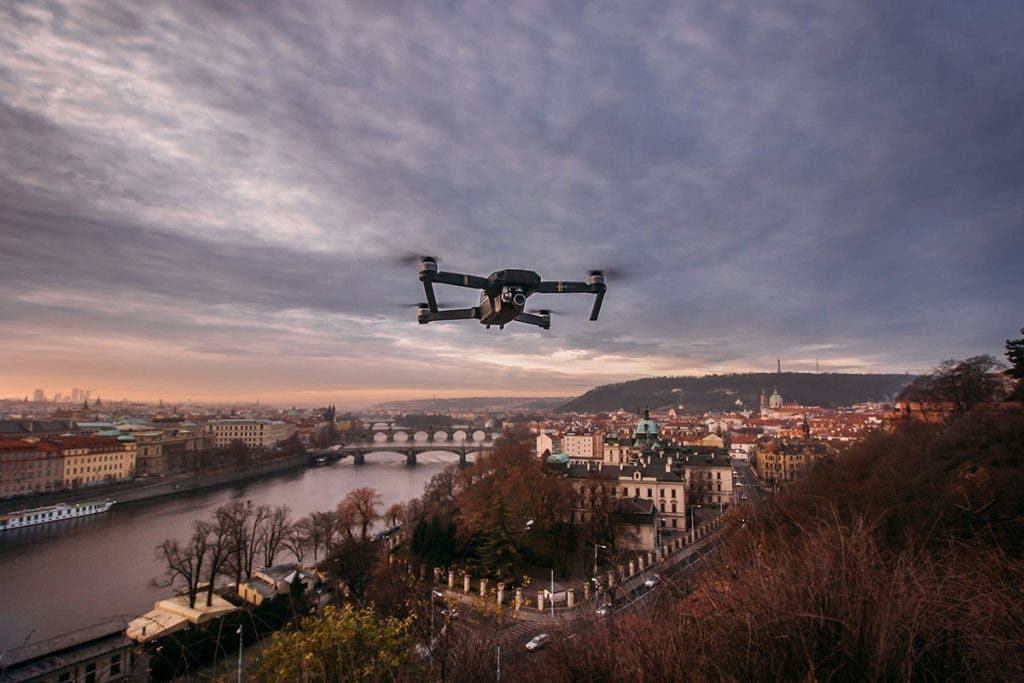
Push‑In
A push‑in starts with a wide, establishing shot and gradually pulls the drone toward the subject. Plan the start and end positions and the trajectory in advance. A rapid, angled descent over obstacles can add excitement, while a slow, level pull‑in feels natural and welcoming.
Pull‑Away
Opposite of a push‑in, a pull‑away begins with the subject in focus and retreats to reveal the larger environment. It’s ideal for closing scenes, signifying resolution, or showing how a moment fits into a broader context. Some directors use it as an opening when a small detail (like a solitary house) needs to be placed within a grand setting.
Tracking Moves
Tracking follows a moving subject at a constant speed, keeping it centered while the camera‑subject distance remains steady. You can add creative flair by varying the drone’s speed: slow the drone to let the subject fade into the horizon, or pause to capture the subject passing the frame.
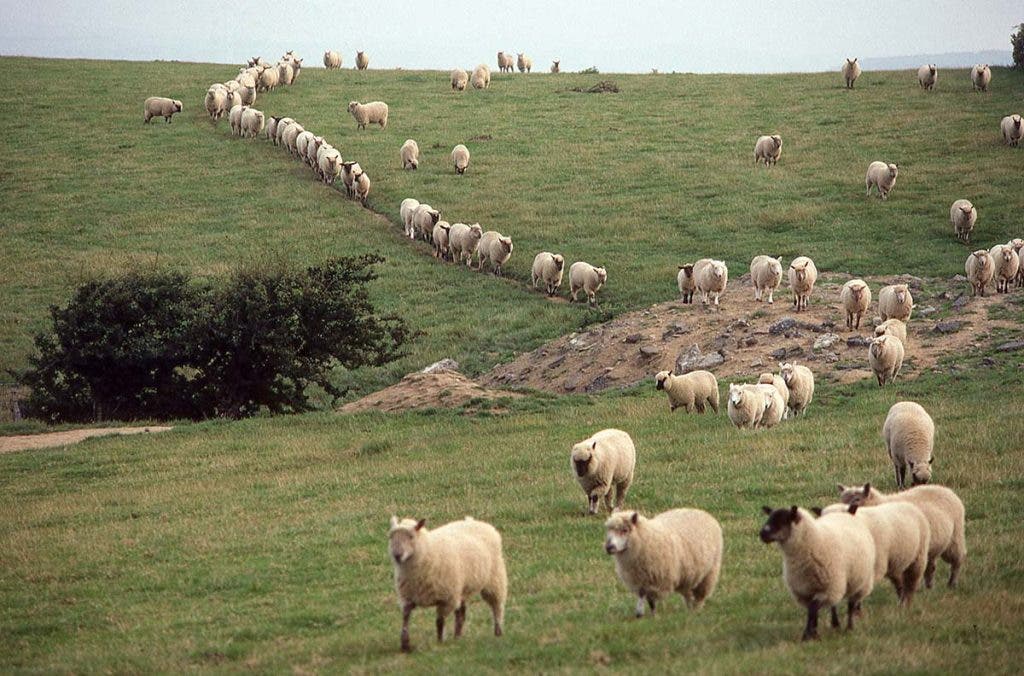
Follow Tracking
In follow tracking, the drone trails behind the subject, positioned slightly above and maintaining a safe distance—particularly useful for unpredictable subjects like traffic. Keep a consistent camera‑subject distance and angle for longer shots.
Lead Tracking
Lead tracking places the drone in front of the subject, flying backward while facing downward. Monitor both the front and rear of the drone to avoid collisions and maintain composure.
Lateral Tracking
With lateral tracking, the drone moves parallel to the subject, capturing side‑on motion. Position the drone close enough to avoid foreground interference, or farther to include environmental details such as trees or fences for added dynamism.
Panning Moves
Panning—horizontal or vertical—mirrors traditional tripod shots but uses drone movement to sweep scenes. This technique is great for revealing large areas or guiding the viewer’s eye across multiple subjects.
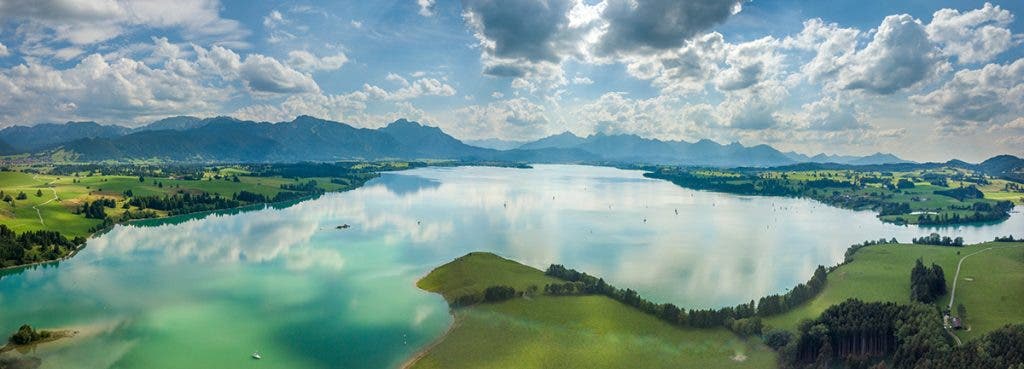
Horizontal Panning
Rotate or fly the drone left‑to‑right (or vice versa) to capture panoramic landscapes or city skylines. Increase impact by placing the drone farther from the subject and using a wide‑angle lens.
Vertical Panning
Vertical panning—sometimes called a pedestal move—raises or lowers the drone while pointing the camera down. This showcases height, ideal for towers, skyscrapers, or establishing shots that descend from clouds to ground level.
Revealing Moves
Revealing shots start with an obscured view and gradually unveil the subject, adding suspense and interest. They’re effective as opening or closing sequences.

Tilt‑Up
Position the drone low, pointing down, and slowly lift the camera to reveal a subject after sweeping over a large, uniform area like a field or lake.

Rising
Similar to tilt‑up but with forward motion, rising captures wide vistas—mountains, towns—while keeping the subject centered. It’s best for expansive scenes rather than small objects.
Flyover
Hover above a subject (boat, car, house) with the camera pointing up, then tilt down to lock focus on the target. This move transitions from empty space to a focused shot.
Unveiling
Hover behind a foreground element to conceal the subject, then move to expose the background. Ideal for dramatic reveals, such as a hidden garden behind a fence.
Rotating Moves
These 360° rotations around a stationary subject create a striking visual: the background moves while the subject stays still. Common in commercials and feature films, they command attention and showcase scale.
Parallax
Maintain a constant altitude and circle a static subject. The moving foreground and stationary background produce a subtle depth effect—perfect for solo travel vlogs or highlighting architectural details. Many drones, like the DJI Mini 4 Pro, offer automated subject‑tracking to simplify this move.
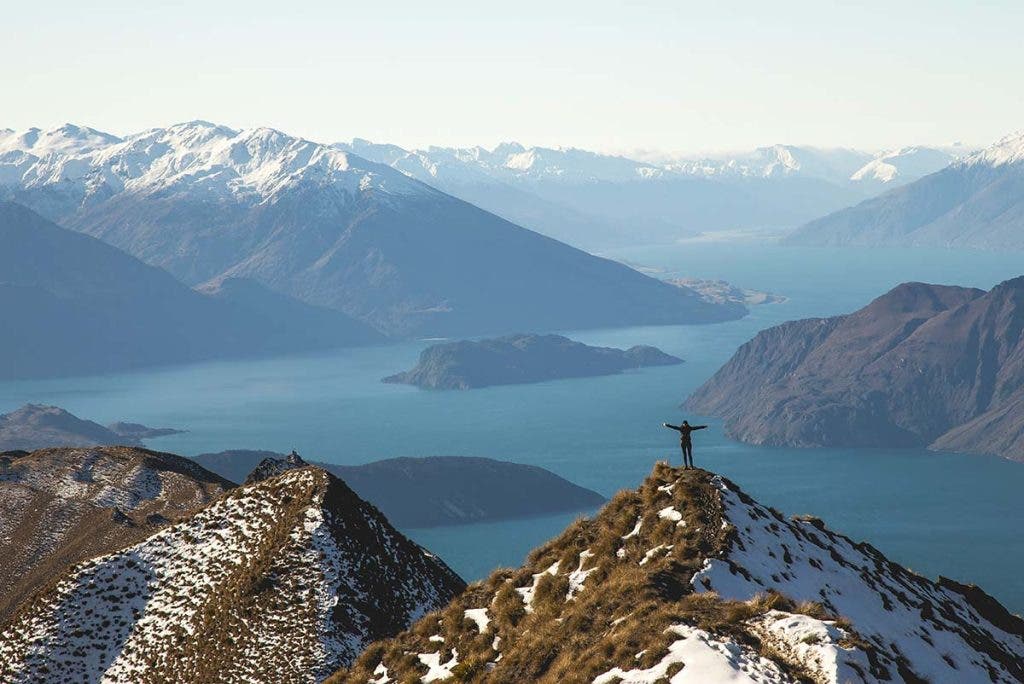
Helix
Combine a 360° rotation with vertical motion. A descending helix zooms in, great for opening a sports event. An ascending helix zooms out, ideal for concluding ceremonies like weddings.
Conclusion
Mastering these drone moves gives your videos unexpected angles and seamless transitions. Use them judiciously—choose the right location, timing, and shot list—to avoid visual fatigue and maintain narrative cohesion. With practice, your aerial footage will elevate storytelling, add temporal depth, and leave viewers captivated.

Peter Dam
Peter Dam is a seasoned nature photographer with over a decade of experience in nature, corporate, and video photography. He shares expert tips and stories on his website and YouTube channel.