
Lighting is the cornerstone of every great photograph. Even the most technical setup can feel flat if the light isn’t right. In our new series Finding the Light, we dive deep into mastering all types of illumination. This post is Part 3, focused on the golden hour—a naturally occurring, photographer‑favored glow that feels impossible to duplicate in post‑production.
Curious about the series? Catch up from the beginning:
Part 1: Finding the Light
Part 2: Using Shadows for Dramatic Portraits
Part 3: Shooting the Golden Hour
Part 4: How to Shoot in Harsh Light
Part 5: 3 Ways to Use Window Light
Part 6: Creative Light Sources
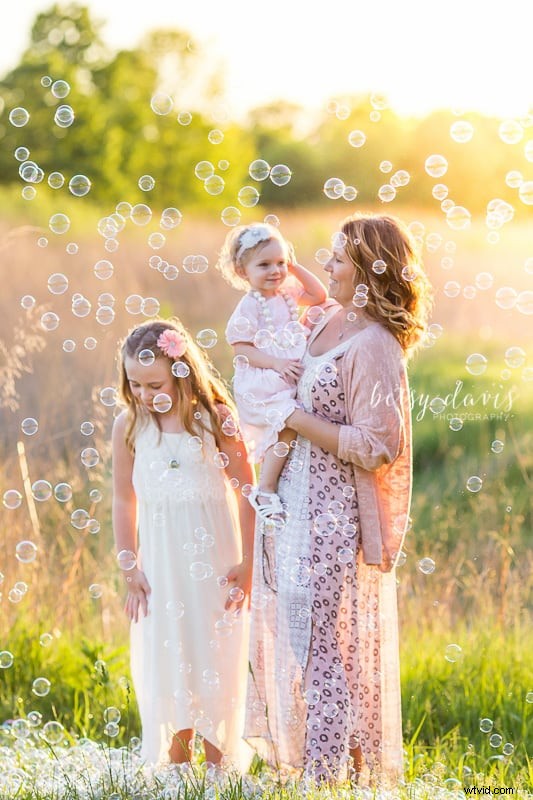
What Exactly Is the Golden Hour?
The golden hour is the period of soft, golden light that occurs during the first hour after sunrise and the last hour before sunset. The sun sits low on the horizon, filtering through the atmosphere to produce warm, diffuse illumination that eliminates harsh midday shadows and provides rich color and depth. Whether you’re shooting portraits, landscapes, or still life, this time of day offers unparalleled versatility.
Timing Your Golden Hour Shoot
The exact start and end times shift with the seasons and your latitude. Reliable resources like PhotoPills or The Photographer’s Ephemeris let you plan the perfect window. Plan to arrive a few minutes early, as the light changes dramatically—warm hues deepen, shadows lengthen, and contrast spikes—all within minutes.
Key Techniques for Maximizing Golden Hour Light
Backlighting
Place your subject between you and the sun. The sun becomes a luminous halo around the silhouette, creating a striking, dreamy look. Use a neutral‑density filter or shoot behind foliage to soften the light and avoid overexposure.
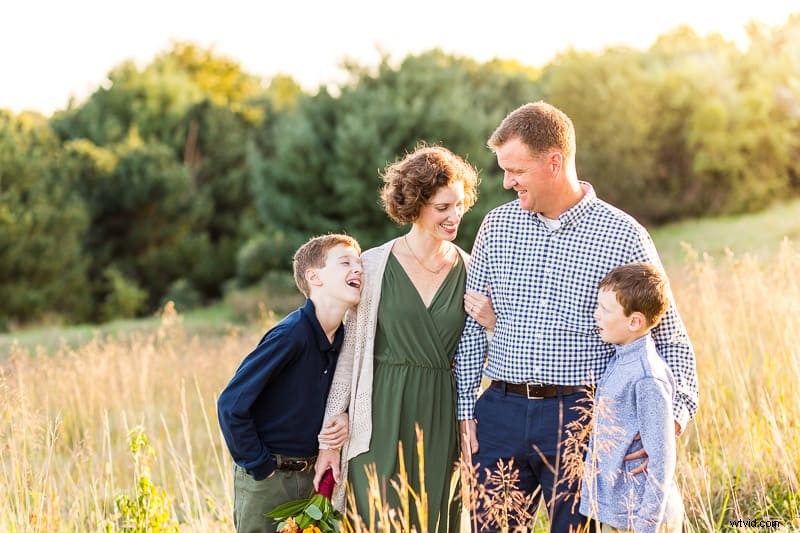
Rim Lighting
Position the sun behind the subject to generate a bright edge that accentuates contours. Rim light adds depth and makes the subject pop against a muted backdrop.
Haze
Let a gentle amount of sunlight filter through the lens. Haze can lend a romantic, ethereal quality to portraits—use it sparingly to avoid washing out details.
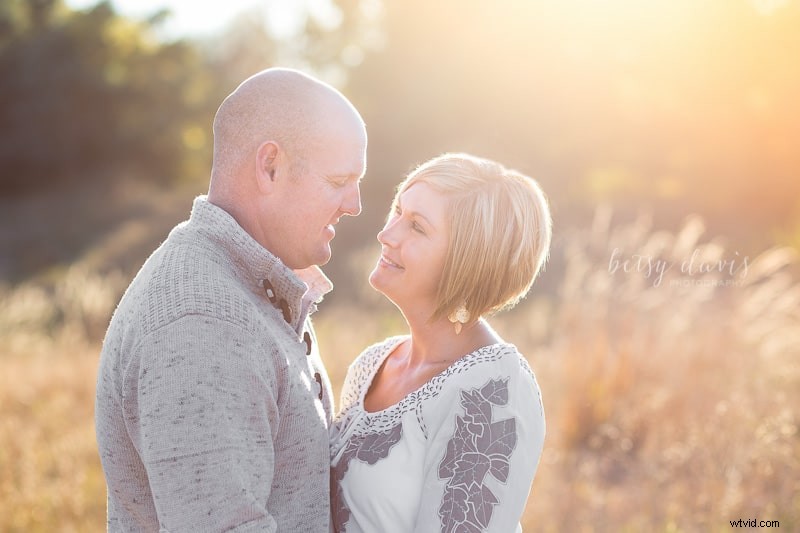
Sun Flare
Golden hour’s softer rays allow you to capture flare without blowing highlights. Position the sun at the edge of the frame to create a subtle, eye‑catching flare that complements rather than dominates the image.

Front & Side Lighting
With the sun low and gentle, you can face the light directly (front lighting) or illuminate the side (side lighting) without harsh squinting. The warm tones enhance skin tones and give portraits a flattering glow.
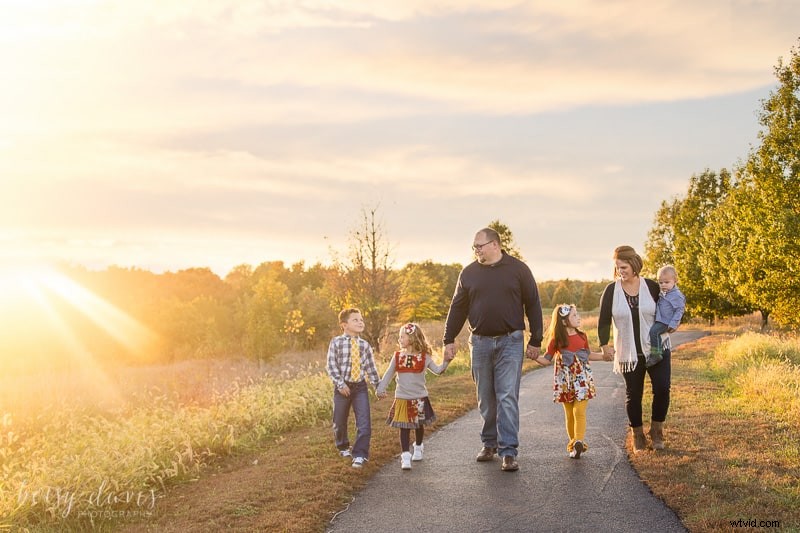
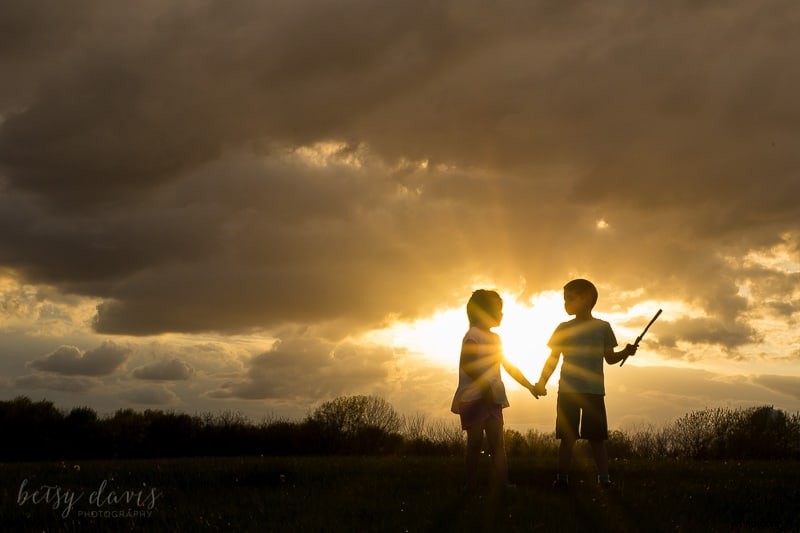
Silhouettes
Use the sun as a backdrop to create dramatic silhouettes. Expose for the sky, leaving the subject dark; the result is a powerful, story‑telling image.
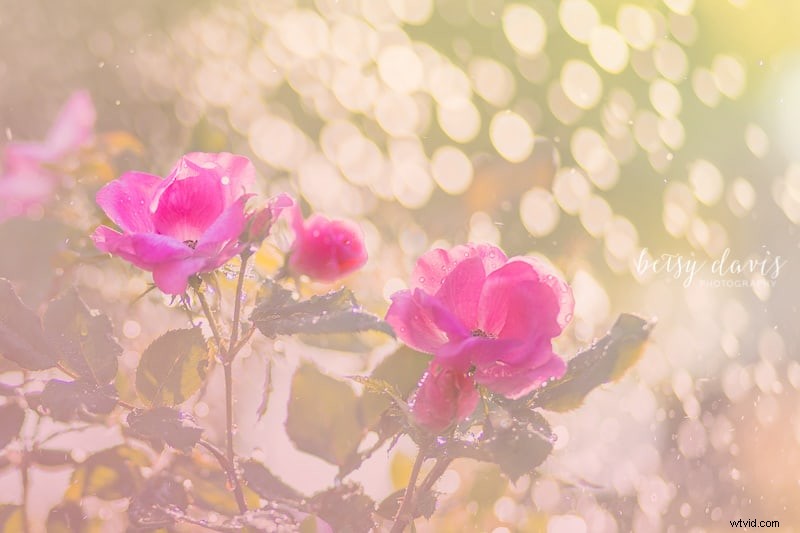
Bokeh
Golden hour light turns any scene into a dreamscape. Wide apertures (f/1.8–f/2.8) produce soft, warm bokeh that frames your subject with an almost painterly glow.
Practical Tips for Consistent Results
- Meter for Skin Tone: Expose for the subject’s face to preserve natural skin tones, especially when backlighting.
- Use Filters: ND filters can tame strong sun, while polarizers reduce glare from reflective surfaces.
- Check Exposure: The light changes fast—keep a history log or use a monitor with real‑time histogram to avoid blown highlights.
- Plan for the Change: The golden hour’s golden hue deepens and the shadows shift; be ready to adjust settings on the fly.
Remember, the golden hour’s magic is accessible every day—no fancy gear required. It’s simply a matter of timing, placement, and a bit of creative foresight.
What golden hour techniques have you tried? Share your experiences in the comments below!
Explore more of our light‑focused series:
Part 1: Finding the Light
Part 2: Using Shadows for Dramatic Portraits
Part 3: Shooting the Golden Hour
Part 4: How to Shoot in Harsh Light
Part 5: 3 Ways to Use Window Light
Part 6: Creative Light Sources
Stay tuned for upcoming additions to the Finding the Light series!