The iPhone and iPad can capture amazingly high definition video in 4K, 1080p, and 720p resolution, and while those movies will look fantastic they also create large file sizes. While you can always change the recording resolution of video in iOS ahead of time, another option is to compress video after the fact, thereby reducing its file size dramatically. Compressing video is helpful particularly if you want to share a video from an iPhone or iPad but you’re finding the movie file size is too large for a standard file transfer, message, or email.
We’re going to show you how to compress video on an iPhone or iPad to reduce the file size or lower the video definition quality. Compressing video is not a feature that is built into iOS natively however, so we’ll be relying on a free third party app that does the job quite well.
To be clear, this approach is taking a video file that is already recorded and stored on the iPhone or iPad and compressing it. If you want to make a smaller video file size to begin with, you can change from using 4K video capture to 1080p or 720p ahead of time, or changing the video recording frame rate at 60fps or 30fps, each of which will reduce the file size of a movie recording, but obviously that’s not helpful for changing the compression or video quality on a video that has already been captured. Thus, we’ll use Video Compressor to shrink down and reduce the file size and definition of a video in iOS.
How to Compress Videos from iPhone and iPad with Video Compressor
- Grab Video Compressor for iOS on the App Store, it’s free and works on iPhone and iPad
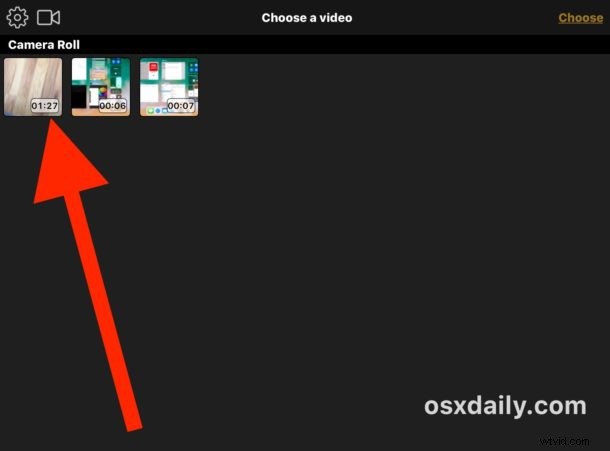
- Launch the Video Compressor app on the iPhone or iPad after you have downloaded it
- Tap the video you want to compress and shrink down the file size for
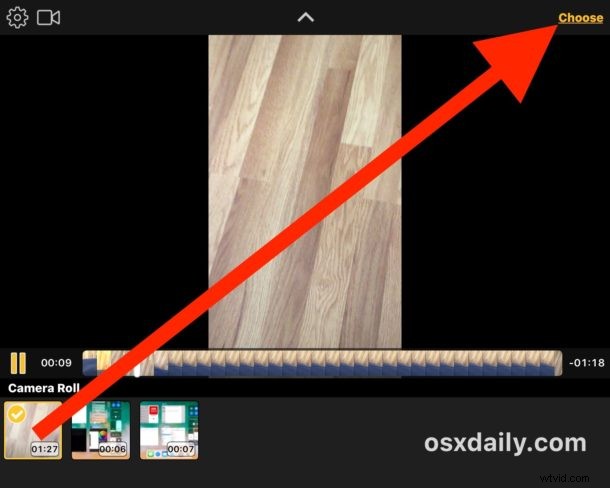
- At the video preview screen, select “Choose” to open that video into Video Compressor
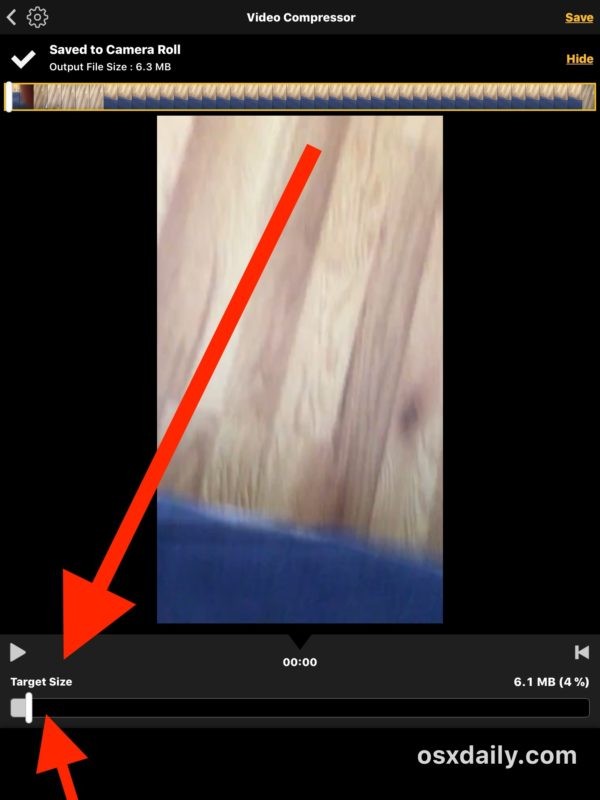
- Use the slider at the bottom of the screen to adjust the video compression based on target file size of the compressed video, the further the slider moves to the left the stronger the compression and the smaller the resulting file size of the video will be
- When satisfied with the compression and target file size of the video, select “Save” in the upper right corner
- Video Compressor will go to work on the targeted movie file, this can take a while depending on the size of the video selected on the iPad or iPhone
- The compressed video will be saved to your iOS Camera Roll when complete
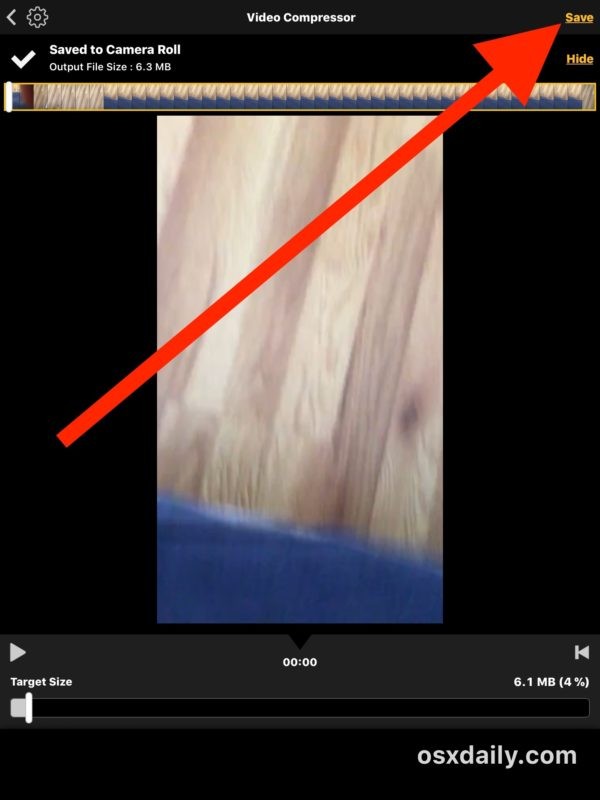

Video Compressor is very effective and you can easily shrink a very large high resolution video down to a remarkably small size. In the example above I shrunk a video to 4% of it’s original size using Video Compressor on an iPad, taking a 150mb video down to a mere 6mb. Of course this comes at a hefty cost to the video quality, since compressing video inevitably reduces the resolution and definition of any video, so use the slider and target size to suit your own use case and needs.
The ability to compress video to shrink down size and reduce quality should probably be built directly into iOS so that iPhone and iPad users can do this directly in iOS without requiring third party apps (a similar feature exists native in Mac OS video encoder tools), so perhaps we’ll get such an ability in iOS down the road too.
Keep in mind if you use iCloud (and you should) then if you try to email a very large video then you should be able to share it with Mail Drop too. And of course if you’re nearby to the person you want to share a large video with, then sending over AirDrop from an iPhone to a Mac or other device is a viable solution too.
It’s also worth pointing out that if you want to copy high definition videos from an iPad or iPhone to a computer the best way to do that is with a USB cable and direct transfer as described here, it tends to be the fastest approach that is also lossless.
Do you know of another better way to compress video directly on an iPhone or iPad? Do you have a favorite solution or iOS app for this task? Let us know in the comments!