
Why Layers Are Locked in Photoshop
When a layer appears with a padlock icon in the Layers panel, it is protected from accidental changes. Photoshop locks the background layer by default to prevent it from being reordered or modified, encouraging users to work on separate layers.
Additionally, you can manually lock layers to preserve their content or position. In recent versions, there are five lock options:
- Lock transparent pixels
- Lock image pixels
- Lock position
- Prevent auto‑nesting into and out of Artboards and Frames
- Lock all
Step 1: Open the Layers Panel
If the panel is hidden, go to Window > Layers or press F7 to toggle it.
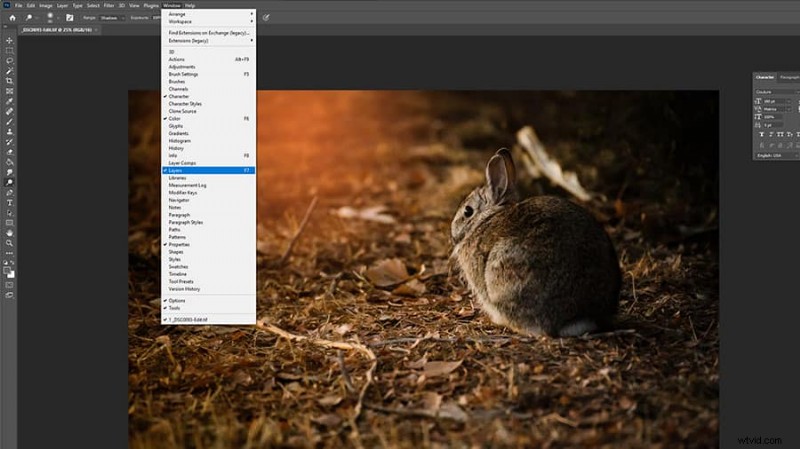
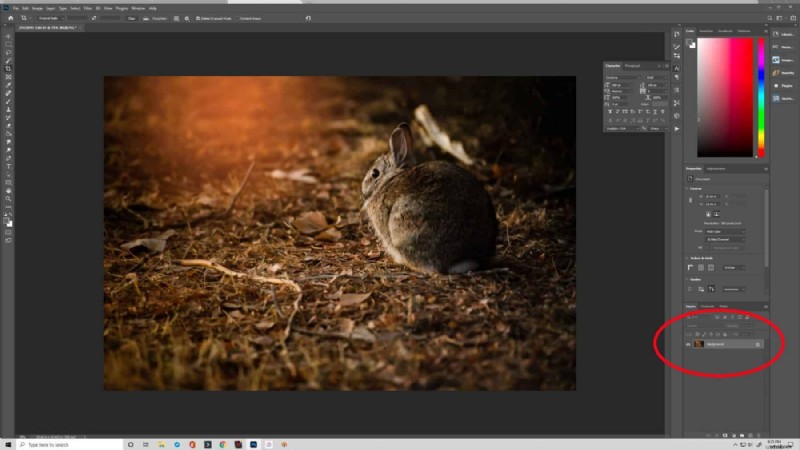
Step 2: Unlock the Background Layer
Locate the background layer in the panel. Click the padlock icon once, or press / while the layer is highlighted. The layer will rename to Layer 0 and the padlock will disappear.
Tip: If you’re using an older Photoshop version, double‑click the padlock to unlock.
Step 3: Unlock Additional Layers
For any other locked layers, repeat the same action: click the lock icon or hit /. This will make the layer editable again.
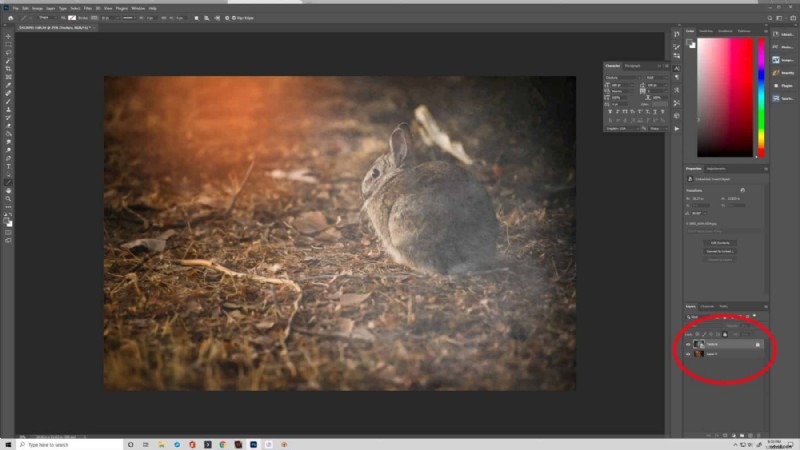
Step 4: Lock a Layer When Needed
To safeguard a layer from accidental edits, select it in the panel and click the lock icon at the top of the panel. Choose the appropriate lock type (e.g., position, pixels) to match your workflow.
Locking is a quick way to protect critical elements like text or design assets.
Special Offer
Enhance your photo‑retouching workflow with our Polished Lightroom Adjustment Brushes Presets Collection—trusted by over 54,000 photographers. Enjoy an exclusive 80% discount now.