
The human eye can perceive a vast spectrum of tones, colors, and shadows, yet even the most advanced digital cameras can struggle to capture that breadth in a single exposure. Auto‑exposure often settles on a compromise that leaves highlights blown out or shadows swallowed. Bracketing is the reliable solution that gives you control over every part of the scene.
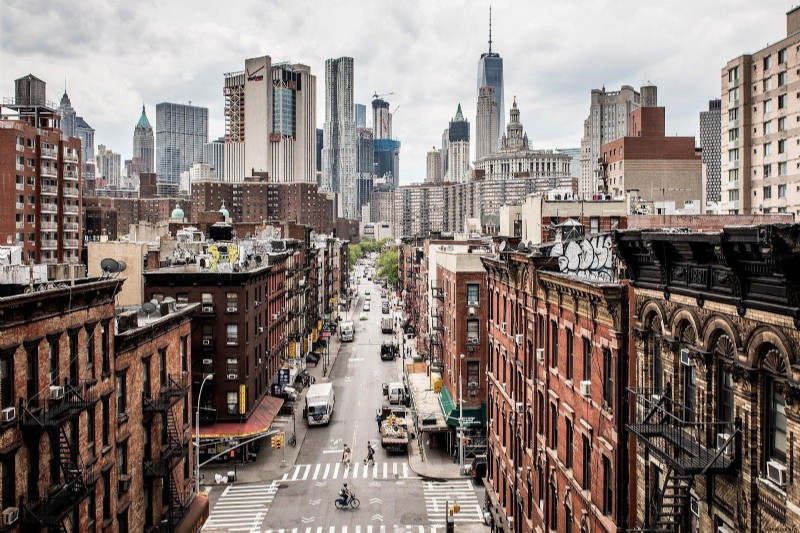
Photo by wiggijo licensed under CC0
What is Bracketing in Photography?
Bracketing is a shooting technique that involves taking the same composition multiple times—usually three or more—while adjusting a camera parameter such as exposure, focus, or flash. By combining the resulting images, you can preserve detail across the entire tonal range of a scene.
Exposure Bracketing Explained
The most common form of bracketing is exposure bracketing. Here, you capture several shots that differ by a set number of stops, typically one underexposed, one correctly exposed, and one overexposed. When merged, these frames reveal details in both shadows and highlights that a single exposure would miss.
Auto Exposure Bracketing
Many modern cameras include an auto exposure bracketing (AEB) mode. Selecting this option tells the camera to take a user‑defined number of frames, each offset by a preset exposure value. You can adjust the bracket count and the exposure step (e.g., ±1 EV) to suit the scene’s contrast.
Manual Exposure Bracketing
For photographers who want finer control, manual bracketing involves stepping exposure compensation between shots. Using a tripod is essential to keep the framing identical. While this approach offers a broader range of settings, it requires more precision and can be time‑consuming.
Why Exposure Bracketing Matters
Exposure bracketing ensures you capture the full tonal spectrum—highlights, mid‑tones, and shadows—without losing critical detail. Auto‑exposure alone may leave skies blown out or valleys dark. Bracketing captures the nuance that matters to the viewer.
How the Bracketing Process Works
With exposure bracketing, the camera records at least three exposures: one that captures the brightest highlights, one that preserves mid‑tones, and one that reveals shadow detail. By blending these frames, you can assign the optimal exposure to each tonal region.
Executing Bracketed Shots in Auto and Manual Modes
If your camera offers AEB, simply choose the bracket count and the exposure step. If not, switch to manual mode and adjust exposure compensation between shots. Always use a tripod or a stable surface to avoid misalignment.
Bracketing for HDR Photography
HDR (High Dynamic Range) images are created by merging bracketed shots. The key is stability: mount the camera on a tripod, set a timer or use a remote trigger, and capture three to five frames with different exposures.
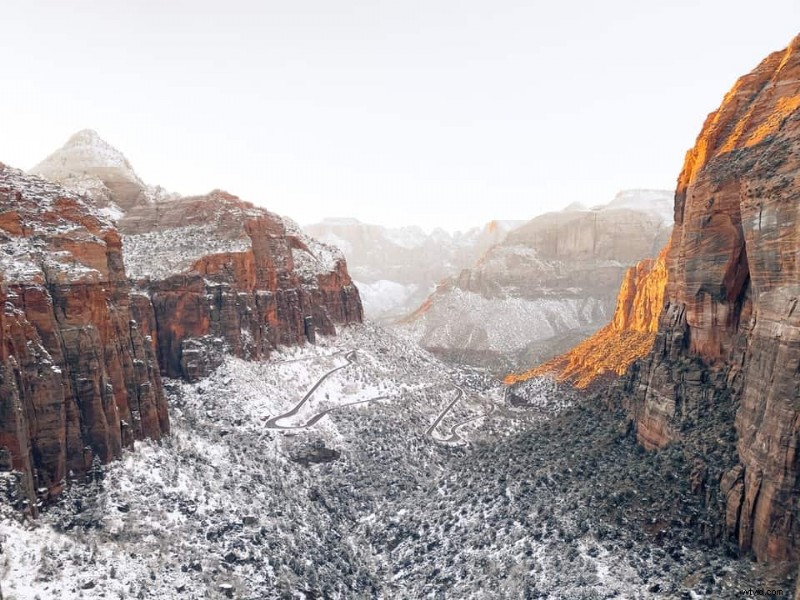
EV Settings for Bracketing
Begin with the standard exposure (EV 0). Then shoot one frame at EV –1 (half the light) and another at EV +1 (double the light). This ±1 EV range works well for scenes with moderate contrast and provides a solid foundation for beginners.
Merging Bracketed Images into HDR
After capturing, use dedicated software to combine the frames. Below are popular options.
Adobe Lightroom
Select the bracketed photos, go to Photo > Photo Merge > HDR, and let Lightroom auto‑blend them. Use the de‑ghosting slider to clean any motion artifacts.
Adobe Photoshop
Open the images, choose File > Automate > Merge to HDR Pro, or create separate layers, align them with Edit > Auto‑Align Layers, then blend with Edit > Auto‑Blend Layers (Stack Images).
Other HDR Tools
Software such as Photomatix, Aurora HDR, and Enfuse offer alternative merging workflows and advanced tone‑mapping controls.
Manual Merging with Luminosity Masks
For ultimate control, create luminosity masks to isolate shadow, mid‑tone, and highlight layers. This technique is more complex but allows precise blending without relying on automatic algorithms.
Beyond Exposure: Other Bracketing Techniques
Flash Exposure Bracketing
Some external flashes provide flash exposure bracketing (FEB), capturing a series of shots with varying flash power or pre‑flash settings.
Focus Bracketing
Focus bracketing is invaluable for macro work. By shifting focus slightly between shots—either by adjusting the focus ring or the camera body—you can later stack the images to achieve an extended depth of field.
Using Body Positioning
Take the first shot in manual focus, then tilt the camera slightly and retake to change the focus plane.
Using Lens Focus Ring
Move the focus ring one stop per shot to capture a range of focus distances.
Focus Stacking Workflow
Import the focus‑bracketed images into Photoshop, auto‑align them, then auto‑blend using the Stack Images mode. Refine with a soft brush to smooth the transition.
Understanding Dynamic Range
Dynamic range is the span between the darkest and brightest parts a camera can record. The human eye has a far greater dynamic range than most sensors, which is why bracketing and HDR are essential tools for photographers who want to replicate natural vision.
Creating HDR from a Single Exposure
When you lack multiple shots, some programs can simulate HDR from a single RAW file. Photomatix offers tone‑mapping algorithms that adjust contrast locally. Photoshop lets you duplicate the image, offset exposure, and blend the layers manually.
Digital Dodging and Burning
For scenes with stark contrast, capture several bracketed shots at different EV values. In Photoshop, layer them and use the dodge and burn tools to selectively brighten or darken regions, giving you granular control over the final tone map.
Why Not Just Shoot RAW?
RAW files store more image data than JPEGs, but they still have limits. Bracketing increases the information captured across exposures, reducing noise when you merge and allowing finer detail extraction.
HDR vs. Exposure Bracketing
HDR refers to the post‑processing stage that merges multiple exposures. Bracketing is the shooting technique that provides the raw material for HDR. Some devices offer built‑in HDR that merges on the fly, but manual bracketing offers superior control and avoids the sometimes over‑processed look.
Using Your Smartphone for HDR
Modern flagship phones often include an HDR or Rich Tone mode that captures three bracketed shots automatically. If you desire more control, third‑party apps let you set exposure steps and merge the photos on your device.
Troubleshooting Common Issues
- Blurry or misaligned HDR: use a tripod and enable auto‑align in your editing software.
- Hyper‑realistic results: reduce the exposure range or use a lower ghosting threshold.
- Missing bracket mode: manually take three or more shots with consistent framing.
- Insufficient light: consider adding a light meter or using a dedicated flash for consistent exposure.
Frequently Asked Questions
Should I Bracket Every Shot?
No. Bracketing is most effective for static scenes with high contrast. Moving subjects or low‑contrast shots often do not benefit from the technique.
How to Manage Bracketed Images in Post
Choose the exposure that best matches your vision as the base layer. Blend the others gradually, preserving the original files so you can always revert.
Can I Bracket Other Settings?
Yes. Bracketing can target flash intensity, focus distance, or ISO to control noise.
What is ISO Bracketing?
ISO bracketing captures images at different sensitivity levels. When merged, you can reduce noise while retaining detail.
Is Auto Exposure Bracketing Needed with RAW?
While RAW expands dynamic range, bracketing still offers additional data, especially for scenes with extreme contrast.
HDR vs. Bracketing
Bracketing is the shooting method; HDR is the editing process that fuses those exposures.
How Do I Set Exposure?
- Aperture controls light entry and depth of field.
- Shutter speed determines exposure duration.
- ISO adjusts sensor sensitivity.
Use your camera’s auto‑exposure or adjust these settings manually to suit the scene.
Bracketing on Nikon
Nikon cameras feature a BKT button that opens a menu to select bracket count and exposure range.
Conclusion
Bracketing unlocks a photographer’s ability to control light and detail with precision. By capturing a series of images with varied settings and merging them thoughtfully, you can create photographs that faithfully represent the world’s rich dynamic range.