Want to capture the next viral trend? Follow this expert guide to film, edit, and publish a jaw‑dropping egg‑crack effect video using your own footage. The instructions below are written by seasoned video editors to ensure clarity, quality, and authenticity.
Tools & Requirements
To create a polished effect, you’ll need the following:
- A computer (Windows or macOS)
- Raw video footage of a bouncing ball and an egg breaking on a skillet
- Filmora Video Editor (free download available)
Transcript Overview
Below is a concise timeline of the editing process. Use it as a reference while you work in Filmora.
- 0:08 – Demo of the final effect. Capture your scene before moving to editing.
- 0:20 – Record a ping‑pong ball and an egg. Follow the recommended actions to capture clear footage.
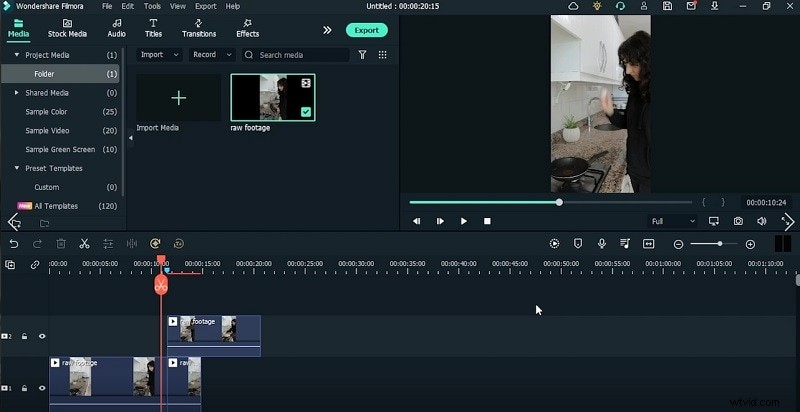
- 1:22 – Import raw footage into Filmora’s Editor and place it on the timeline.
- 1:38 – Identify the frame where the ball is airborne and split the clip. Repeat for the egg‑crack moment.
- 2:20 – Overlay the egg‑crack clip above the base track, aligning the airborne moment.
- 2:46 – Apply a rectangle mask, adjust its size, and increase blur for a natural blend.
- 3:16 – Review frame‑by‑frame, fine‑tune offsets, and scale adjustments.
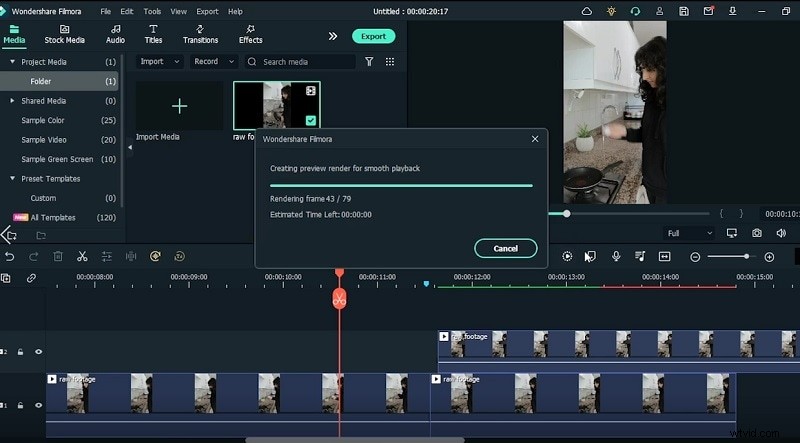
- 3:45 – Ensure mask edges are clean; render a preview to confirm.
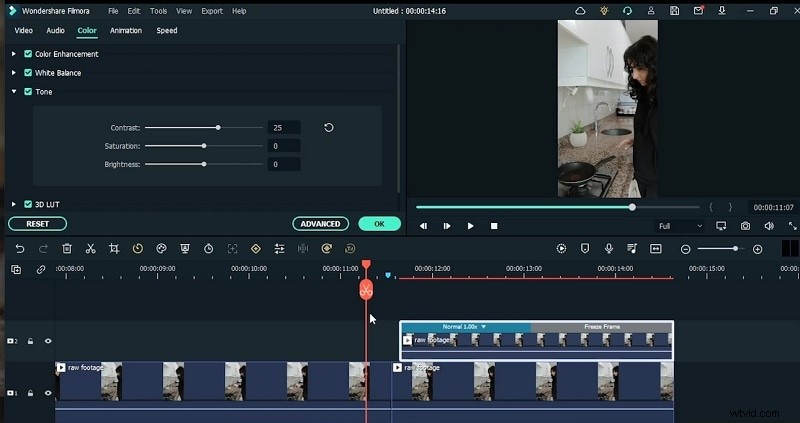
- 4:16 – Add a freeze frame where the egg lands on the pan. Adjust duration as needed.
- 4:48 – Correct lighting and color settings for both clips.
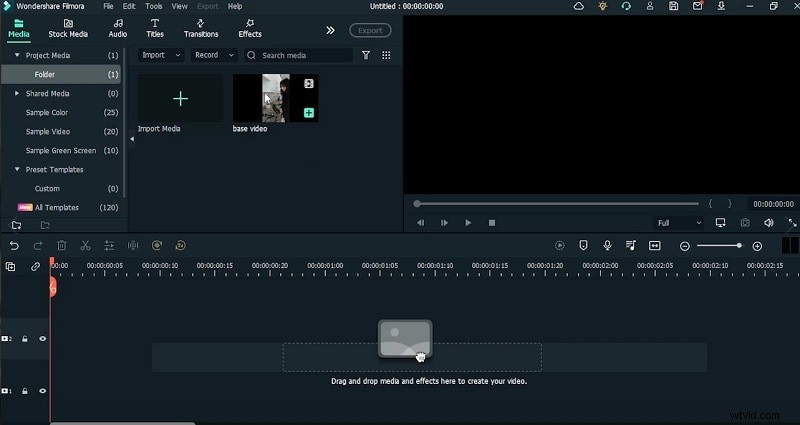
- 5:05 – Export the intermediate project, re‑import it for final tweaks.
- 5:20 – Insert animation keyframes to guide viewer attention and create smooth transitions.
- 6:15 – Apply rotation keyframes for a subtle dynamic effect.
- 7:05 – Fine‑tune rotation angles; keep consistency across clips.
- 7:25 – Review the final sequence, make corrections, and export the finished video.
Step‑by‑Step Instructions
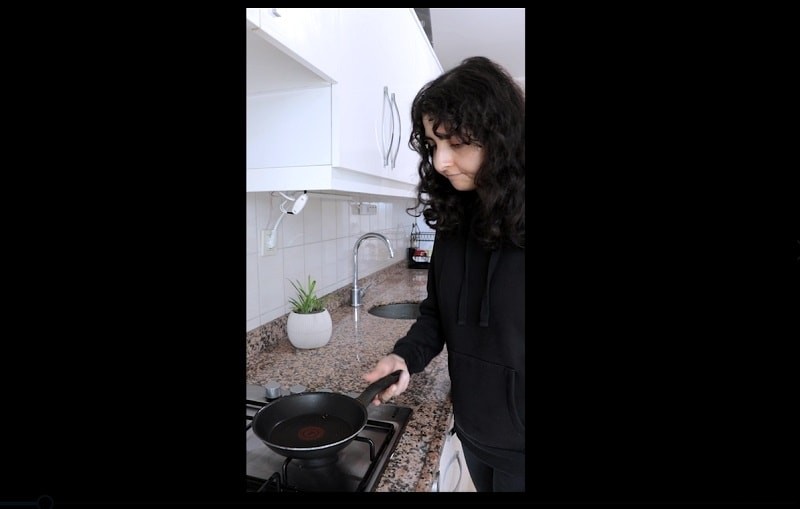
Step 1 – Record Your Footage
Capture a clear shot of a ping‑pong ball bouncing on a kitchen shelf, followed by an egg breaking on a skillet. Keep lighting consistent to ease later color correction.
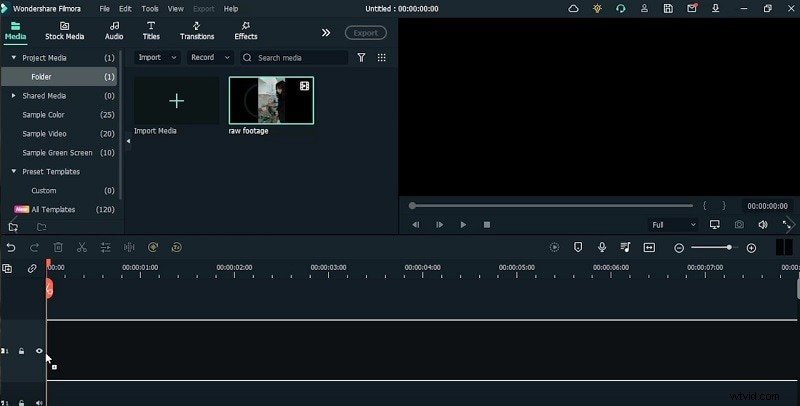
Step 2 – Launch Filmora Editor
Open Filmora’s free editor. From the start window, click Editor to access the timeline and preview workspace.

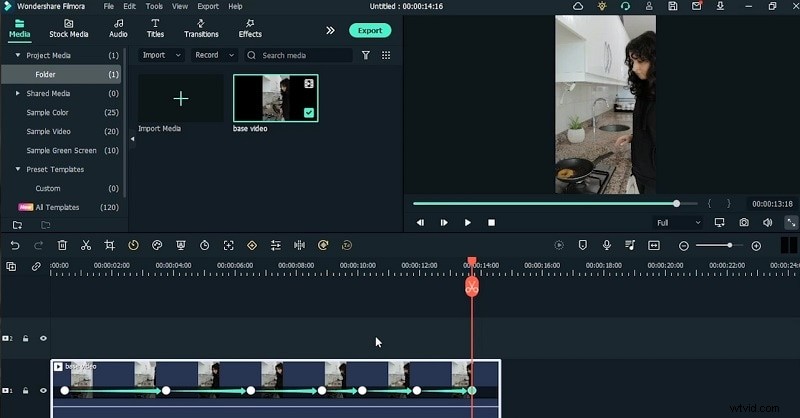
Step 3 – Import Footage
Click Import, select your recorded clips, and drag them onto the timeline.
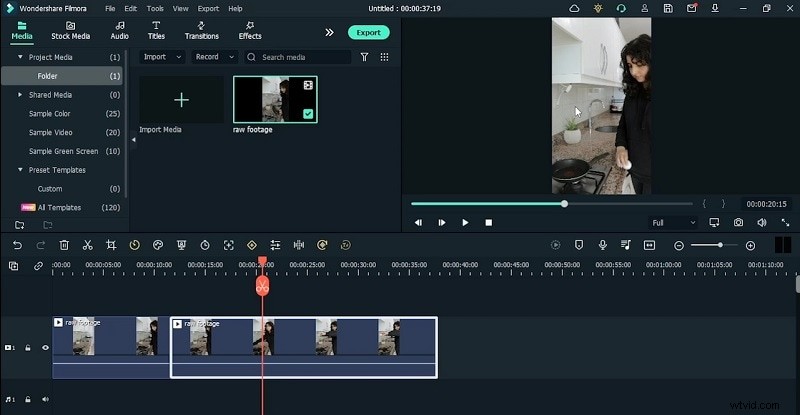
Step 4 – Trim the Clips
Locate the exact frame where the ball is airborne, then use the scissor tool to split. Repeat for the egg‑crack frame.
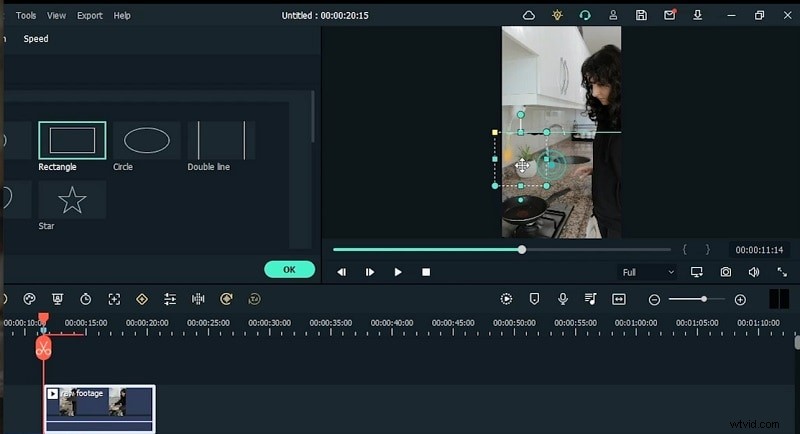
Step 5 – Apply a Mask
Select the egg‑crack clip, double‑click to open mask settings, choose a rectangle mask, and adjust blur to blend seamlessly.
Step 6 – Align and Adjust
Ensure the masked clip sits perfectly above the base track. Use scaling and positioning tools to match motion precisely.
Step 7 – Render for Preview
Click Render to generate a preview. Verify that the split points and mask edges look smooth.
Step 8 – Freeze the Impact Frame
Right‑click the clip, choose Speed > Freeze Frame, and set the desired duration to emphasize the egg landing.

Step 9 – Color Correct
Open the clip’s settings and adjust contrast, saturation, and brightness to match both shots.
Step 10 – Re‑Import the Final Cut
Export the intermediate project, then re‑import the compiled video into a new project for additional polish.
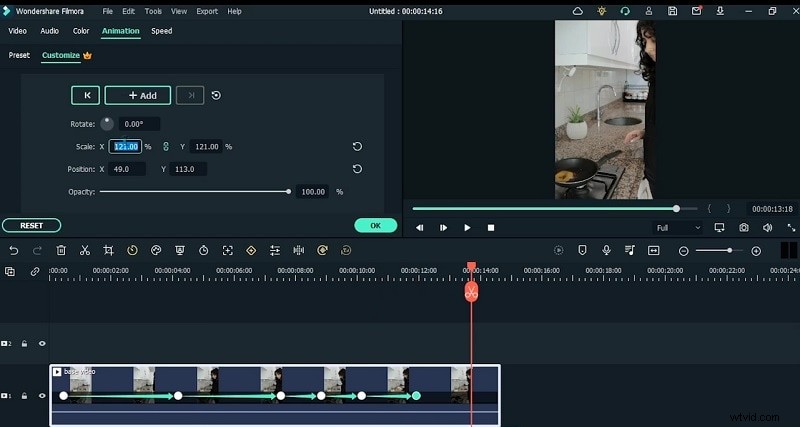
Step 11 – Add Animation Keyframes
In the Animation panel, insert keyframes to control scaling and rotation, guiding the viewer’s eye smoothly across scenes.
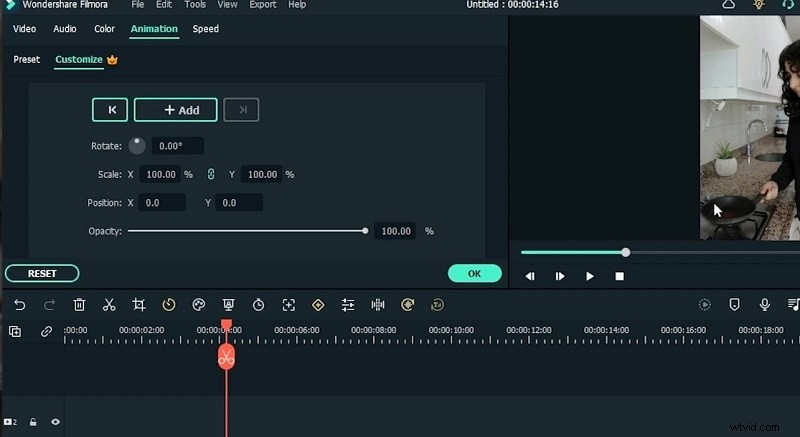
Step 12 – Fine‑Tune Keyframes
Adjust the position, scale, and rotation values to create a subtle handheld effect. Ensure consistent angles for a professional look.
Step 13 – Finalize and Export
Play back the entire sequence, correct any minor glitches, then click Export to generate the final video. Share it across social platforms to capture viral traction.
Summary
By combining high‑quality footage with Filmora’s intuitive editing tools, you can create a polished egg‑crack effect video that stands out on any platform. Follow these steps, maintain consistency in lighting and color, and your video is ready to go viral.