Preparation
What you’ll need:
- Computer running Windows or macOS
- Your video footage
- Filmora video editor installed
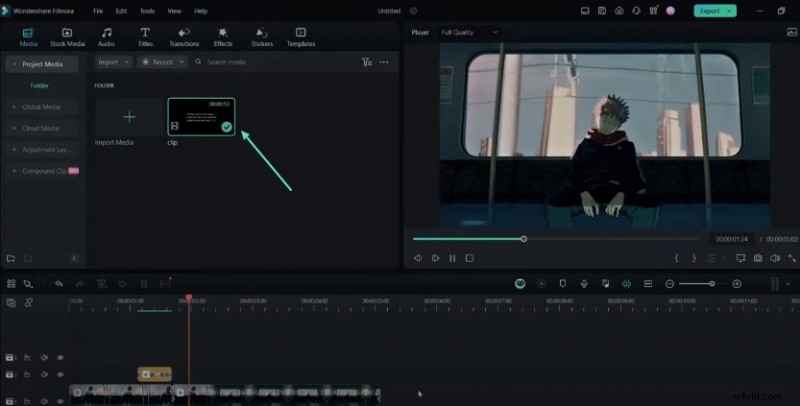
Step 1: Import Your Clip into Filmora
Launch Filmora and start a new project. Drag your chosen clip into the media bin, then drop it onto the timeline. This gives you full control over its properties.
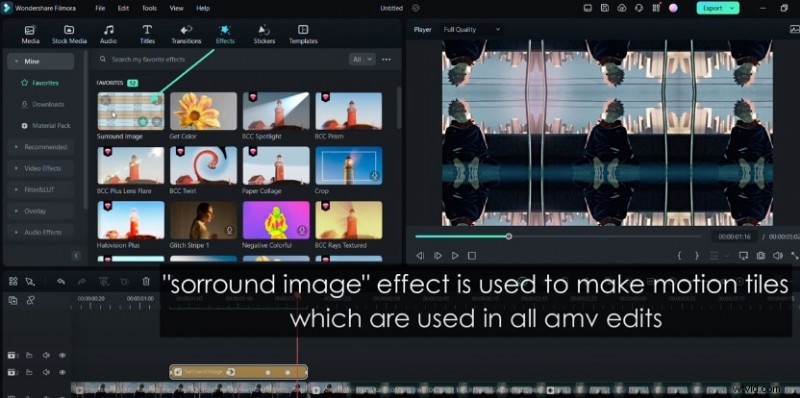
Step 2: Apply the Surround Image Effect
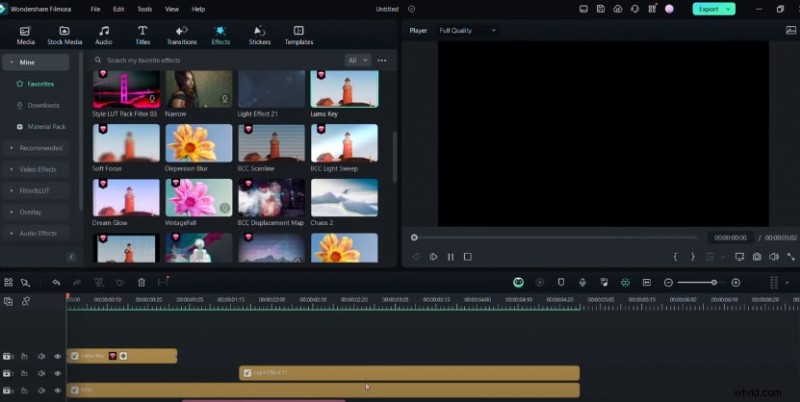
The “Surround Image” motion tile effect is a staple in AMV production. In the Effects tab, locate and add it to your clip. Click the effect to open its settings and adjust the Zoom slider until you achieve the desired magnification.
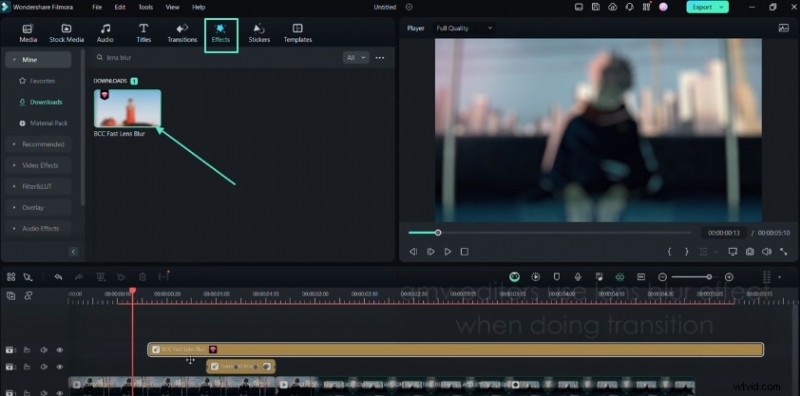
Step 3: Add a BCC Fast Lens Blur Transition
To create smooth, eye‑catching transitions, find BCC Fast Lens Blur in the Effects library. Place it at the junction of two clips, then tweak the Blur Amount and Iris Scale sliders to customize the effect.
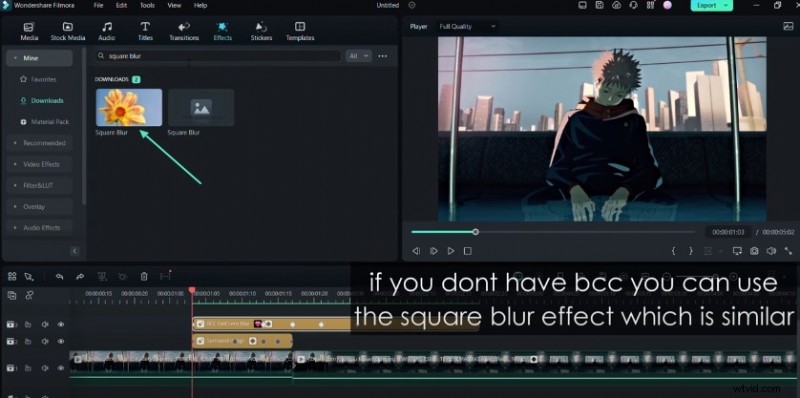
Step 4: Use Square Blur as an Alternative
If the BCC effect isn’t available, try Square Blur. Add it to the timeline and adjust the Size parameter to control intensity.
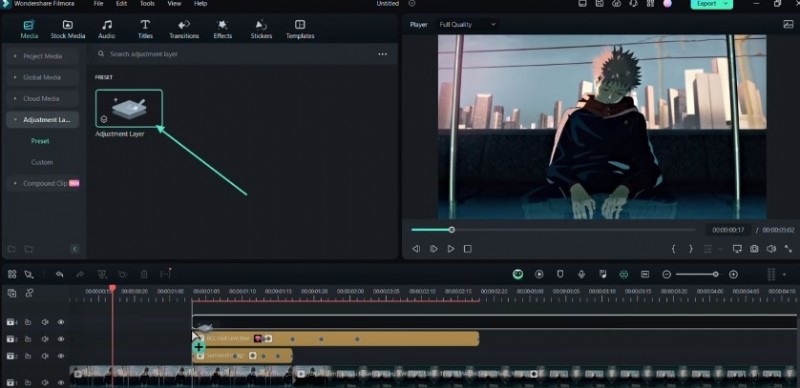
Step 5: Create a Flash Effect with Exposure
Generate a dynamic flash by adding an Adjustment Layer from the Media section. Open its Color settings, set keyframes for Exposure, and adjust values to create a striking flash.
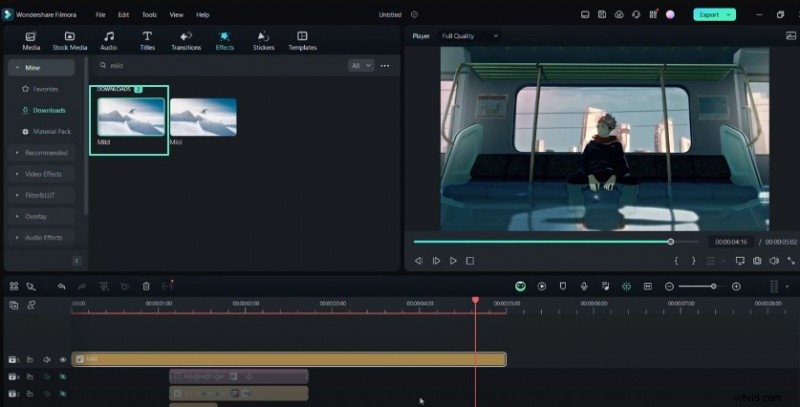
Step 6: Smooth Your Edits with the Mild Effect
For subtle, non‑linear motion, apply the Mild effect. Modify Frequency, X, and Y to fine‑tune the shake intensity and direction.
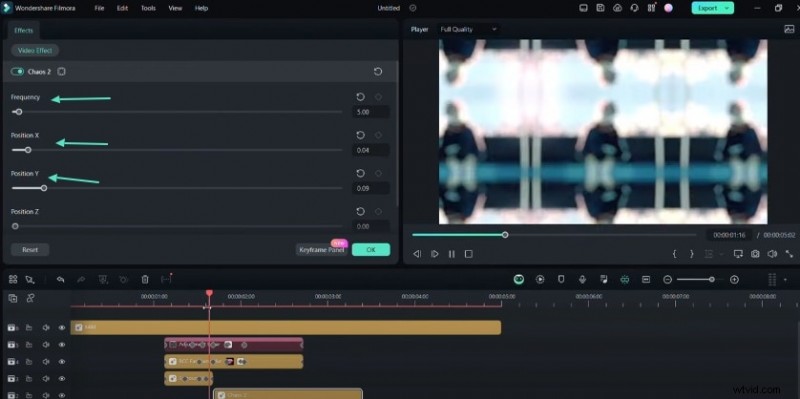
Step 7: Add Aggressive Movement with the Chaos Effect
Want a more intense look? Drop the Chaos effect onto your clip and adjust the same parameters to amplify movement.
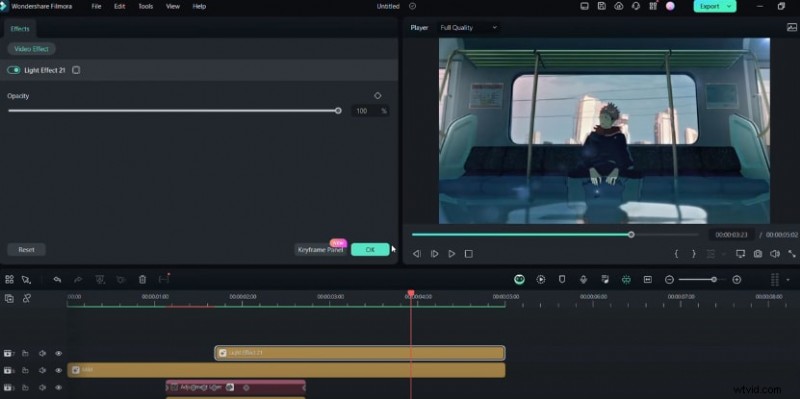
Step 8: Enhance Depth with a Light Effect
Introduce depth by inserting a light effect from the Effects panel. Control its Opacity to set intensity and use keyframes for fade transitions.
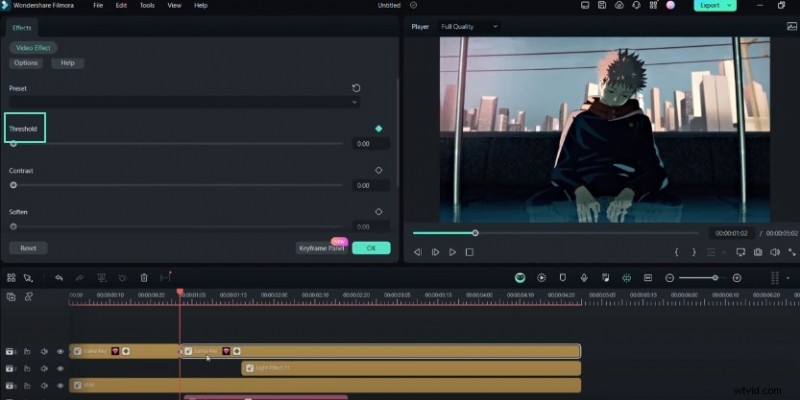
Step 9: Achieve Fade Transitions with Luma Key
The Luma Key effect can replace a light effect for fade transitions. Adjust the Threshold and keyframe the settings to achieve a smooth cross‑fade.
Step 10: Review and Finalize Your AMV Edit
Inspect every clip and effect. Make final tweaks to timing, color, and transitions to polish your AMV before export.
What You’ve Learned
Mastering AMV editing is all about practice and mastering Filmora’s toolkit. By applying these techniques, you’ll elevate your projects and stay current with the latest editing trends. For more insights, explore the Filmora Creator Hub.