How to Make Cinematic Titles in Filmora
Preparation
Before you begin, ensure you have:
- A computer running Windows or macOS
- Video footage you want to enhance
- The Filmora video editor installed
Step 1: Install Filmora
Download the free version of Filmora from the official website. It offers an intuitive interface suitable for beginners and professionals alike.
Step 2: Add Your Clip
Import a clip from your gallery, trim it if necessary, and drag it onto the timeline. You can keep the full clip or cut it to your desired length.
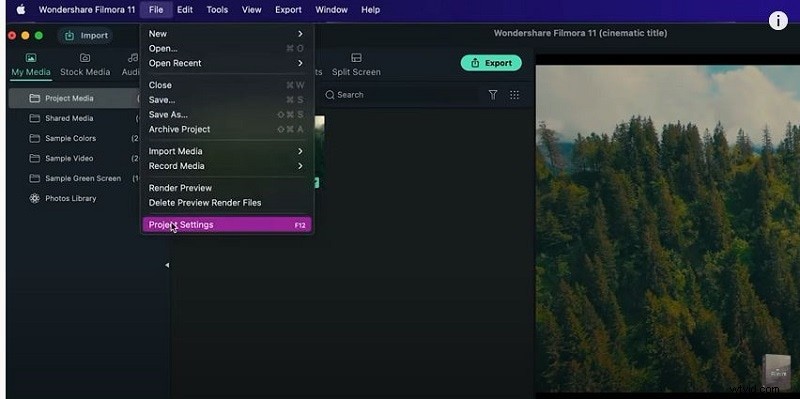
Step 3: Set Project Resolution
Go to File → Project Settings (or press F12) and choose a Full HD resolution or a custom size that matches your footage. Set the frame rate to match the source video.
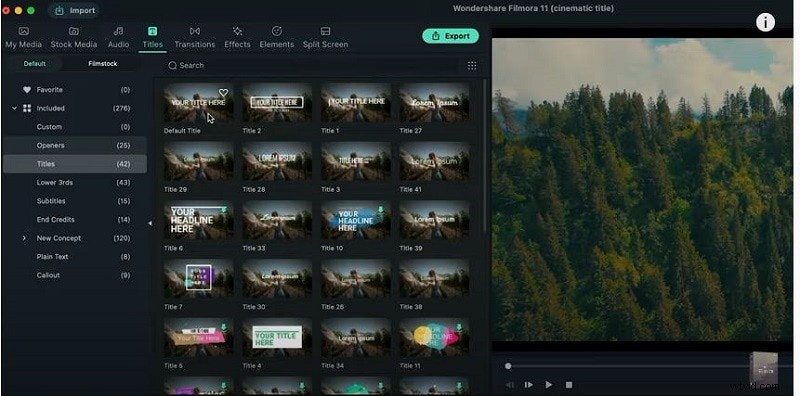
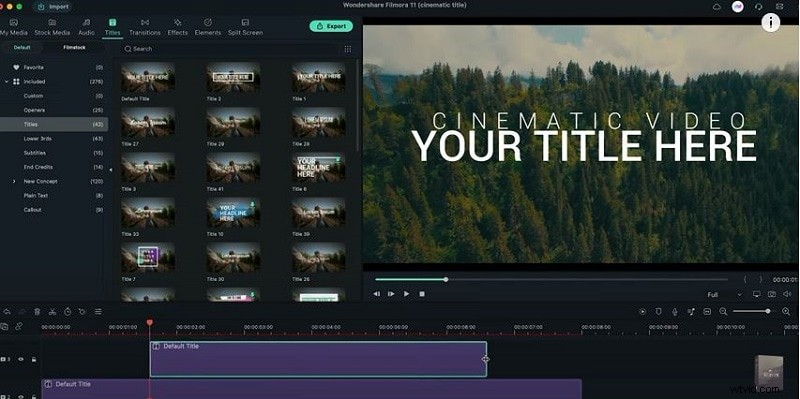
Step 4: Add a Title Layer
Navigate to the Titles tab, select Default Title, and drag it onto the second track above your clip. This will be the main cinematic text.
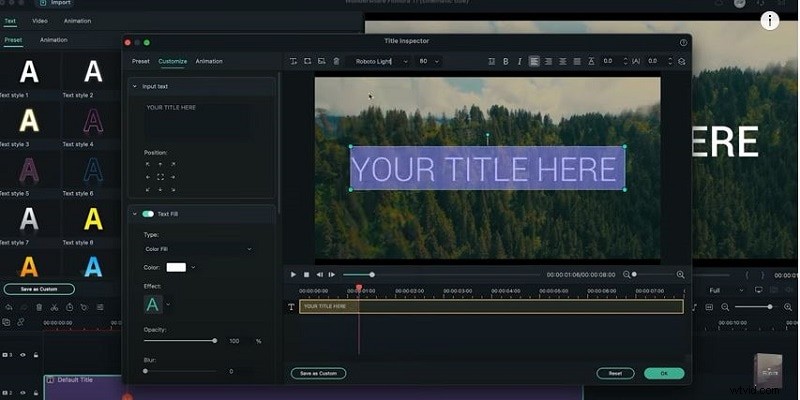
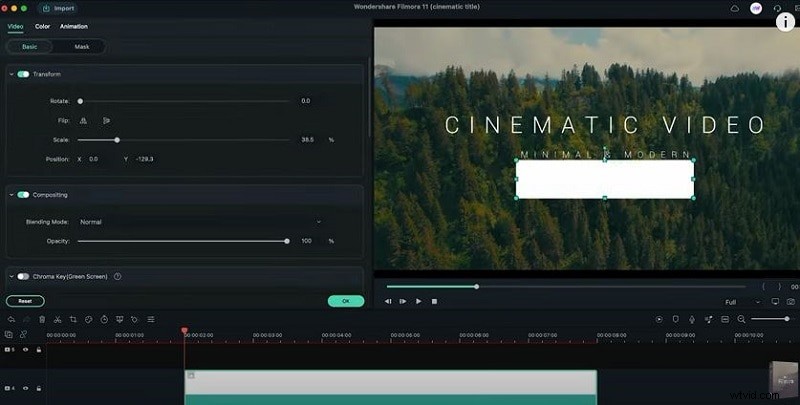
Step 5: Customize Font
Double‑click the title to open the Advanced settings. Choose a clear, cinematic font, adjust the size, and increase letter spacing for better readability.
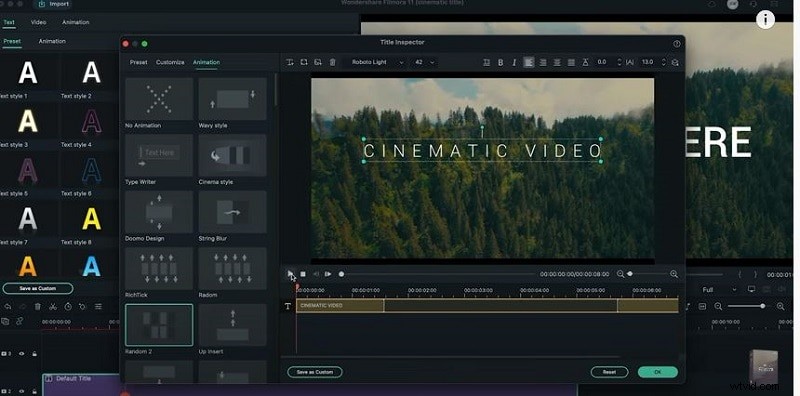
Step 6: Apply Animation
In the Animations pane, pick Random 2 to give the title a subtle cinematic motion. Trim the animation duration to fit your timeline.
Step 7: Add a Secondary Title
Drag another Default Title onto the third track. Adjust its font and letter spacing similarly, and apply a Fade animation to it.
Step 8: Insert a Color Bar
In My Media, add a solid color layer (e.g., white). Position it for about two seconds and set its thickness slightly greater than the second title to serve as a visual separator.
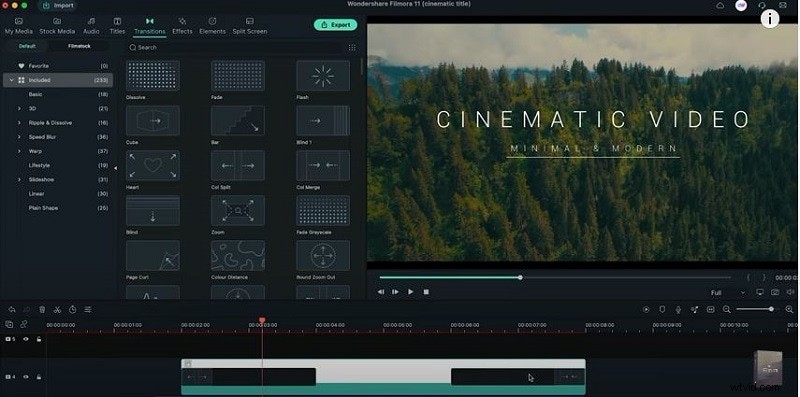
Step 9: Add Transitions
Drag a Call Split transition to the start of the color bar and a Call Merge to its end. Adjust durations by sliding the handles. Optional: apply a 21:9 aspect‑ratio effect.
Export Your Video
Once satisfied, click Export and choose your preferred format. Filmora supports MP4, MOV, AVI, and more.
What You’ve Learned
- How to replace background footage using a green screen.
- Using transitions to create smooth visual flow.
- Filmora’s library of preset backgrounds—social, business, sports, and more.