How to Create Dance Lighting Video Effect
Elevate your dancing footage with vibrant neon lighting and AR enhancements using Wondershare Filmora. Follow this concise, expert‑crafted guide to transform ordinary clips into eye‑catching visual performances.
What You’ll Need
- Windows or macOS computer
- A dancing video clip (preferably energetic and expressive)
- Wondershare Filmora installed (download here)
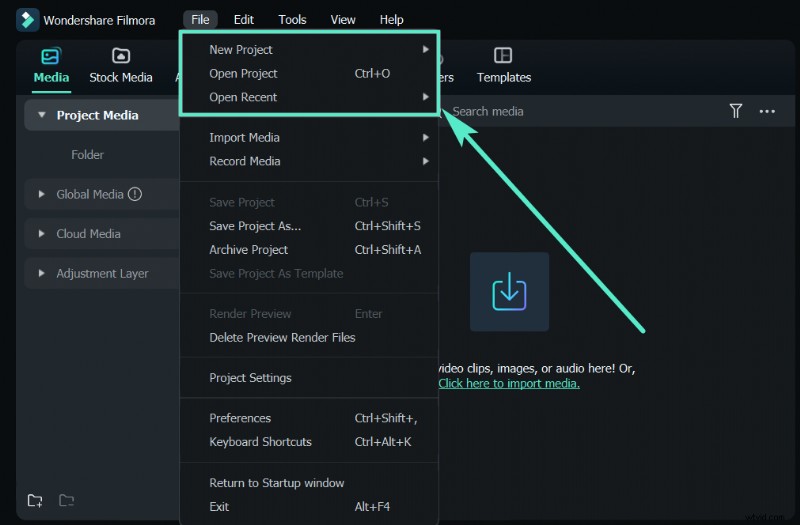
Step 1: Start a New Project
Launch Filmora and click New Project from the welcome screen, or select File > New Project from the menu.
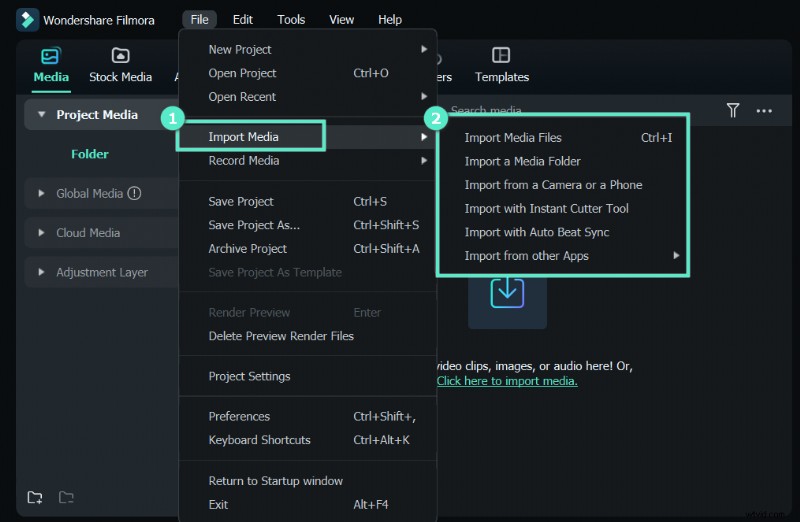
Step 2: Import Your Video
Choose File > Import Media or simply drag the clip into the Project Media area.
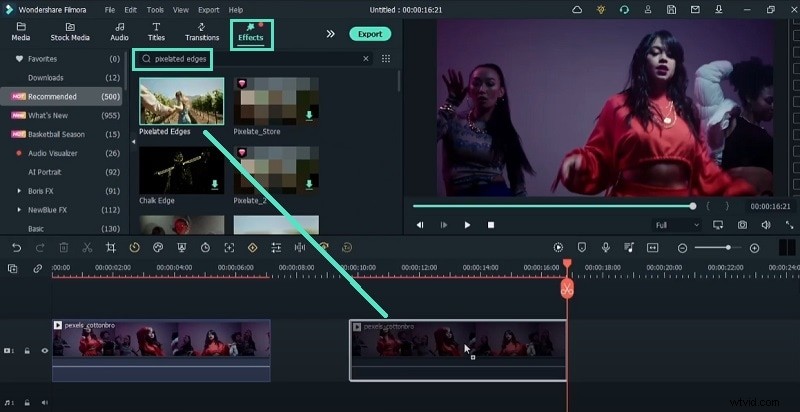
Step 3: Duplicate and Apply Pixelated Edges
Drag the clip onto the timeline. Move the playhead to an empty section, copy the clip, and paste it. Search for Pixelated Edges in the Effects panel, then drag it onto the duplicate layer.
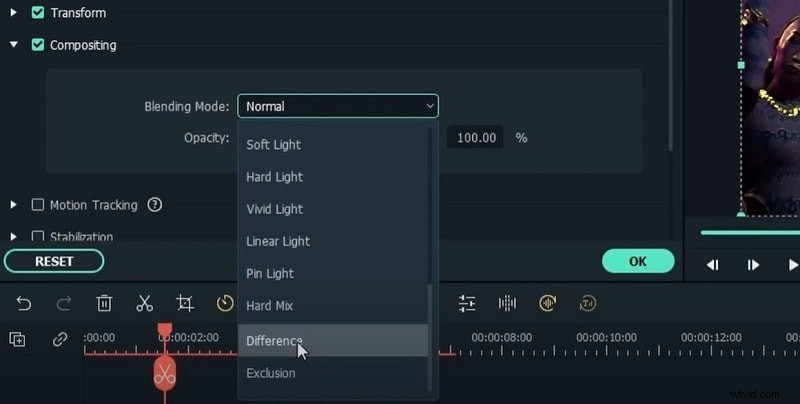
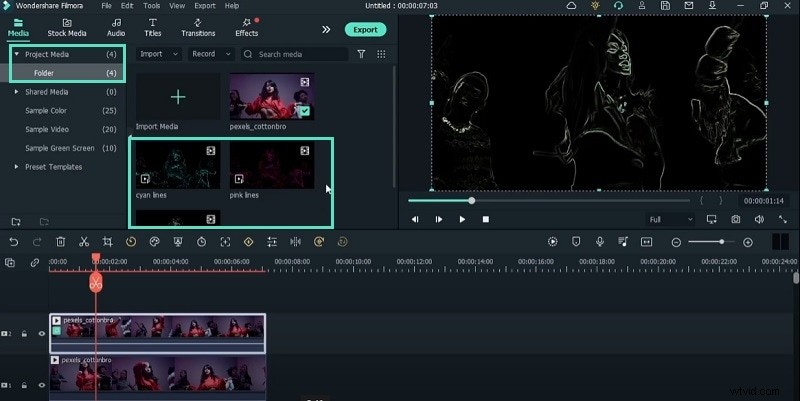
Step 4: Create Neon Outline
Place the duplicate layer above the original. Double‑click the duplicate, go to Basic > Compositing, and set the Blending mode to Difference. In Video > Effect > Color, choose a bright hue (e.g., electric blue). Export this file and name it after the color.
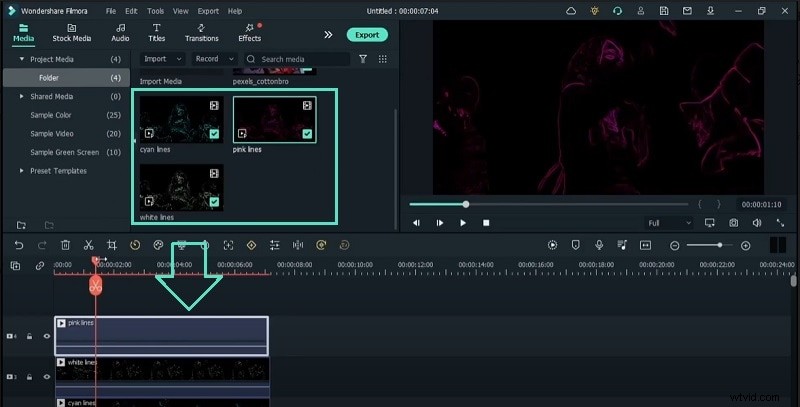
Step 5: Repeat for Multiple Colors
Change the color in Video > Effect > Color to a new shade, export again, and import all exported clips into the project. This will give you layered neon outlines in various colors.
Step 6: Enhance with Glow and Screen Blending
Delete the original duplicate layer. Overlay the exported neon clips above the original footage. Set each clip’s Blending Mode to Screen. Add the Glow effect to each neon layer for a radiant look.
Step 7: Timing the Effect
Move the playhead to the moments you want the neon to appear, press M to mark, and cut the neon layers accordingly. Trim any unwanted sections.
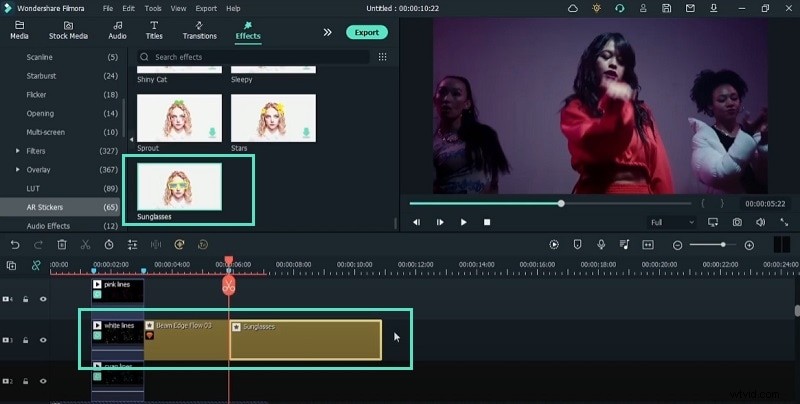
Step 8: Add Final Touches
Apply AI Portrait > Beam Edge Flow 03 for subtle subject outlines, then place AR Stickers > Sunglasses if desired. Finish with a Filters > Instagram > TheUnicorn effect for a cohesive neon hue, adjusting opacity to taste.
Export Your Masterpiece
Review the composition, then export in your preferred format. Your dance video now boasts professional neon lighting and AR flair.
What You’ve Learned
- Creating neon outlines with pixelated edges and difference blending
- Layering multiple colors for dynamic visual impact
- Integrating AR stickers and Instagram filters for polished results
Related Tutorials
Explore additional Filmora techniques to further enhance your creative projects.