**Preparation**
What you’ll need:
- A Windows or macOS computer
- Your source video clips
- The latest version of Wondershare Filmora
---
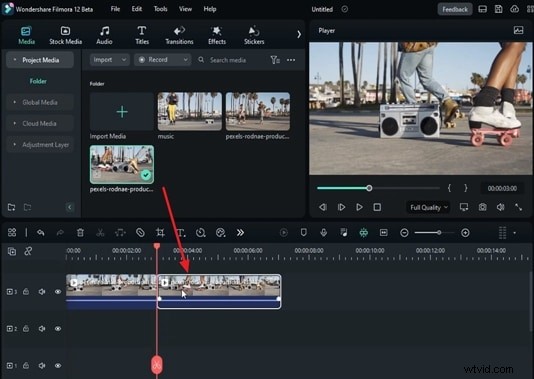
Step 1: Import Your Footage
Launch Filmora and navigate to the Media tab. Drag your videos from the media panel into the timeline. Split the clip at the point where you want the transition to begin.
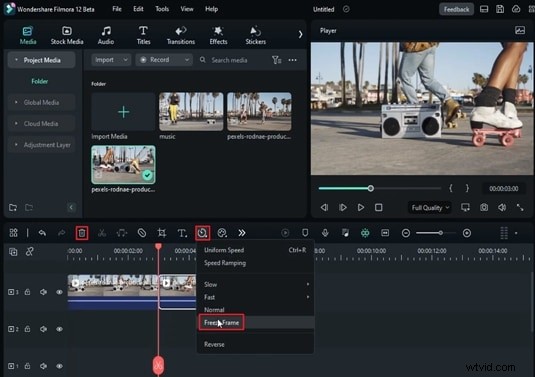
To create a freeze‑frame, click the Speed icon on the timeline and choose Freeze Frame. Split the clip again, select the portion after the playhead, and delete it.
---
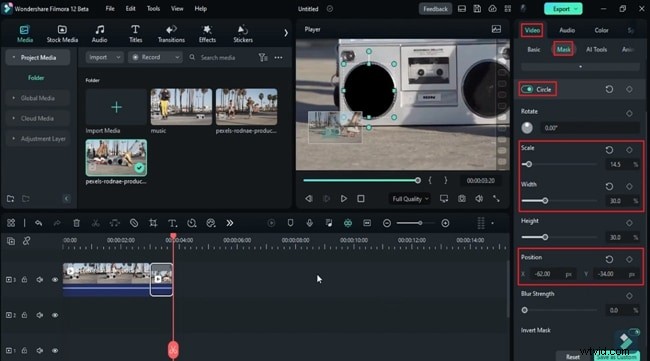
Step 2: Apply the Mask and Fine‑Tune Settings
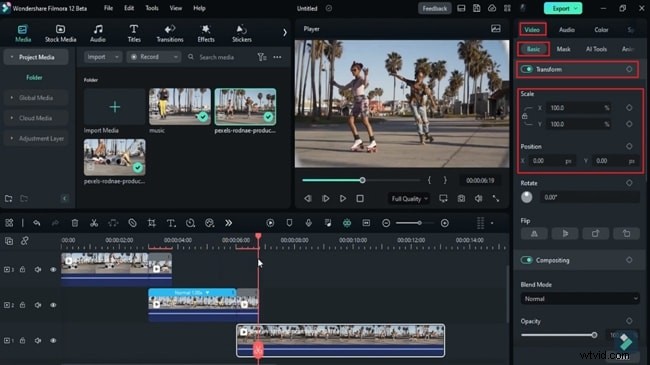
Click the split clip in the timeline. In the top‑right panel, switch to the Video tab and select Mask. Choose the Circle shape.
Adjust the Width of the mask, enable Invert Mask, and set the Scale to match the desired transition point. Move the mask to the target object or person by editing the Position values.
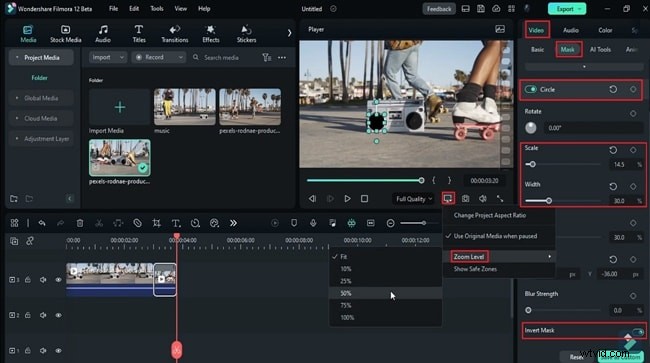
In the preview panel, click Settings and select Zoom Level to fine‑tune the zoom effect. Use the drag‑and‑drop method in the preview to adjust the mask placement, and tweak Scale, Position, and Width as needed.
Set keyframes: position the playhead at the start of the split clip, add a Circle keyframe, then insert another keyframe a few frames later. Adjust the Scale values between keyframes to create a smooth zoom.
---
Step 3: Layer Additional Clips for a Seamless Transition
Drag another video from the media panel onto a higher track in the timeline. Under the Basic tab, enable Transform keyframes. Modify Scale and Position to produce a complementary zoom‑out effect. Repeat the same process for any subsequent clips to maintain continuity.
---
Step 4: Add Cinematic Effects and Render
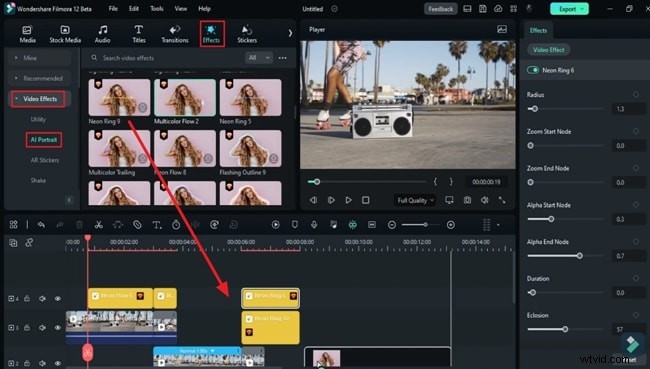
To give your transition a polished look, open the Effects tab and explore the Video Effects section. Select AI Portrait and apply it to the relevant clips. This adds subtle depth and color grading, enhancing visual appeal.
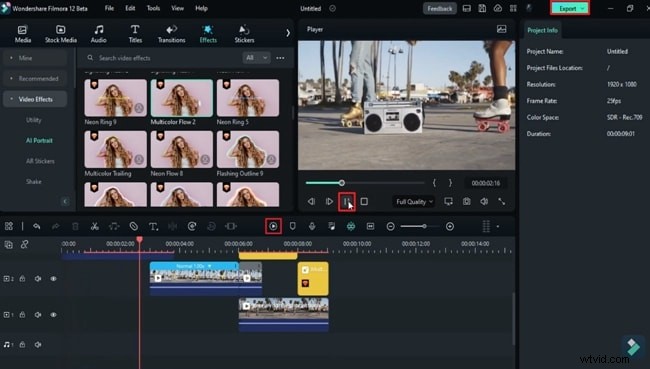
Once satisfied, click the Render Preview button to view the final result. After confirming, hit Export to save your video.
---
Takeaway
Integrating a fast mask zoom transition can elevate your videos, making them more engaging and professional. With Filmora’s intuitive interface and robust editing tools, you can achieve cinematic results without hiring a specialist. Follow this guide, experiment, and bring your creative vision to life today.