Preparation
Before you begin, gather the following:
- A computer running Windows or macOS
- Your video footage and photos
- The Wondershare Filmora video editor installed
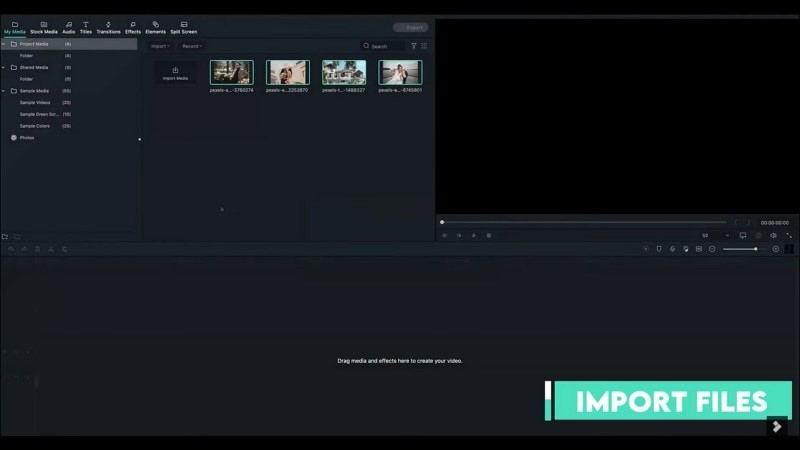
Step 1: Start a New Project
Launch Filmora and click New Project. Import your media by opening the Media tab or dragging files directly into the workspace.
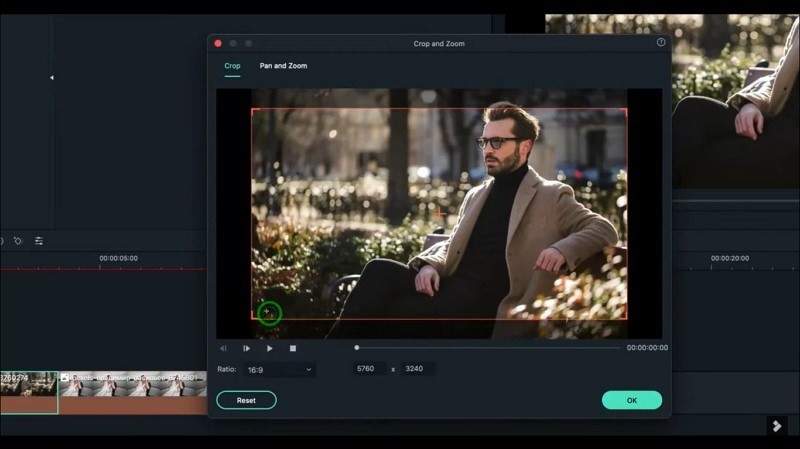
Step 2: Arrange Your Clips
Drag each video onto the timeline in the desired order. For consistent framing, select a clip, click Crop, choose a 16:9 aspect ratio, and confirm. Repeat for every clip.
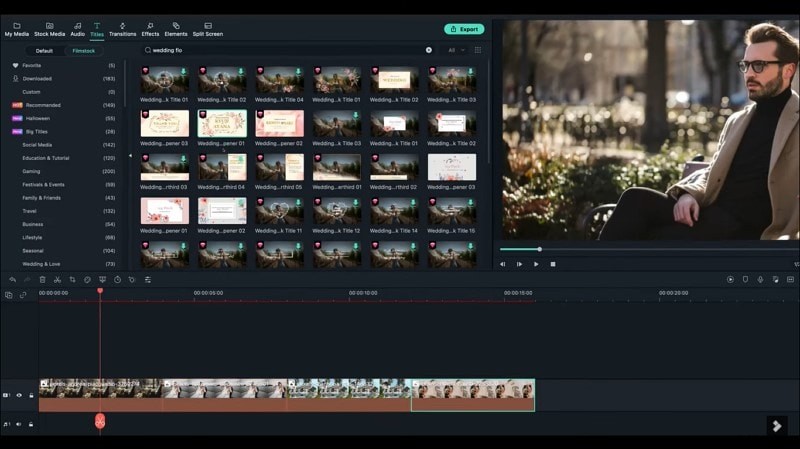
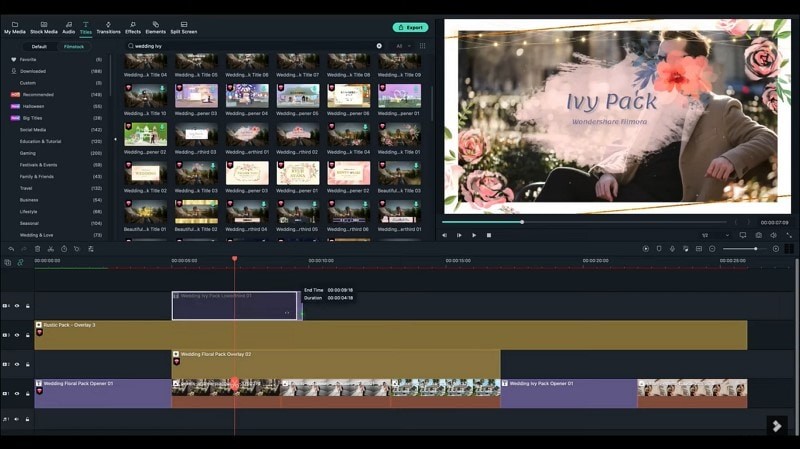
Step 3: Add Title Text
Go to the Titles tab and search for “Wedding.” Choose a style that matches your theme, then drag it onto the timeline at the beginning. Add additional titles as needed.
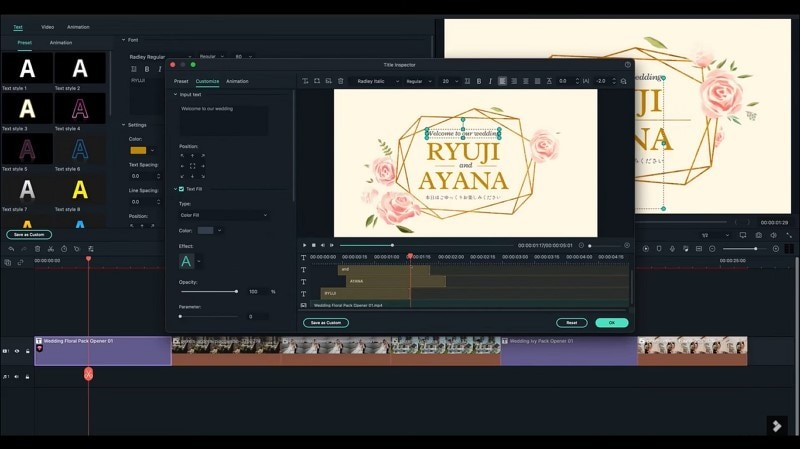
Step 4: Customize Titles
Double‑click each title to open the Advanced editor. Edit the text, font size, color, and other attributes to reflect your personal style.
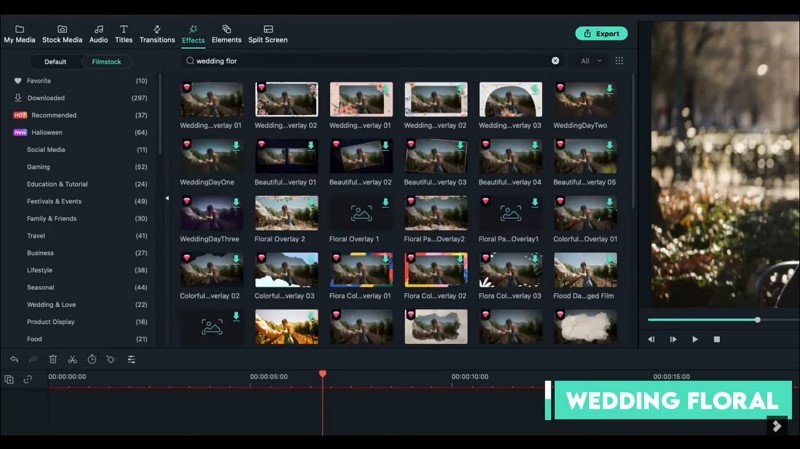
Step 5: Apply Visual Effects
Navigate to the Effects tab and search for keywords like “Wedding flor” or “Rustic.” Drag your chosen effect onto a separate track above your clips to add depth.
Step 6: Insert Wedding Details
Use additional titles to display essential information: couple names, venue, date, and RSVP instructions.
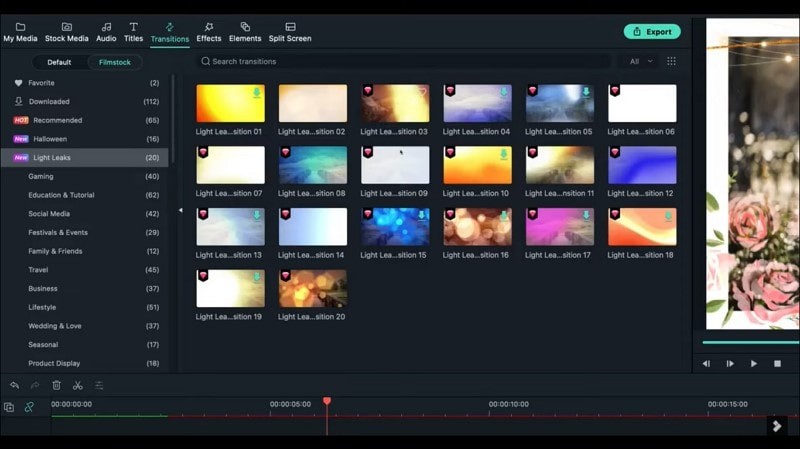
Step 7: Seamless Transitions
Open the Transitions tab and search for a subtle effect such as “Light leak.” Place transitions between clips to create a smooth flow.
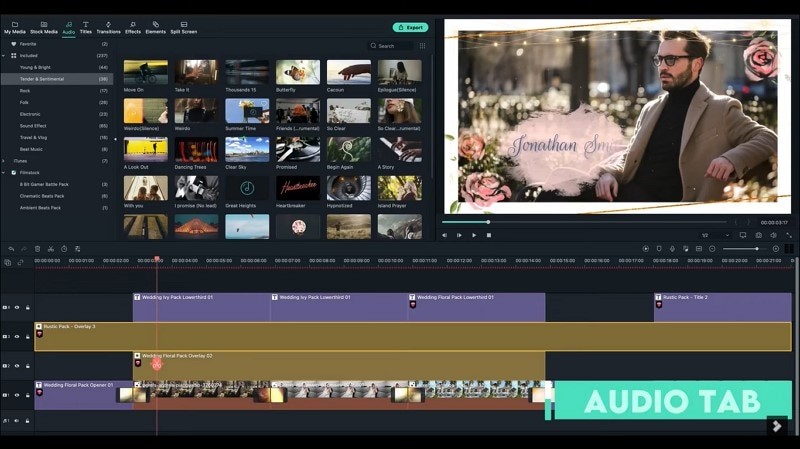
Step 8: Add Music
Go to the Audio tab and choose a track that complements the tone of your wedding. Import custom music if desired, and adjust volume levels for clarity.
Once satisfied, export the video and share it with your guests for an unforgettable invitation experience.